🎧 Listen to this article
Prefer to listen? An audio version of this article is available for accessibility and convenience.
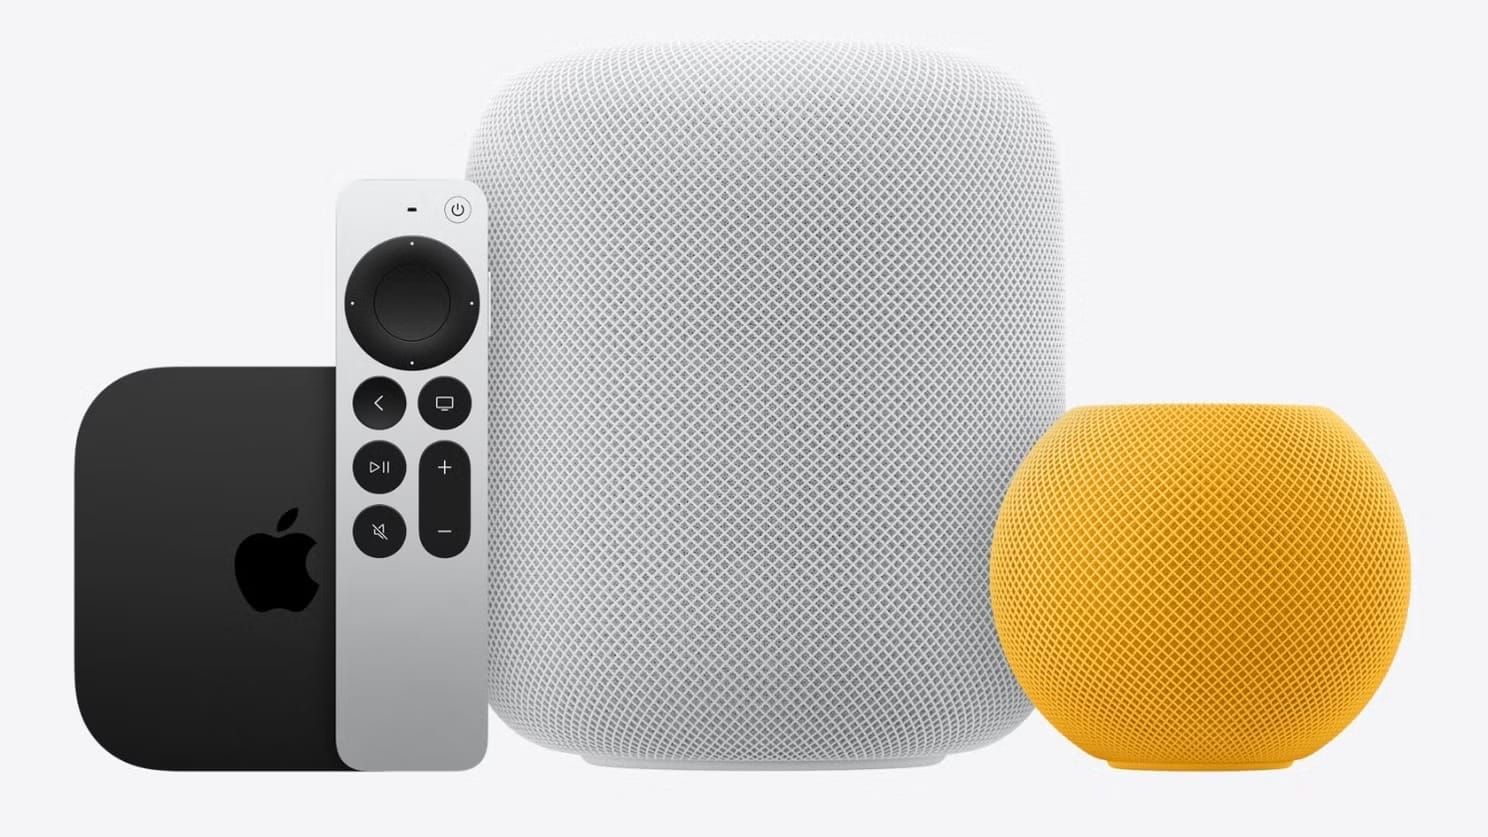
My router died on a Tuesday afternoon, and my HomePod mini went quiet along with it. The replacement I picked up that evening had a different network name, and even after my iPhone connected to the new network, the HomePod sat pulsing orange — still hunting for a network that no longer existed. No notification. No prompt. No obvious path forward.
That situation is what this guide is for. HomePod mini connects to WiFi in a way that is genuinely different from how most people expect, and understanding that difference is the gap between a ten-second fix and a twenty-minute troubleshooting session.
HomePod mini does not manage its own WiFi connection independently. It inherits the network from your iPhone at the moment of setup, and it relies on your iPhone to communicate any network changes after that. When you know that, everything else about setup and network troubleshooting makes immediate sense.
 Ad
AdHow HomePod mini Thinks About WiFi
Apple built HomePod mini without a standard WiFi configuration interface, and that was a deliberate call. There is no network password field, no browser-based setup portal — none of the configuration steps you might expect from a smart speaker. During initial pairing, the HomePod inherits your iPhone’s active network credentials automatically.
What that means in practice: HomePod mini will not detect a new router on its own and ask to reconnect. It depends on a deliberate action from you — specifically, an action taken through your iPhone when both devices are physically close to each other. That design keeps setup simple and prevents manual network errors, but it does mean a router change requires a specific process rather than just waiting for things to sort themselves out.
One detail that trips people up: HomePod mini connects to 2.4 GHz and 5 GHz WiFi bands only. It does not support Ethernet, and it will not connect to a mobile hotspot. If your router is running WiFi 6E on an isolated band, the HomePod mini will not reach it.
First-Time Setup
Plug the HomePod mini into its power adapter and set it on a flat surface with a few inches of clearance. About thirty seconds later, a chime plays and the top begins pulsing white. That means it is ready to pair.
On your iPhone, confirm Bluetooth is on and that you are connected to the network you want HomePod mini to use. This moment matters more than it seems — whatever network your iPhone is on right now is the network HomePod mini will commit to. Hold your iPhone close to the device. A setup card appears automatically. Tap Set Up.
 Ad
AdFollow the prompts: point your camera at the top of the HomePod mini to align it, or enter the four-digit code if the camera method fails. Then assign a room and decide about personal requests. Personal requests let Siri on the HomePod read messages, set reminders, and access calendar data. They can be toggled later in the Home app, so the choice at setup is not final.
Tap Done, and HomePod mini will configure itself, chime again, and appear in your Home app within a minute. Speaker, Siri, and HomeKit hub — all active.
One thing to watch for: if you are setting up a previously owned HomePod mini, it needs to be reset before you can claim it. Apple’s support page on setting up HomePod covers how to remove a device from a previous owner’s account if the prior owner did not do it themselves.
Changing the WiFi Network
So the router changed and HomePod mini is offline. What actually works?
Start with the automatic method. Connect your iPhone to the new network and move physically close to the HomePod mini. Within about ten seconds, the Home app should show a prompt asking whether you want to move the HomePod to the new network. Tap Move. That is often all it takes — Apple designed this to be the path of least resistance.
If that prompt does not appear, go manual. Open the Home app, long-press on the HomePod mini tile, and tap Settings. Find the WiFi Network entry. If the text appears in orange or shows the old network name, tap it to update. The HomePod reconnects within a few seconds once you confirm.
Proximity matters more than most guides mention. Bluetooth range can stretch to thirty feet in an open room, but walls, appliances, and radio interference can cut that to ten or fifteen feet. Move your iPhone to within arm’s reach of the HomePod mini and try again — that single step fixes most cases where the automatic method seemed to have stopped working. Why does distance matter so much here? HomePod mini uses Bluetooth to receive network credentials, not WiFi. The WiFi connection is the end goal, but the handoff happens over Bluetooth, and Bluetooth has a much shorter reliable range than it appears on paper.
Setting Up Two HomePod minis as a Stereo Pair
If you have two HomePod mini units in the same room, you can pair them into a stereo configuration. Left channel and right channel, playing as one. Both need to be running the same software version and assigned to the same room in the Home app.
After each is set up individually, long-press on one of them in the Home app and go to Settings. Scroll to Create Stereo Pair. Your iPhone will search for compatible nearby units and present the second HomePod mini as an option. Choose which is left and which is right based on their physical positions, then confirm.
As a stereo pair, the two speakers behave as a single output for AirPlay, Apple Music, and Apple TV audio. It does, though, mean that individual features — like setting separate alarms or using Intercom independently on each unit — are no longer available. They are one speaker now, not two separate ones.
Adding HomePod mini to the Home App
Normally, HomePod mini lands in the Home app automatically during first-time setup. But after a phone migration, an iCloud sign-out, or a backup restore, it may appear as a device but not show up in the Home app grid.
Tap the Plus button in the Home app and select Add Accessory. Scan the eight-digit code printed on the bottom of the HomePod mini, or the one on the original box. After scanning, the device should appear in your current home and room within seconds.
Managing multiple homes in the Home app — a house and a vacation place, for example — is where it is easy to accidentally add the device to the wrong home. Reassigning a HomePod mini from one home to another requires a factory reset, so it is worth confirming which home you are in before tapping through the Add Accessory prompts.
HomePod mini acts as a HomeKit hub when it is properly set up and assigned to a room, which means it handles automations and remote access for other accessories even when your iPhone is away. If you are building out a HomeKit smart home alongside your HomePod mini, getting that room assignment right early makes a real difference. For anyone dealing with third-party accessories that are not cooperating with HomeKit, this guide on HomeKit compatibility workarounds covers the most common friction points.
When the Usual Fixes Do Not Work
Hold the top of the HomePod mini for about ten seconds. The spinning white light turns red. Siri announces the reset. That is a factory reset — and it is not the emergency procedure it sounds like.
HomePod mini does not store personal data locally. Your music preferences, automations, and HomeKit settings all live in iCloud. A reset followed by fresh setup takes under five minutes, and everything comes back. The one thing lost is a few minutes of time.
Enterprise and captive networks are the exception — the kind found in corporate offices, dorms, and hotels where a login is required to access the WiFi. HomePod mini cannot authenticate with these networks on its own. After setup or after a reset, go to Settings on your iPhone, scroll to your HomePod mini, and tap Share to HomePod. That pushes the authentication credentials across from your iPhone.
If the HomePod mini is pulsing orange during or after setup, this troubleshooting guide explains what each light pattern means and what to do about it — including when a reset is actually needed versus when a simpler step will do.
Quick-Action Checklist
First-time setup:
- Plug in; wait for chime and white pulsing light
- Confirm Bluetooth is on and iPhone is connected to target WiFi
- Hold iPhone close, tap Set Up when the card appears
- Assign a room and personal requests setting
Changing WiFi network:
- Connect iPhone to new network
- Move iPhone physically close to HomePod mini
- Check Home app for Move to This Network prompt; tap it if shown
- If no prompt: Home app → long-press HomePod mini → Settings → WiFi Network
Not showing in Home app:
- Home app → Plus → Add Accessory → scan code on device bottom
Factory reset (last resort):
- Hold top of device for ten seconds until white light turns red
- After reset, set up again as a new device

Related Posts
Ring Won’t Support Apple HomeKit — These Workarounds Work
Apr 16, 2026
Your Apple TV 4K Is a Real Game Console — Here's How to Set It Up Right
Apr 15, 2026
Your HomePod Mini Is Blinking Orange — Here Is the Fix
Apr 13, 2026