Listen to this article
Prefer to listen? An audio version of this article is available for accessibility and convenience.
There’s a moment every iMac owner who plays Nintendo Switch 2 has experienced. You’re sitting at your desk, that 4.5K Retina display glowing in front of you, Switch 2 in its dock a few feet away. The obvious thought — just plug it in — runs headfirst into something Apple never really explains: the iMac cannot accept video input. Not through HDMI. Not through Thunderbolt. Not through any adapter you’ll find at an electronics store.
Apple removed Target Display Mode from iMac back in 2014, and it has never returned. The Switch 2’s dock pushes a clean 4K HDMI signal out one end. Your iMac has an HDMI port too — but that port only sends video outward to an external display. It never brings video in. Plugging the Switch 2 dock’s HDMI cable into the iMac’s HDMI port produces exactly nothing.
The good news is there’s a one-accessory fix that solves the problem completely — and gives you something a direct connection couldn’t: the ability to record every session automatically. Here’s exactly how to set it up.
 Ad
AdWhy the iMac Can’t Simply Accept the Switch 2’s Signal
The iMac M4 ships with three Thunderbolt 4 / USB 4 ports, one HDMI 2.1 port, three USB-A ports, and an SD card slot on higher-end configurations. Every connection that handles video is an output. The Thunderbolt ports send a display signal out to external monitors. The HDMI port does the same. None of them can receive a display signal from an outside source — there’s no hardware in the iMac to process incoming video.
This matters because a lot of people try the Thunderbolt hub route first. They buy a USB-C hub hoping it’ll add some kind of video input. It won’t. A hub borrows the iMac’s existing port capabilities — it doesn’t add new ones. The hardware limitation runs deeper than any adapter can reach.
What you need instead is a device that accepts the Switch 2’s HDMI output and converts it into something the iMac recognizes as a standard USB device. That device is a video capture card. macOS treats it identically to how it treats a webcam or your iPhone in Continuity Camera mode — as a video source it can display, record, and stream. The Switch 2 never negotiates directly with the iMac at all.
The Accessory That Makes It Work
Three capture cards are worth your attention, and they break along clear lines depending on how you plan to use the setup.
Here's how the three main options compare for Nintendo Switch 2 setups on iMac:
| Capture Card | Price | Max Resolution | macOS Software | Best For |
|---|---|---|---|---|
| Elgato HD60 X | ~$149.99 | 4K30 / 1080p60 | 4K Capture Utility (native) | Most Switch 2 owners |
| AVerMedia Live Gamer Portable 2 Plus | ~$129.99 | 4K30 / 1080p60 | RECentral | Budget setups |
| Elgato 4K X | ~$249.99 | 4K60 | 4K Capture Utility (native) | Content creators |
The Elgato HD60 X is where I’d point most people first. At around $149.99 it handles up to 4K30 or 1080p60 from the Switch 2 dock, ships with a USB-C cable that fits directly into the iMac’s Thunderbolt port, and Elgato’s macOS support has been consistently solid for years. The 4K Capture Utility app that comes with it gets you up and running in under ten minutes.
If you’re closer to the AVerMedia Live Gamer Portable 2 Plus territory at around $129.99, it does the job with macOS — the RECentral software is less polished than Elgato’s but covers everything you need. For content creators who want maximum recording quality, Elgato’s 4K X at around $249.99 captures full 4K60, though the Switch 2’s dock currently maxes out at 4K30 for game output, so the extra headroom goes toward recording fidelity rather than any visible improvement during play.
The hookup takes three connections: Switch 2 dock HDMI out to capture card HDMI in, capture card USB-C to iMac Thunderbolt port, dock power cable as normal. Once those three are in place and the Switch 2 is powered on, all the heavy lifting shifts to software.
One detail worth knowing: the Switch 2 dock’s USB-C port on the bottom is for power only — it won’t pass video. The HDMI port on the side of the dock is where the game signal comes from. The capture card goes between that HDMI port and the iMac. If you’re running the Switch 2 in handheld mode without the dock, you won’t get video out to the capture card — you need the dock connected and the Switch 2 seated in it.
 Ad
AdGetting the Switch 2 on Screen
OBS Studio is free, actively maintained on macOS, and handles every step of the display and recording process without any additional purchases. Download it from obsproject.com — the official OBS Project site — rather than a third-party source.
After installation, open OBS and add a source: click the ‘+’ in the Sources panel, select ‘Video Capture Device,’ and name it ‘Switch 2’ or whatever makes sense to you. In the source properties window, select your capture card from the Device dropdown, set resolution to 1920×1080, and set frame rate to 60fps. These match the Switch 2’s standard docked output perfectly.
Once the source is configured, the Switch 2’s display appears in OBS’s preview window. To fill the iMac screen, right-click the preview, choose ‘Fullscreen Projector (Preview),’ and select the built-in display. The Switch 2 output expands to fill the iMac’s screen while OBS continues running in the background.
I also really like the recording upside here — it’s something a direct connection would never give you. Start an OBS recording before a session and you get a full-quality capture of everything you played, saved automatically to your Mac without any extra steps. If you already clip moments using Switch 2’s built-in screen recording, having higher-quality versions available afterward is a meaningful difference.
For simpler display-only use, Elgato’s 4K Capture Utility is worth trying first. It’s faster to configure than OBS and gets the Switch 2 on screen in a few clicks, with no scenes or sources to manage.
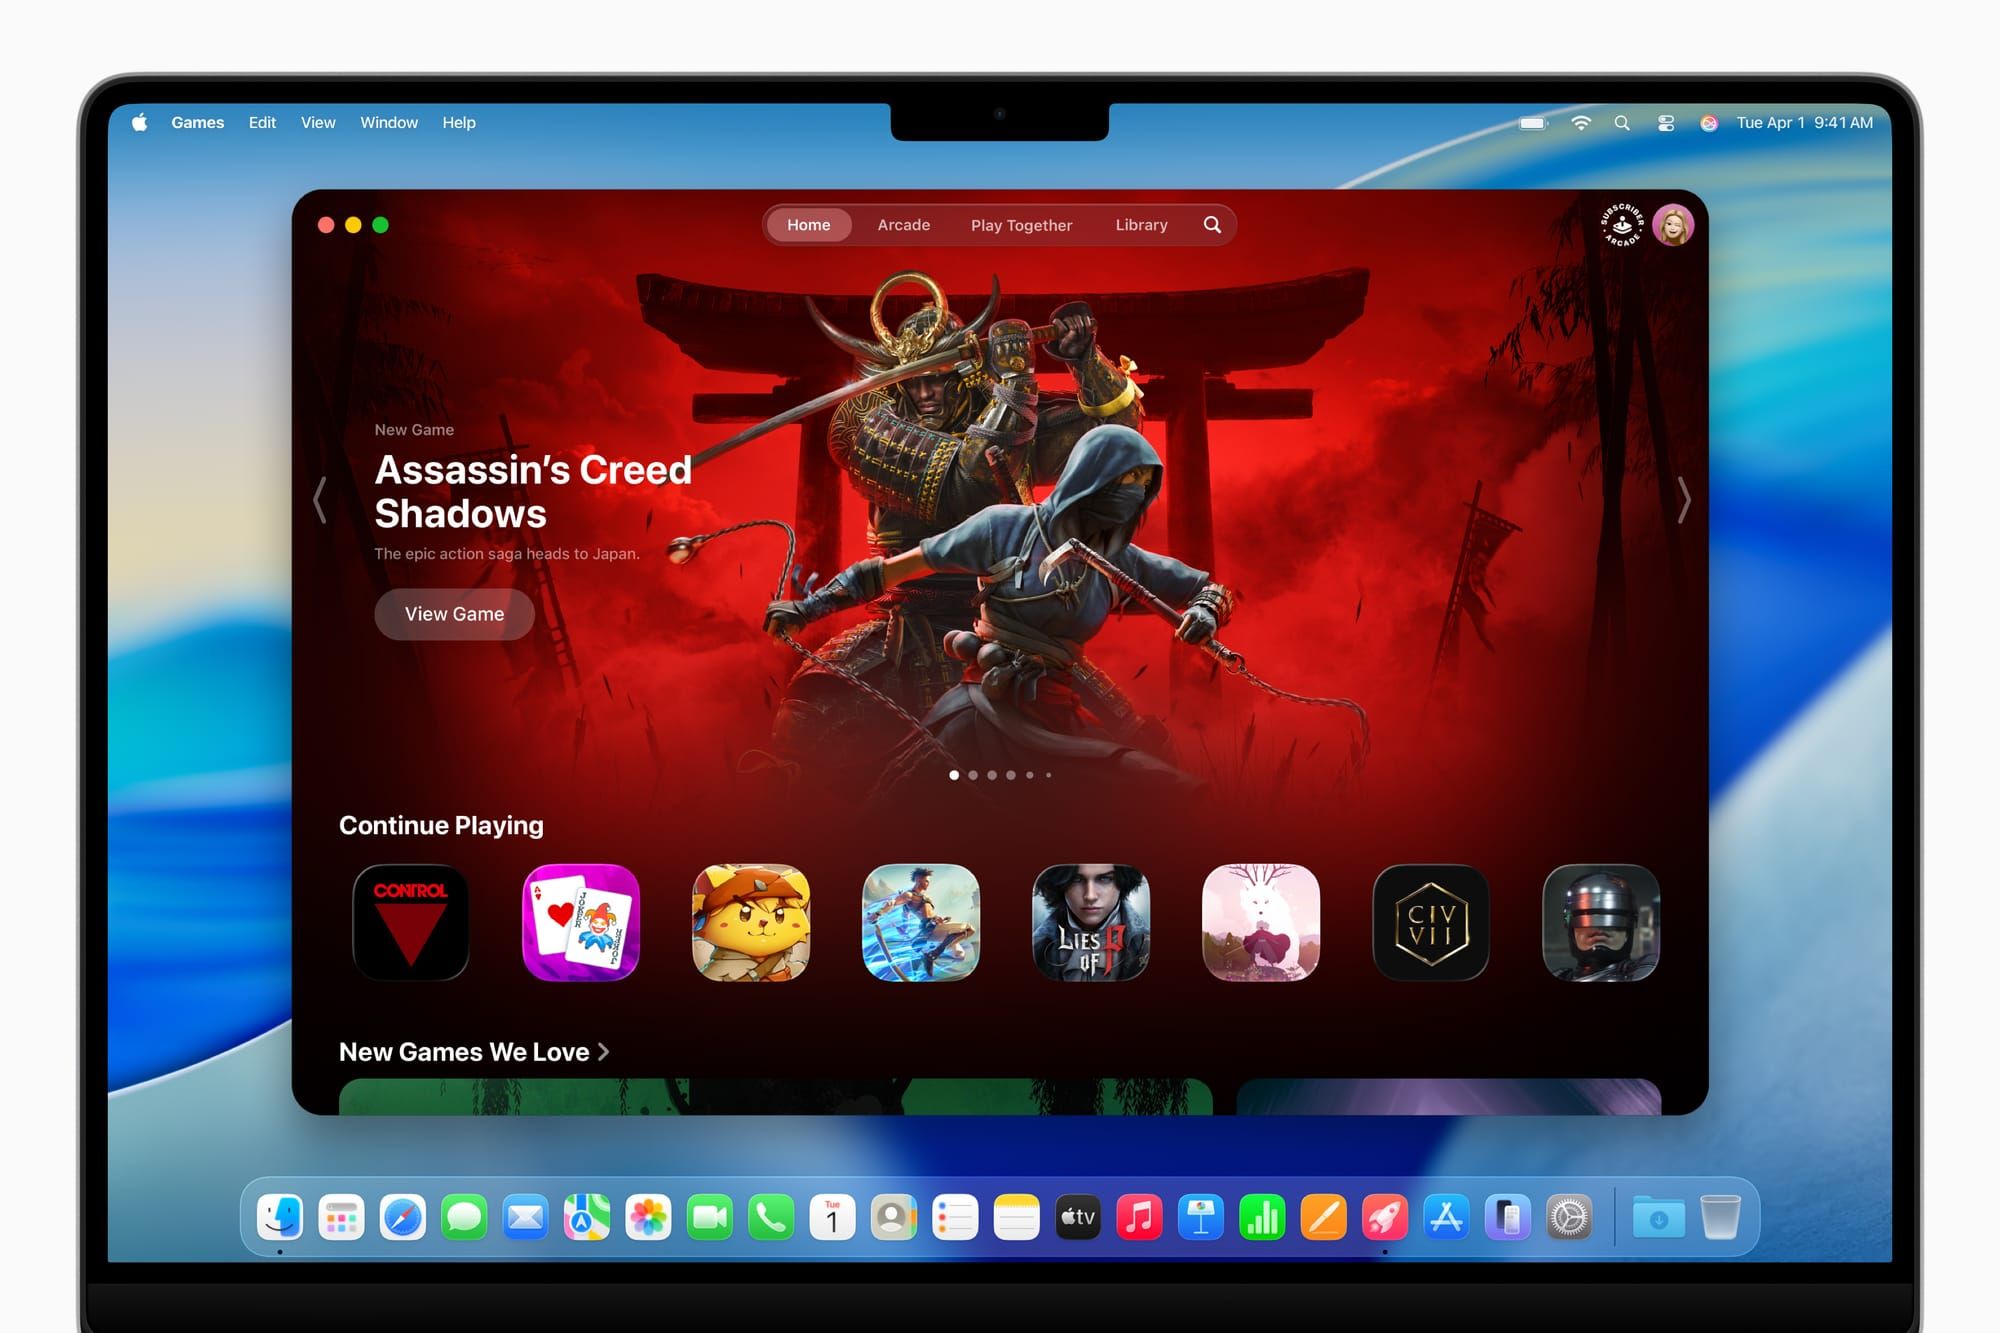
If you haven’t looked at what your iMac can do as a gaming machine in its own right, macOS Tahoe has built more gaming infrastructure into the platform than most people realize. The Mac’s built-in gaming features — Apple Arcade, Game Center controller support, and native titles through the Mac App Store — are all worth opening without any external hardware.
One thing the setup opens up that most people don’t think about ahead of time: the Switch 2 dock connects to the iMac the same way every session, which means OBS can launch automatically at startup if you want. Set OBS to open on login, add the Switch 2 scene as the startup scene, and your iMac becomes a persistent gaming display the moment you sit down — no HDMI switching, no input selection. For anyone who splits desk time between work and gaming, the separation between macOS’s usual interface and the Switch 2 fullscreen projector mode is clean enough that switching contexts takes about three seconds.
 Ad
AdThe One Limitation Worth Knowing Before You Buy
Capture cards introduce latency. With the Elgato HD60 X, the delay between what’s happening on the Switch 2 and what appears on the iMac screen typically runs between one and three frames at 60fps — roughly 16 to 50 milliseconds. It does, though, mean the iMac isn’t the ideal screen for every game in your library.
Story-driven titles, RPGs, open-world games, platformers with generous timing windows, and anything narrative-heavy feel completely normal through a capture card. The latency becomes an actual problem in rhythm games and precision platformers where split-second timing is part of the mechanic — the kind of games where even a few frames of additional delay throws off muscle memory that’s been built over hours of play.
In practice, the cleanest solution is to keep both options available. The Switch 2 dock has an HDMI passthrough port that outputs the same signal directly to a TV with no processing delay. Use the TV for timing-critical games. Use the iMac setup for everything else. Switching between them is one cable swap, and nothing needs to be reconfigured on the OBS side.
There’s also something worth noting about the iMac’s display itself. The 4.5K Retina display at desktop viewing distance has a pixel density that most televisions — even 4K ones — can’t match at the distances we typically sit from a TV. Games with hand-drawn art styles, stylized visuals, or fine text take on a clarity on the iMac that can make certain titles feel like you’re seeing them at the intended detail level for the first time.
For anyone building out a dedicated gaming corner around their iMac, several Mac desk accessories pair naturally with a capture card setup and address the most common workflow frustrations at the same time.
Quick-Action Checklist: Connect Nintendo Switch 2 to iMac
- Buy a USB capture card: Elgato HD60 X for most setups, AVerMedia Live Gamer Portable 2 Plus to save money, or Elgato 4K X for highest recording quality
- Connect Switch 2 dock HDMI out to capture card HDMI in
- Connect capture card USB-C to an iMac Thunderbolt 4 port
- Download OBS Studio from obsproject.com (free) or Elgato 4K Capture Utility (free, simpler)
- In OBS: add a Video Capture Device source, select your capture card from the Device dropdown
- Set resolution to 1920×1080, frame rate to 60fps
- Right-click the OBS preview → Fullscreen Projector (Preview) → Built-in Retina Display
- Power on the Switch 2 — it appears on screen within a few seconds
- Start an OBS recording before each session to capture gameplay automatically

Related Posts
Google Gemini for Mac Just Launched — Here's What It Does
Apr 17, 2026
Your Mac Can Receive AirPlay from Any iPhone or iPad — Here’s How
Apr 16, 2026
Your Mac Has a Free Password Manager Most Owners Never Open
Apr 13, 2026