Apple’s iPhone storage breakdown in iOS 26 sits at Settings, then General, then iPhone Storage, and it tells you exactly where every gigabyte went. The bar graph at the top splits your capacity into Apps, Photos, Media, Mail, Messages, and the one category that causes the most confusion: System Data. Clearing the visible offenders is straightforward. The real problem is that System Data can silently balloon to 30, 40, or even 60 gigabytes without warning, and Apple gives you no direct button to delete it.
That missing delete button is the decision point. Some of the space trapped in System Data can be recovered through targeted cache clearing and app management. The rest requires a more aggressive approach, including a full backup and restore, that most guides skip. Knowing which category your wasted storage falls into determines whether a two-minute fix is enough or whether you need the nuclear option.
What System Data Actually Holds on Your iPhone
System Data is the renamed version of what Apple used to call "Other" storage. It contains Siri voice models, system fonts, the Spotlight search index, Keychain credentials, CloudKit databases, non-removable logs, and accumulated caches from both iOS itself and your installed apps. Apple’s support documentation confirms that this category "cannot be manually deleted" as a single action, which is technically true but misleading. Individual components within System Data absolutely can be reduced.
After updating to iOS 26, a significant number of iPhone owners reported System Data consuming over half their available storage. Forum threads on Apple’s community site and MacRumors document cases of 54 GB, 80 GB, and even 170 GB of System Data on devices where the actual user content barely fills a quarter of the drive. The iOS 26.1 update appears to have addressed the worst of this bug for most users, but residual bloat from the initial update lingers on devices that were never restored.
Start With Your Storage Breakdown
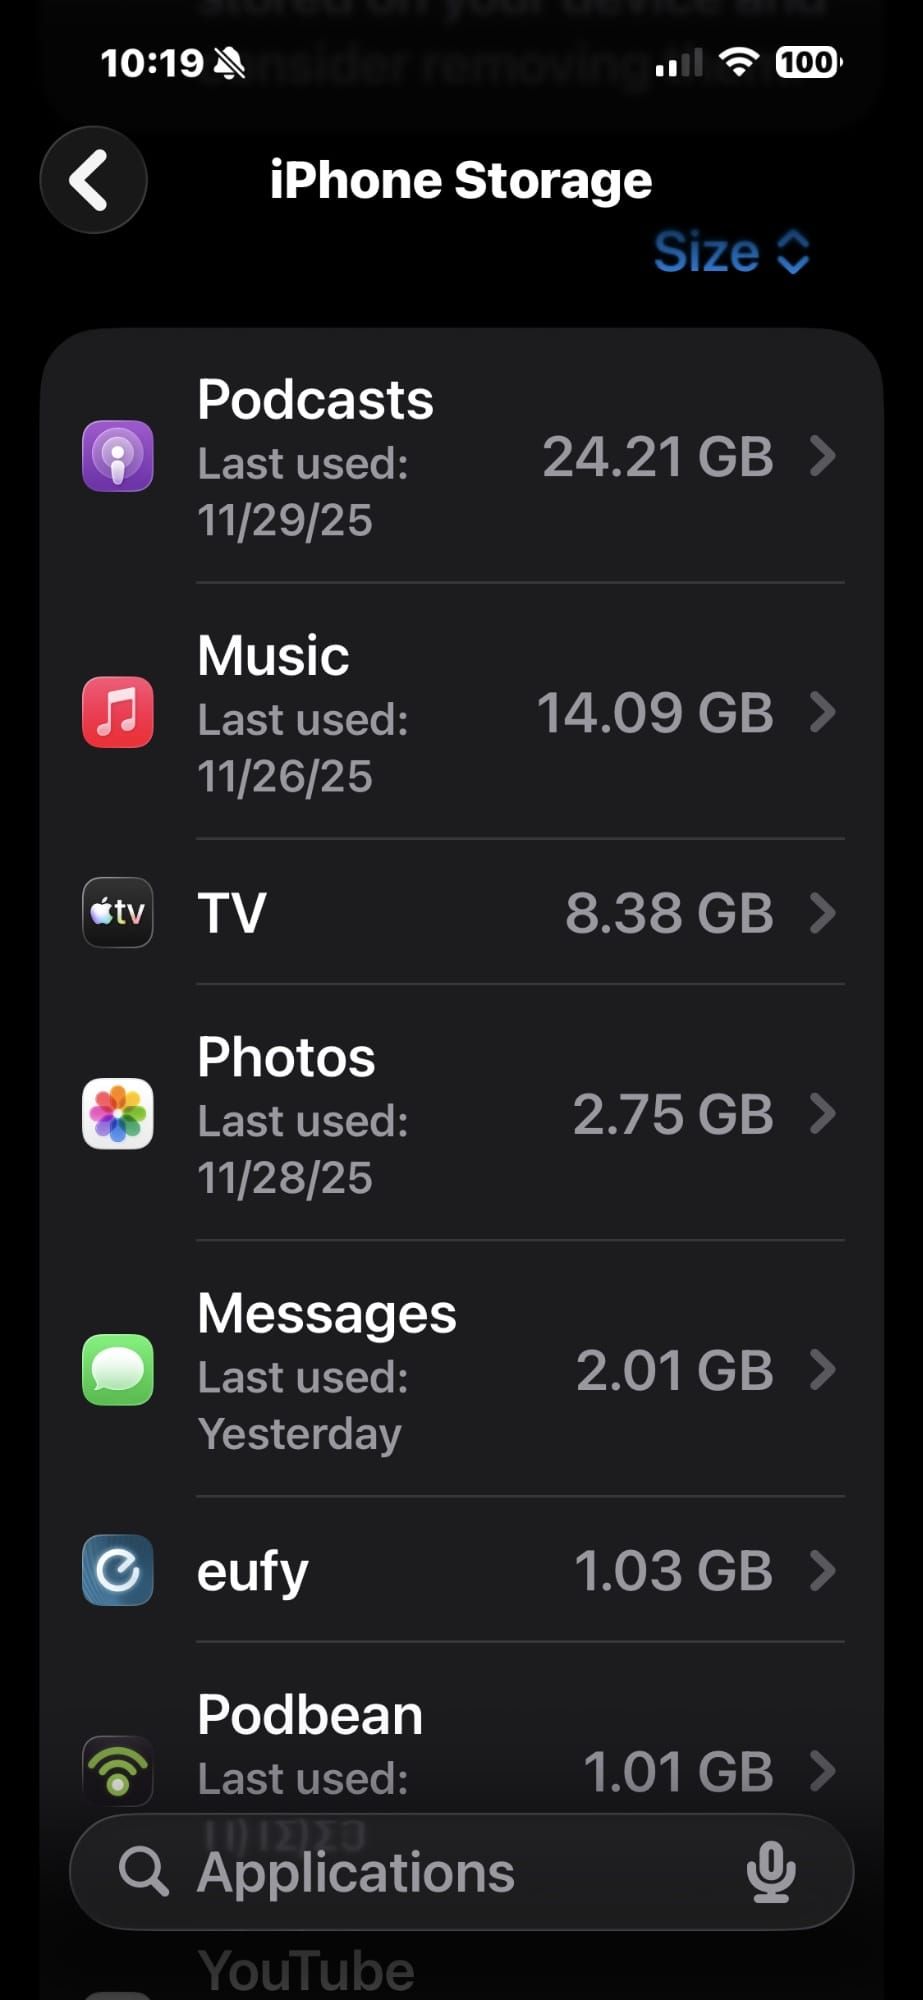
Before deleting anything, you need to see the actual numbers. Open Settings, tap General, then tap iPhone Storage. The colored bar graph takes a few seconds to fully calculate, so wait for it to stop animating before reading the results. Below the graph, iOS lists every app sorted by size, with the largest storage consumers at the top.
Tap any app in that list to see its App Size versus Documents & Data. The App Size is the application binary itself. Documents & Data is where offline downloads, caches, saved states, and accumulated junk live. An app with a 50 MB binary and 3 GB of Documents & Data is a prime candidate for the offload method covered below.
Scroll to the very bottom of the list to find System Data. If that number is under 10 GB, your iPhone is behaving normally. Anything above 15 GB warrants the steps in this guide. Anything above 30 GB likely needs the backup-and-restore method in the final section.
Safari and Messages Are Your Quick Wins
Safari stores website data, cookies, cached images, and browsing history that count toward System Data. Open Settings, scroll to Apps, tap Safari, then tap Clear History and Website Data. Confirm the action. On an iPhone that has never had its Safari cache cleared, this single step can reclaim anywhere from 500 MB to several gigabytes.
Messages is the other silent storage hog. Every photo, video, GIF, and link preview sent or received stays on your device indefinitely by default. Go to Settings, tap Apps, tap Messages, scroll to Message History, and change Keep Messages from Forever to 1 Year or 30 Days. iOS will ask to delete older messages. Tap Delete to confirm. For iPhone owners who have used iMessage for years without changing this setting, the reclaimed space can be substantial.
One friction point worth mentioning: the Messages deletion prompt feels abrupt. There is no preview of what will be removed and no undo. If you have important threads with attachments you want to keep, save those files to the Files app or Photos before changing the retention setting. The interface gives you a binary choice with no middle ground, which catches people off guard the first time.
Offload Apps That Hog Space Without Earning It
Affiliate disclosure: some links in this article are Amazon Associate links. If you buy through them, Zone of Mac may earn a small commission at no extra cost to you, and we only recommend products that genuinely bring value to your Apple setup.
iOS 26 offers two approaches. Offloading removes the app binary but preserves its documents and data, so reinstalling the app later picks up where you left off. Deleting removes everything. For apps you use occasionally but that have accumulated large caches, offloading is the better choice. Games are the usual offenders here, with binaries that can exceed 2 GB and cached assets that double that.
Go to Settings, then General, then iPhone Storage. Tap an app, then tap Offload App. iOS also offers an automatic offload option: go to Settings, then General, then iPhone Storage, and enable Offload Unused Apps at the top of the recommendations section. This lets iOS automatically offload apps you have not opened recently when storage runs low.
For apps with massive Documents & Data that you want to fully purge, delete the app entirely, restart your iPhone, then reinstall it from the App Store. The restart step matters. It forces iOS to release cached temporary files associated with that app that would otherwise persist through a simple delete-and-reinstall cycle. You can feel the slight delay during restart as the system rebuilds its file index, which is exactly the cleanup happening behind the scenes.
If your storage problems go beyond software, the most practical physical upgrade for any iPhone owner is a USB-C flash drive that works directly with the Files app. The SanDisk 256GB Phone Drive for iPhone connects via USB-C to iPhone 15 and newer models and also includes a Lightning connector for older iPhones. It is MFi certified, supports automatic photo and contact backups through the SanDisk app, and the swivel design with the metal body has a satisfying weight that makes it feel like a tool rather than a disposable gadget. The USB-C connector sits flush in the port, though the slightly wider housing means it will not fit with every thick protective case, so pulling the case off first is sometimes necessary.
You can grab the SanDisk 256GB Phone Drive for iPhone here https://www.amazon.com/dp/B0DDQK1F9B?tag=zoneofmac-20
Optimize Your Photo and Video Library
Photos and video typically consume more storage than every other category combined, especially on iPhone models with 48 MP sensors and 4K ProRes recording. iOS 26 offers a built-in solution that many owners overlook: Optimize iPhone Storage. Go to Settings, then Apps, then Photos, and select Optimize iPhone Storage. This keeps full-resolution originals in iCloud and stores only smaller, device-sized versions locally. When you open a photo or video, iOS downloads the full version on demand.
The optimization happens gradually. After enabling it, your iPhone may take a full day to upload originals and replace them with optimized versions. During that initial sync, battery drain increases and storage usage may temporarily spike before it drops. If you have noticed unexplained battery drain after iOS 26, this background photo optimization could be contributing to it.
For readers who also manage storage on a Mac, the companion guide to reclaiming hidden storage on your Mac in macOS Tahoe covers the desktop side of this same iCloud optimization workflow.
Review your Recently Deleted album as well. Photos and videos sit in that album for 30 days before iOS actually removes them, and they count against your storage the entire time. Open Photos, scroll to Albums, tap Recently Deleted, then tap Select and Delete All.
If you shoot a lot of 4K video or use ProRes, local offloading to an external drive makes more sense than paying for higher iCloud tiers. Check out these iPhone Photos tricks that deserve way more attention for additional camera roll optimization techniques.
Here is a quick comparison of the two primary storage recovery approaches for iPhone owners, depending on whether you need a software fix or a hardware expansion.
| Approach | Best For | Space Recovered | Time Required |
|---|---|---|---|
| Clear Caches + Offload Apps | iPhone with under 15 GB of System Data | 2 to 10 GB | 5 to 15 minutes |
| Optimize Photos + Messages Cleanup | iPhone with large photo or message libraries | 5 to 50 GB | 10 minutes plus overnight iCloud sync |
| External USB-C Flash Drive | Offloading videos and large files permanently | Up to 256 GB of offloaded files | Immediate per transfer |
| Full Backup and Restore | System Data exceeding 30 GB after iOS 26 bug | 10 to 80 GB | 1 to 3 hours |
When You Shoot Hundreds of Gigabytes of Video
The SanDisk Phone Drive handles day-to-day file transfers and photo backups effectively, but iPhone owners who shoot ProRes 4K video at 30 frames per second generate roughly 6 GB per minute of footage. At that rate, a 256 GB flash drive fills up in under 45 minutes of recording. For video-heavy workflows, a portable SSD with USB 3.2 Gen 2x2 speeds makes the difference between spending minutes or hours offloading footage.
The Samsung T9 Portable SSD delivers sequential read and write speeds up to 2,000 MB/s through its USB-C connection, which means a 30 GB ProRes file transfers in roughly 15 seconds. The rubberized exterior has a textured grip that stops it from sliding off a car dashboard or slick desk surface, and the 3-meter drop resistance rating is tested to military spec. The T9 weighs 122 grams, which is noticeably heavier than a typical flash drive but still pocketable. Samsung backs it with a 5-year warranty and hardware encryption.
Pick up the Samsung T9 Portable SSD 2TB on Amazon https://www.amazon.com/dp/B0CHFS9K14?tag=zoneofmac-20
Join The Inner Circle For Serious Apple Users
Exclusive Apple tips. Free to join.
Check your inbox for a confirmation link.
Something went wrong. Please try again.
The Backup-and-Restore Method for Stubborn System Data
When System Data exceeds 30 GB and none of the methods above made a meaningful dent, the most effective fix is a full backup and restore. This forces iOS to rebuild its entire storage index from scratch, permanently clearing corrupted caches, orphaned temporary files, and the residual bloat from the iOS 26.0 update bug.
Start by backing up your iPhone. Open Settings, tap your name at the top, tap iCloud, tap iCloud Backup, and tap Back Up Now. Wait for the backup to complete. Alternatively, connect your iPhone to a Mac and use Finder to create an encrypted local backup, which is faster and preserves Health data and saved passwords.
Once the backup finishes, go to Settings, then General, then Transfer or Reset iPhone, and tap Erase All Content and Settings. Your iPhone will restart to the setup screen. Choose Restore from iCloud Backup or Restore from Mac, depending on which backup method you used. The restore process takes one to three hours depending on how much data you have.
After the restore completes, go back to Settings, General, iPhone Storage and check your System Data again. Users who have performed this process consistently report System Data dropping from 40 or 50 GB down to 8 to 12 GB. The reduction is permanent unless another iOS update reintroduces the caching bug.
Accessibility and Clarity
The iPhone Storage screen in iOS 26 presents storage categories as a horizontal bar, which is not accessible to users who rely on VoiceOver or who have color vision deficiencies. Apple supplements the bar with a text-based list of apps and their storage sizes directly below it, which VoiceOver reads aloud in descending order. Each app entry is a standard tappable row, making navigation predictable for screen reader users.
The Offload App and Delete App buttons within each app’s detail view are clearly labeled and announced by VoiceOver with their full action descriptions, reducing the risk of accidentally deleting data when you intended to offload. For users with motor impairments, the large tap targets in iPhone Storage meet Apple’s Human Interface Guidelines minimum of 44 points, and the confirmation dialogs that appear before deletion provide a safety barrier against accidental taps.
For cognitive accessibility, the storage management workflow follows a predictable linear pattern: open Settings, navigate to storage, review the list, tap an app, choose an action. There are no nested submenus or branching decision trees that would increase cognitive load. The main risk for users with attention-related differences is the iCloud backup wait time during the restore method, which can take hours. Setting the backup to run overnight reduces the need to monitor progress actively.
Quick-Action Checklist
- Open Settings, tap General, tap iPhone Storage, wait for the bar graph to finish loading
- Check System Data at the bottom of the list: under 10 GB is normal, over 15 GB needs attention
- Clear Safari: Settings, then Apps, then Safari, then Clear History and Website Data
- Set Messages retention: Settings, then Apps, then Messages, then Keep Messages, then 1 Year
- Delete Recently Deleted photos: Photos app, Albums, Recently Deleted, Select, Delete All
- Offload large apps: Settings, General, iPhone Storage, tap app, tap Offload App
- Enable Optimize iPhone Storage: Settings, Apps, Photos, Optimize iPhone Storage
- For System Data over 30 GB: back up to iCloud or Mac, erase iPhone, restore from backup
- Transfer large video files to a USB-C drive or external SSD through the Files app

Olivia Kelly
Staff writer at Zone of Mac with over a decade of Apple platform experience. Verifies technical details against Apple's official documentation and security release notes. Guides prioritize actionable settings over speculation.
Related Posts
iOS 26.4.1 Fixes the iCloud Bug That Broke Your Apps
Apr 09, 2026
iOS 26.4 Drains Your iPhone Battery. Here’s What Fixes It
Apr 09, 2026
Your iPhone Finally Lets You Create Custom Ringtones in iOS 26
Apr 08, 2026