🎧 Listen to this article
Prefer to listen? An audio version of this article is available for accessibility and convenience.
The iPhone 17 ships with a 48MP Dual Fusion camera system that produces better photos than most standalone cameras sold five years ago. That direct answer sounds simple, but the gap between what this camera can do and what most people actually use it for is staggering. The Ultra Wide lens alone jumped from 12 megapixels on the iPhone 16 to 48 megapixels, and the new 18MP Center Stage front camera uses a square sensor that rotates your framing automatically. If you have been shooting on Auto and never touching the settings, you are leaving the best parts of this camera untouched.
I find it genuinely odd that Apple buries some of its best camera capabilities behind menus and toggles that most people never explore. The Camera Control button on the side of the phone is a perfect example: it launches the camera by default, but you can remap it to open specific modes, adjust exposure, or switch lenses with a light press and slide. Most owners press it once, open the camera, and never discover the rest.
 Ad
AdThe 48MP Ultra Wide Lens Nobody Talks About
The biggest hardware upgrade on the iPhone 17 compared to the iPhone 16 is the Ultra Wide lens, and it barely gets mentioned. Apple quadrupled the resolution from 12MP to 48MP and kept the 120-degree field of view with an f/2.2 aperture. In practical terms, landscape photos and architectural shots now hold detail when you crop in, which was impossible with the old 12MP sensor.
The Ultra Wide also handles macro photography. That tiny flower icon that appears when you get close to a subject is your iPhone switching to macro mode automatically, and the results at 48MP are noticeably sharper than anything the iPhone 16 produced. If you have ever tried to photograph a circuit board, a watch face, or the fine print on a product label, the difference is obvious. Apple’s developer documentation for AVFoundation confirms that the camera system intelligently selects the appropriate lens based on subject distance, and you can override this behavior in the Camera app settings if the auto-switching annoys you.
One friction point worth noting: the automatic lens switching between macro and standard mode can be jarring. You are framing a shot of something on a table, move slightly closer, and the perspective suddenly shifts because the phone decided you wanted macro. Go to Settings, then Camera, and toggle off Macro Control if you want manual control. That single toggle makes the Ultra Wide far more predictable.
Center Stage Reinvents the Front Camera
The front camera deserved an upgrade for years, and Apple finally delivered one that changes how video calls work. The 18MP Center Stage camera uses a physically square sensor, which means it captures a wider field of view than a traditional rectangular sensor and then crops intelligently to keep you centered in the frame. During a FaceTime call, you can set your phone on a desk, lean back, move to the side, or have someone walk into frame, and Center Stage adjusts without you touching anything.
What makes this genuinely useful rather than gimmicky is the rotation behavior. Hold your iPhone vertically during a video call, and Center Stage can rotate the crop to landscape orientation within that square sensor area. The practical result: you get a wider, more natural-looking video call frame without propping your phone sideways. Apple’s implementation processes this at 18MP from the full 24MP square sensor, which leaves enough headroom for smooth digital panning without visible quality loss.
The catch is that Center Stage crops into the sensor to track you, which means you lose some resolution compared to a static centered shot. In good lighting, this is invisible. In a dim room, the crop amplifies noise and the aggressive tracking can introduce a subtle wobble as it constantly adjusts framing. For important video calls in low light, tapping your face on screen to lock focus and turning off Center Stage in Control Center gives you a cleaner, steadier image.
 Ad
AdDual Capture Changes How You Record
Dual Capture lets you record video from both the front and rear cameras simultaneously at up to 4K Dolby Vision at 30 frames per second. Open the Camera app, swipe to Video mode, and tap the Dual Capture icon that looks like two overlapping rectangles. Your screen splits to show both feeds, and the final video saves as a single file with both perspectives.
This sounds like a feature built for content creators, and it is. But I think Apple undersells its practical value. Recording your reaction while filming your kid’s soccer goal, capturing both sides of an unboxing, or documenting a repair while showing your own hands from the front camera. These are situations where Dual Capture replaces the need for a second camera entirely.
The limitation is storage. A one-minute Dual Capture clip at 4K consumes roughly 400 megabytes, which is nearly double a standard 4K recording. Apple doubled the base storage to 256 gigabytes on the iPhone 17, and this feature is a big part of why.
Photographic Styles Go Further Than Filters
Photographic Styles on the iPhone 17 are not Instagram filters. They adjust tone and warmth at the computational photography level, which means the processing pipeline bakes your preferred look into the image before it compresses to HEIF or JPEG. The new Bright style is my pick for anyone who shoots indoors. It lifts shadows without blowing highlights, which is exactly what overhead kitchen lights and living room lamps demand.
To set a default Photographic Style, open Camera, tap the Styles icon in the top toolbar, swipe through options, and tap to select. Every photo you take from that point uses that style until you change it. The important detail: you can adjust the intensity of any style after the shot by opening the photo in Edit and dragging the Style slider left or right. This is non-destructive editing, so your original data stays intact.
Where I think Apple gets this wrong is discoverability. The Styles icon is tiny, it sits next to a half-dozen other small icons, and first-time users have no reason to tap it. If you have owned this phone for months and never touched Photographic Styles, go set one now. The difference between the default look and a tuned style like Warm Gold or Bright is immediately visible. For a full walkthrough of the iPhone camera settings most owners never touch, that guide covers every toggle.
The Camera Control Button Most People Ignore
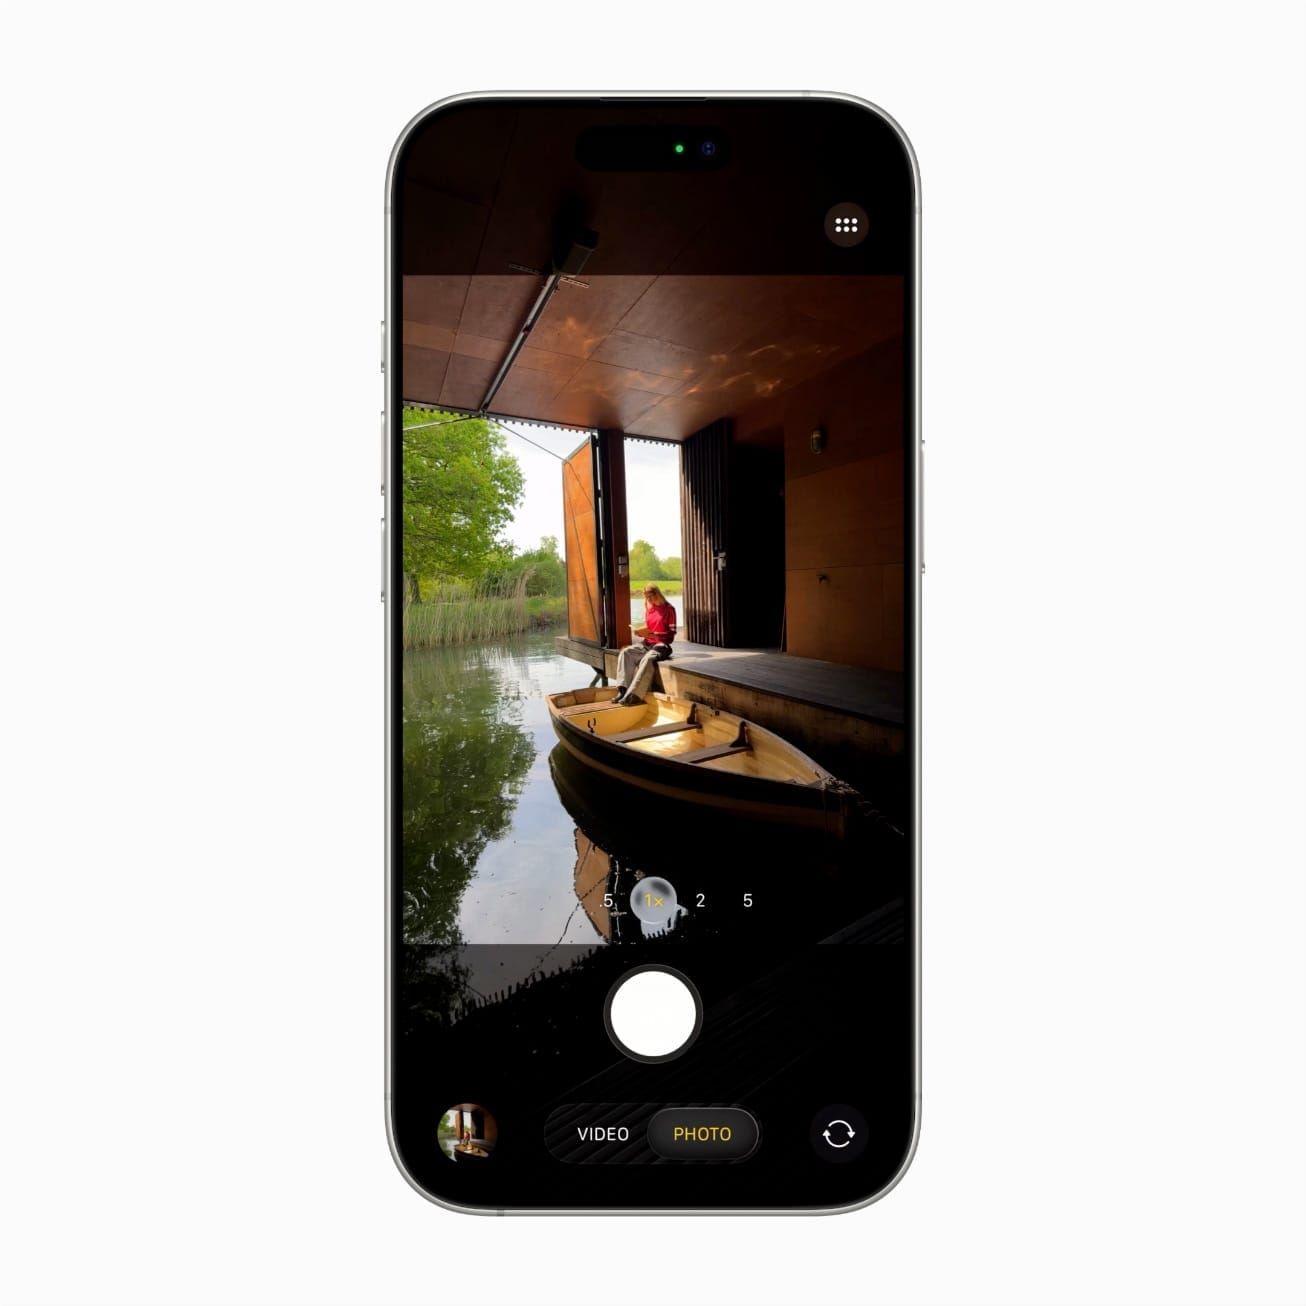
The Camera Control button sits on the lower right side of the iPhone 17 and responds to three levels of input: a click to launch the camera, a light press to surface a control dial, and a slide along the button surface to adjust the selected parameter. Think of it as a tiny trackpad for camera settings.
By default, the light press opens a zoom dial. But you can change this in Settings, then Camera, then Camera Control. The options include Exposure, Depth, Cameras (lens selection), Styles, and Tone. I keep mine set to Exposure because adjusting brightness before a shot is the single fastest way to improve any photo. A slide right brightens the frame, a slide left darkens it. No tapping, no menus.
The button also supports a double light-press to switch between control types mid-shoot. So if you have it set to Exposure, double light-press to jump to Zoom, adjust focal length, then double light-press again to return to Exposure. This entire interaction happens with your index finger while your thumb stays on the shutter. Once the muscle memory clicks, shooting on the iPhone 17 feels closer to operating a dedicated camera than any previous iPhone. If you are still deciding which iPhone 17 model deserves your money, the Camera Control button ships on every model in the lineup.
Clean Up Removes What Ruins Your Shot
Apple Intelligence powers the Clean Up tool in Photos, and it works better than you expect. Open any photo, tap Edit, then tap Clean Up. The system highlights objects it thinks you might want to remove. Tap or circle anything else, and the tool paints it out using contextual fill.
I tested this on a beach photo with a trash can in the background, a park bench shot with a stranger walking through, and a product flat-lay with a visible cable. The trash can disappeared cleanly. The stranger left a faint smudge that only showed at full zoom. The cable vanished perfectly. Three for three on casual inspection, two and a half for three at pixel level.
Clean Up works best on backgrounds with consistent texture: grass, sand, walls, sky. It struggles with complex geometry, patterned fabrics, and anything touching the primary subject’s edge. Keep in mind that Clean Up modifies the image destructively if you save without duplicating first. Tap the photo, then Duplicate before editing if you want to preserve the original.
One Setting That Transforms Every Photo You Take
Open Settings, then Camera, then Formats. Switch from High Efficiency to Most Compatible if you share photos outside the Apple ecosystem regularly. High Efficiency uses HEIF, which produces smaller files but causes compatibility headaches with Windows machines, older photo editors, and some social platforms that silently re-compress your images.
If you stay inside Apple’s ecosystem exclusively, keep High Efficiency on and instead look at the Preserve Settings option inside the Camera settings menu. This lets you lock in your preferred mode, filters, and exposure adjustments so the Camera app remembers your choices between sessions. Without Preserve Settings enabled, the camera resets to default every time you close it, which means you lose your Photographic Style, your aspect ratio, and your exposure compensation. That single toggle saves you from reconfiguring the camera every time you open it.

Related Posts
iOS 26.4.1 Fixes the iCloud Bug That Broke Your Apps
Apr 09, 2026
iOS 26.4 Drains Your iPhone Battery. Here’s What Fixes It
Apr 09, 2026
Your iPhone Finally Lets You Create Custom Ringtones in iOS 26
Apr 08, 2026