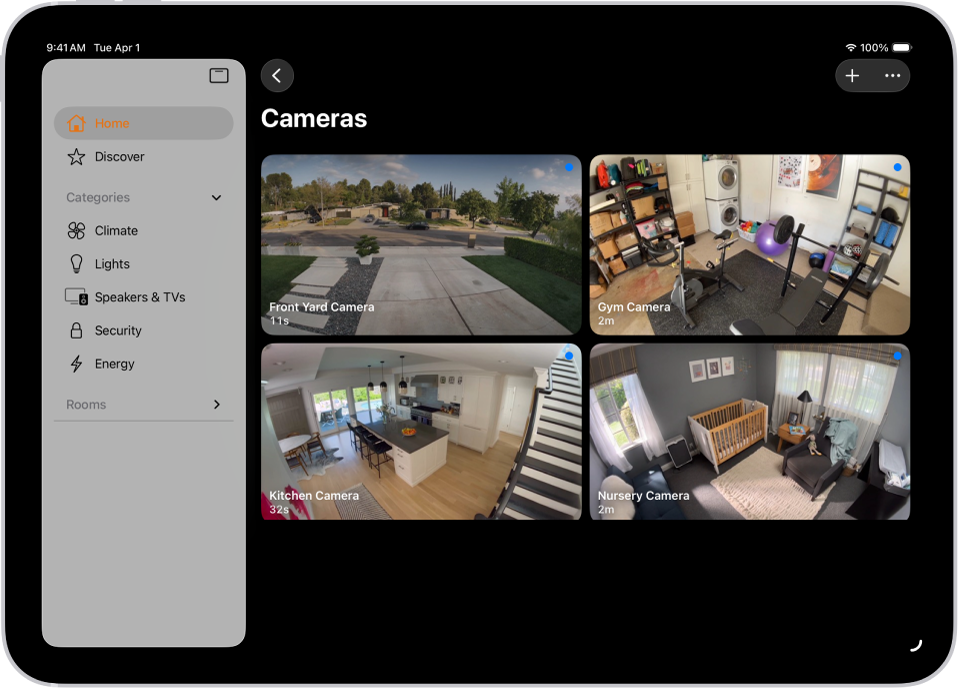
HomeKit Secure Video turns any compatible camera into an end-to-end encrypted security system that stores footage in iCloud, analyzes motion on-device through your home hub, and keeps the last ten days of recordings available across every Apple device you own. The footage never touches a third-party server, and it does not count against your iCloud storage quota. That second point surprises most people.
But here is the catch that trips up nearly everyone I talk to about Apple Home cameras: your camera will happily stream a live feed to your iPhone without recording a single frame. The recording toggle sits behind two layers of settings in the Home app, and Apple ships it turned off by default. If you bought a HomeKit Secure Video camera, mounted it above your front door, and assumed it was capturing everything, there is a very real chance your camera has been a live-only decoration for weeks.
I also really like that Apple processes all the motion intelligence locally on the home hub rather than shipping video frames to some company’s cloud for analysis. It does, though, mean your home hub has to be powered on, connected to Wi-Fi, and signed into the same Apple Account as your cameras at all times. Unplug your HomePod for a weekend and your recordings go dark.
What You Actually Need Before Anything Records
Three things have to be in place, and if any one of them is missing, your camera defaults to streaming only.
- An iCloud+ subscription at any tier. The 50 GB plan ($0.99 per month) supports a single camera. The 200 GB plan ($2.99) handles up to five. The 2 TB plan ($9.99) and the higher 6 TB and 12 TB tiers support unlimited cameras. Apple bundles iCloud+ with every Apple One plan, so if you already subscribe to Apple One you are covered.
- A home hub that stays powered on and connected. In 2026, that means an Apple TV 4K (any generation with the A15 Bionic chip or later), a HomePod (2nd generation), or a HomePod mini. iPads no longer serve as home hubs in the new Apple Home architecture. The hub is what processes video locally, so the processing power matters.
- A HomeKit Secure Video-compatible camera. Not every HomeKit camera supports Secure Video. Logitech Circle View, Eve Cam, Aqara Camera Hub G3, Eufy Indoor Cam S350, and the Ecobee SmartCamera are among the most reliable options. The camera box or product listing should specifically say “HomeKit Secure Video” rather than just “Works with Apple Home.” That distinction matters more than most buyers realize.
One thing I want to flag: your Apple Account needs two-factor authentication enabled. Apple requires it for HomeKit Secure Video and will silently refuse to activate recording if it is not turned on. I have seen people spend an hour troubleshooting a camera that will not record, only to discover two-factor was never enabled on their account.
How to Turn On Recording (It Takes More Taps Than It Should)
Open the Home app on your iPhone. Tap the camera tile to open the live feed. Tap the gear icon in the top corner to open camera settings. Scroll down to Streaming & Recording. You will see two separate toggles here: one for “When Home” and one for “When Away.” Each has four options:
- Off — no streaming, no recording, the camera is functionally asleep.
- Detect Activity — sends motion notifications but does not stream or record.
- Stream — live feed available on your devices, notifications active, but nothing is saved.
- Stream & Allow Recording — the only option that actually saves footage to iCloud.
For most people, the right setup is “Stream & Allow Recording” for When Away and “Stream” for When Home. That way your cameras record everything when you leave but do not fill your timeline with twelve hours of footage of you walking to the kitchen. You can adjust this per camera, which is useful if you want an outdoor camera to record all the time regardless of whether you are home.
The setting that controls whether your Home app considers you “home” or “away” is tied to the location of the device signed into the primary Apple Account for the home. When your iPhone leaves the geofence around your house, the Home app switches to Away mode automatically. It does, though, mean that if you leave your iPhone on the counter and walk to the grocery store, your cameras think you are still home.
Activity Zones Stop the Constant Sidewalk Notifications
This is the feature that makes HomeKit Secure Video genuinely livable. Without activity zones, a front door camera sends a notification every time a car drives past, a leaf blows across the driveway, or the neighbor’s cat decides your porch is a shortcut. With activity zones, you draw a rectangle around the area you actually care about — your front door and walkway, for instance — and the camera only triggers recordings and notifications for motion inside that zone.
To set them up: open the camera in the Home app, tap the settings gear, tap “Select Activity Zones.” Tap anywhere on the video preview to start drawing a zone, then tap “Add Zone” when you have the shape you want. You can create multiple zones per camera. I keep a narrow zone on the walkway and a second wider zone covering the driveway, because delivery drivers and uninvited visitors approach from different angles.
A practical quirk worth knowing: the zone boundaries are drawn on a flat 2D overlay of the camera’s field of view, so a zone that looks like it covers your entire front porch might miss the far edges if the camera is mounted at an angle. After you set zones, watch the recordings for a day to confirm the camera is actually capturing the areas you think it is. I had to redraw my driveway zone twice before it caught motion at the property line.
Face Recognition That Actually Stays on Your Device
HomeKit Secure Video can tag recognized faces from your Photos library and include their names in notifications. Instead of “Motion detected at Front Door,” you get “Person detected at Front Door: Sarah.” The recognition happens entirely on your home hub, and the data never leaves your network. Apple is very clear about this in their iCloud support documentation, and it is one of the strongest privacy advantages over Ring, Nest, or Arlo, all of which process faces in the cloud.
To enable it, open the Home app, go to Home Settings (tap the three-dot menu in the top right, then Home Settings), and toggle on “Face Recognition.” The Home app pulls identified faces from the People album in your Photos library. It does, though, require that you have actually tagged people in Photos first. If your People album is a mess of unnamed faces, the camera notifications will not be very helpful.
In the worst case of a break-in, having named faces in your recordings makes filing a police report faster and gives you a clear record of who was at your door and when. That is the kind of practical benefit that does not show up in spec sheets but matters enormously when you need it. If you have already invested in building an Apple Home alarm system, face recognition is the layer that transforms generic motion alerts into genuinely useful information.
The iCloud+ Storage Question Nobody Asks Before Buying
HomeKit Secure Video footage does not count against your iCloud storage. Apple stores it in a separate allocation that exists purely for camera recordings. This means your 200 GB of photos, documents, and device backups remain untouched regardless of how many cameras you run. The 10-day rolling window means older footage automatically disappears, so you never need to manage it manually.
What does count, however, is the camera slot allocation. If you are on the 50 GB plan and try to add a second camera with Secure Video enabled, the Home app will tell you to upgrade your iCloud+ tier. The camera does not simply fail silently. You get an explicit message. But the wording is vague enough that some people think their storage is full when it is actually the camera count limit.
For most households, the 200 GB plan hits the sweet spot. Five camera slots cover a front door, back door, garage, and two indoor rooms. If you need more, the jump to 2 TB unlocks unlimited cameras plus all the extra iCloud+ features like Private Relay, Hide My Email, and custom email domain support. Whether that jump is worth $7 more per month depends on how many cameras you plan to run and whether those other features matter to your household. For anyone already using HomeKit Secure Video cameras across multiple entry points, the 200 GB plan is the starting line, not the finish.
When Your Camera Stops Recording and You Do Not Know Why
The most common cause is your home hub going offline. If your HomePod loses power or your Apple TV disconnects from Wi-Fi, recording stops everywhere. The cameras continue to stream locally if you are on the same network, but nothing saves to iCloud. Check Control Center on your Apple TV or open the Home app and look for a hub icon with a warning indicator.
The second cause is a Wi-Fi signal issue at the camera location. HomeKit Secure Video cameras upload footage through your home network, and if the signal is weak at the camera mount point, uploads fail intermittently. I have found that cameras more than two rooms away from the router need a dedicated Wi-Fi extender or mesh node to maintain reliable recording. The camera does not warn you when uploads fail. It just silently drops frames.
Third, and this one is subtle: if someone in your household changes the Apple Account password without updating the home hub’s signed-in credentials, recording breaks until the hub re-authenticates. Check Settings on your Apple TV or HomePod to verify it is signed into the correct account. If you are building your Apple Home setup from scratch, our complete HomeKit smart home guide walks through the foundation that prevents these issues from surfacing later.
Quick-Action Checklist: Get Your Cameras Recording Today
- Open Settings on your iPhone, tap your name, tap iCloud, and confirm you have an iCloud+ plan. Upgrade to at least 50 GB if you have not already.
- Open the Home app, tap the three-dot menu, tap Home Settings, and verify your home hub shows a “Connected” status.
- Tap your camera tile, tap the gear icon, scroll to Streaming & Recording, and set “When Away” to “Stream & Allow Recording.”
- Set “When Home” to “Stream” unless you want 24/7 recording on that camera.
- Tap “Select Activity Zones” and draw at least one zone covering your primary entry point.
- Go to Home Settings and toggle on Face Recognition to enable named person notifications.
- Leave the house for ten minutes, walk back to your front door, and check the Home app timeline to confirm a recording appeared with the correct activity label.

Olivia Kelly
Staff writer at Zone of Mac with over a decade of Apple platform experience. Verifies technical details against Apple's official documentation and security release notes. Guides prioritize actionable settings over speculation.
Related Posts
Your Apple Home Is Missing Its Most Important Sensor
Mar 29, 2026
Friday Night Baseball on Apple TV Delivers the Best MLB Broadcast Nobody Expected
Mar 28, 2026
HomeKit Smart Locks That Actually Secure Your Apple Home in 2026
Mar 27, 2026