🎧 Listen to this article
Prefer to listen? An audio version of this article is available for accessibility and convenience.
I ran three miles on a treadmill last week without my Apple Watch on my wrist. Left it charging on the nightstand. By the time I got home and saw those flat Activity rings, the frustration was immediate — all that effort, invisible to the one device that was supposed to track it.
Thankfully, Apple built a manual workout entry feature directly into the Health app on your iPhone. You can log the exercise after the fact and reclaim credit for two of your three Activity rings. The catch is that the third ring, Stand, refuses to budge no matter what you enter. And there are a few timing rules that trip people up if you do not know about them upfront.
Here is exactly how to add a missed workout, what each ring actually credits, and the gotchas Apple does not spell out clearly.
 Ad
AdHow to Add a Workout Manually in the Health App
The entire process happens on your iPhone, not your Apple Watch. Apple tucked this feature inside the Health app rather than the Fitness app, which is the first thing that confuses people.
Open the Health app on your iPhone. Tap the Search tab at the bottom of the screen. Tap Activity from the categories list, then scroll down and tap Workouts. In the upper-right corner, tap the Add Data button — it looks like a small plus icon.
From here, you will see the Activity Type field at the top. Tap it to choose from over 80 workout types. Apple supports everything from Running and Traditional Strength Training to Pickleball, Yoga, Kickboxing, and even Disc Sports. If your activity does not match any listed type, select Other — it still counts toward your rings.
Below the activity type, you will enter your data: the number of kilocalories burned, the distance covered (if applicable), and the start and end times. The start and end times are especially important, and I will explain why in a moment.
When everything looks right, tap Add in the upper-right corner. That is it. Your Activity rings update within seconds.
Which Rings Get Credit and Which One Does Not
This is where Apple’s system gets particular, and where most guides gloss over the details.
The Move ring (red) credits based on the calorie number you enter. If you type 350 kilocalories for a 45-minute strength session, the red ring advances by that amount. Apple takes your number at face value — there is no secondary verification step.
The Exercise ring (green) credits based on the start and end times you provide. Enter a 7:00 AM start and a 7:45 AM end, and the green ring gets 45 minutes. Apple’s own support documentation confirms this: enter the start and end time for your workout to earn Exercise credit.
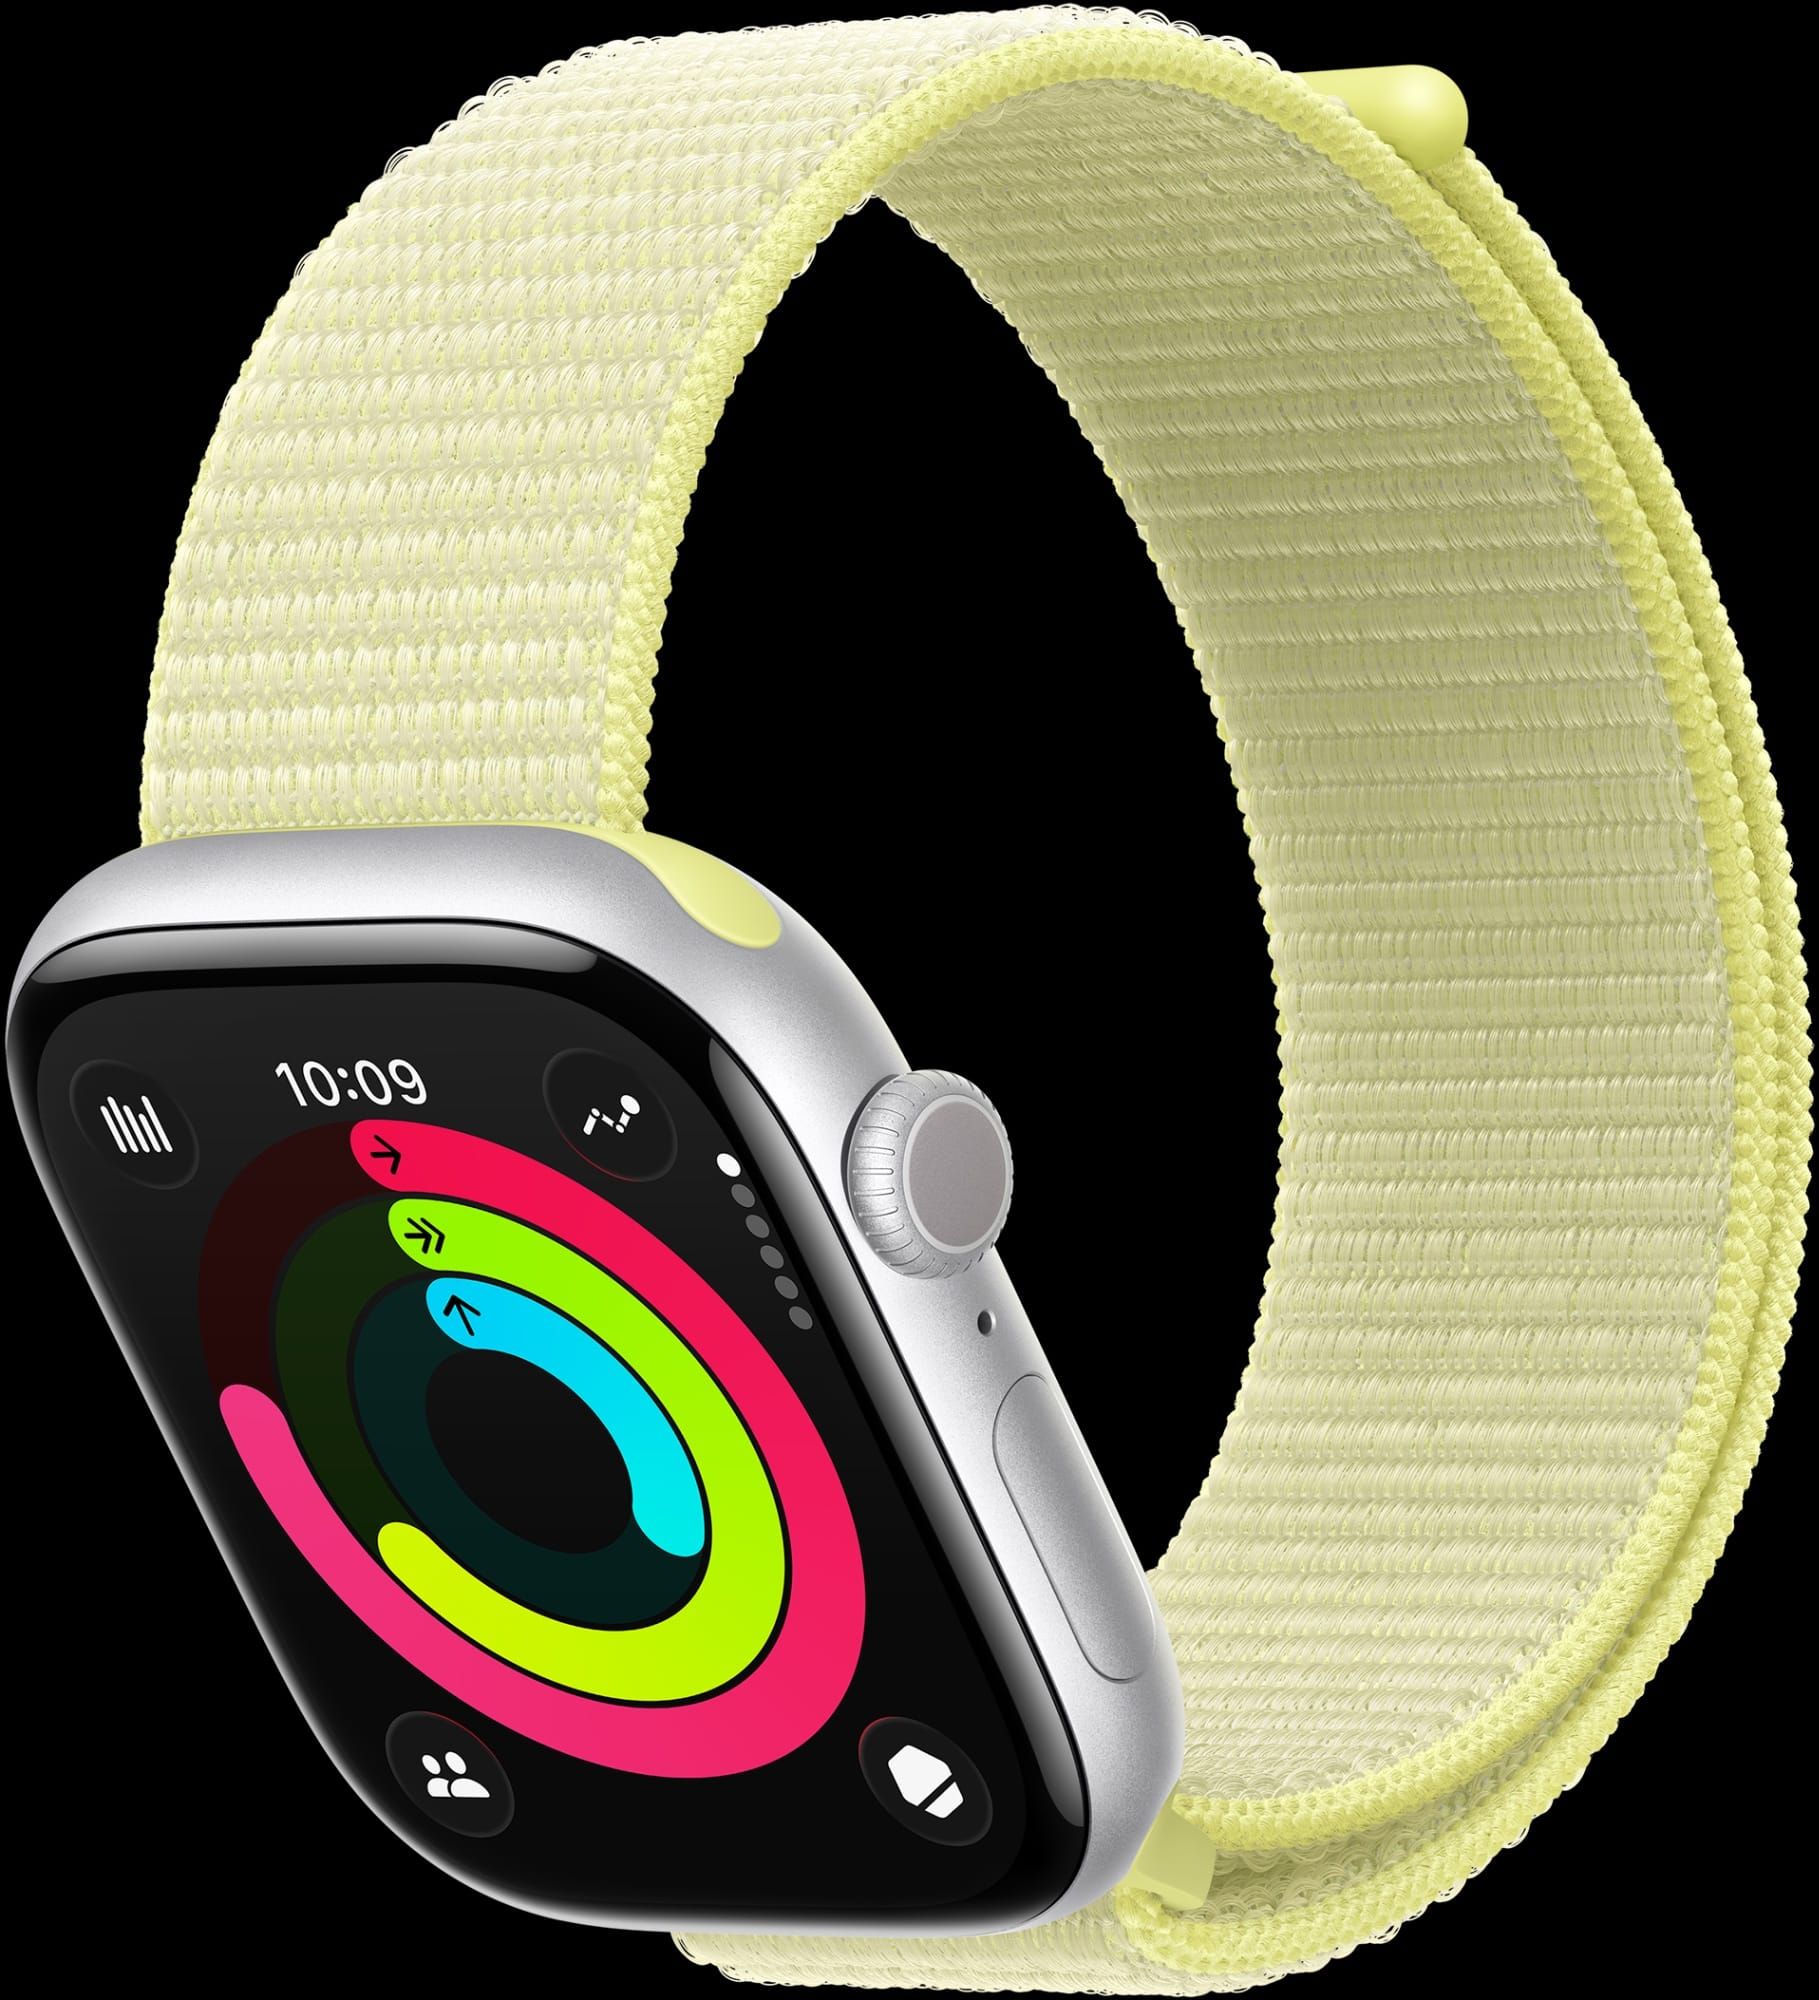
The Stand ring (blue) will not move. Not one hour. The Stand ring relies on the accelerometer inside your Apple Watch detecting that you physically stood up and moved for at least one minute during a given hour. A manual entry in the Health app cannot simulate that sensor data, so the blue ring stays exactly where it was. I find this frustrating, especially on days when the only ring keeping me from a perfect streak is Stand. But it makes sense from Apple’s perspective — the Stand ring is specifically about physical movement detected in real time, not retroactive logging.
If you are looking for ways to manage your Apple Watch Activity rings more broadly, including adjusting your goals for rest days, this guide to Apple Watch workout settings in watchOS 26 covers the goal-changing process in detail.
 Ad
AdThe Same-Day Rule That Catches Everyone Off Guard
Here is the gotcha that Apple does not emphasize enough: manually entered workouts only fill your Activity rings for the current date. If you forgot to log yesterday’s gym session and try to add it today with yesterday’s timestamps, the Health app will accept the entry. The data will appear in your workout history. But your Activity rings for yesterday will not change.
This means if you realize at 11:30 PM that you never logged your morning run, you still have thirty minutes to fix it. Wait until after midnight, and the ring credit is gone for good.
I learned this the hard way after a Saturday afternoon hike. I sat down Sunday morning to add the data, entered Saturday’s times, and watched exactly nothing happen to Saturday’s rings. The workout showed up in my history, technically correct, but the rings stayed broken.
Estimating Calories When You Do Not Have Heart Rate Data
Without your Apple Watch recording the session, you do not have real-time heart rate data to calculate accurate calorie burn. This is the weakest part of the manual entry process, honestly.
A few approaches that keep the numbers reasonable. First, check your own workout history. Open the Fitness app on your iPhone, tap Show More beside the Workouts heading, and filter by workout type. If you have done a similar session before with your watch on, use that calorie figure as a baseline. A 45-minute strength training session might consistently burn around 280 to 350 active kilocalories based on your body weight and intensity — your past data is the best reference.
Second, if you have no comparable data, apps like MyFitnessPal and Lose It offer calorie estimates by workout type and duration. These are rough, but they are more grounded than guessing.
Do not inflate the number to close your ring faster. That is a short-term fix that corrupts your long-term data. The Fitness app uses your workout history to calculate trends over 90-day and 365-day periods, and padded numbers will quietly skew those averages. Keep it honest.
When to Lower Your Goals Instead
Sometimes the right move is not logging a phantom workout — it is adjusting your goals before they become unachievable. On your Apple Watch, open the Activity app, scroll to the bottom, and tap Change Goals. You can lower your Move, Exercise, or Stand target for the day.
Apple added this flexibility in watchOS 7, and I think it remains one of the more underrated features. Sick days, travel days, rest days — lowering a goal is not admitting defeat. It is giving yourself a realistic target that keeps your streak alive without fabricating data.
If you want a deeper look at how the Activity competition system scores your efforts against friends, this breakdown of Apple Watch competition scoring explains the full point structure. Spoiler: manually added workouts do count toward competition points, which is a thoughtful compromise.
What You Cannot Do From the Apple Watch Itself
One more thing worth noting: you cannot add a manual workout entry directly from your Apple Watch. The Workout app on the watch is designed for real-time tracking — start a workout, wear the watch, and let the sensors do their thing. There is no Add Data button anywhere in watchOS.
The entire manual entry flow lives exclusively in the Health app on your iPhone. If you own an Apple Watch but left your iPhone at home, you will need to wait until you have both devices together before you can retroactively log anything.
Quick-Action Checklist
- Open the Health app on your iPhone (not the Fitness app).
- Tap Search, then tap Activity, then tap Workouts.
- Tap the Add Data button (plus icon, upper right).
- Select your Activity Type from the list of 80-plus options.
- Enter kilocalories burned for Move ring credit.
- Enter accurate start and end times for Exercise ring credit.
- Tap Add — your rings update within seconds.
- Remember: same-day entries only; the Stand ring cannot be manually credited.

Related Posts
Build the Custom Apple Watch Face You Actually Want
Apr 06, 2026
Your Apple Watch Band Has a Cleaning Method Most Owners Skip
Apr 02, 2026
Your Apple Watch Has a Sleep System Most Owners Never Touch
Apr 02, 2026