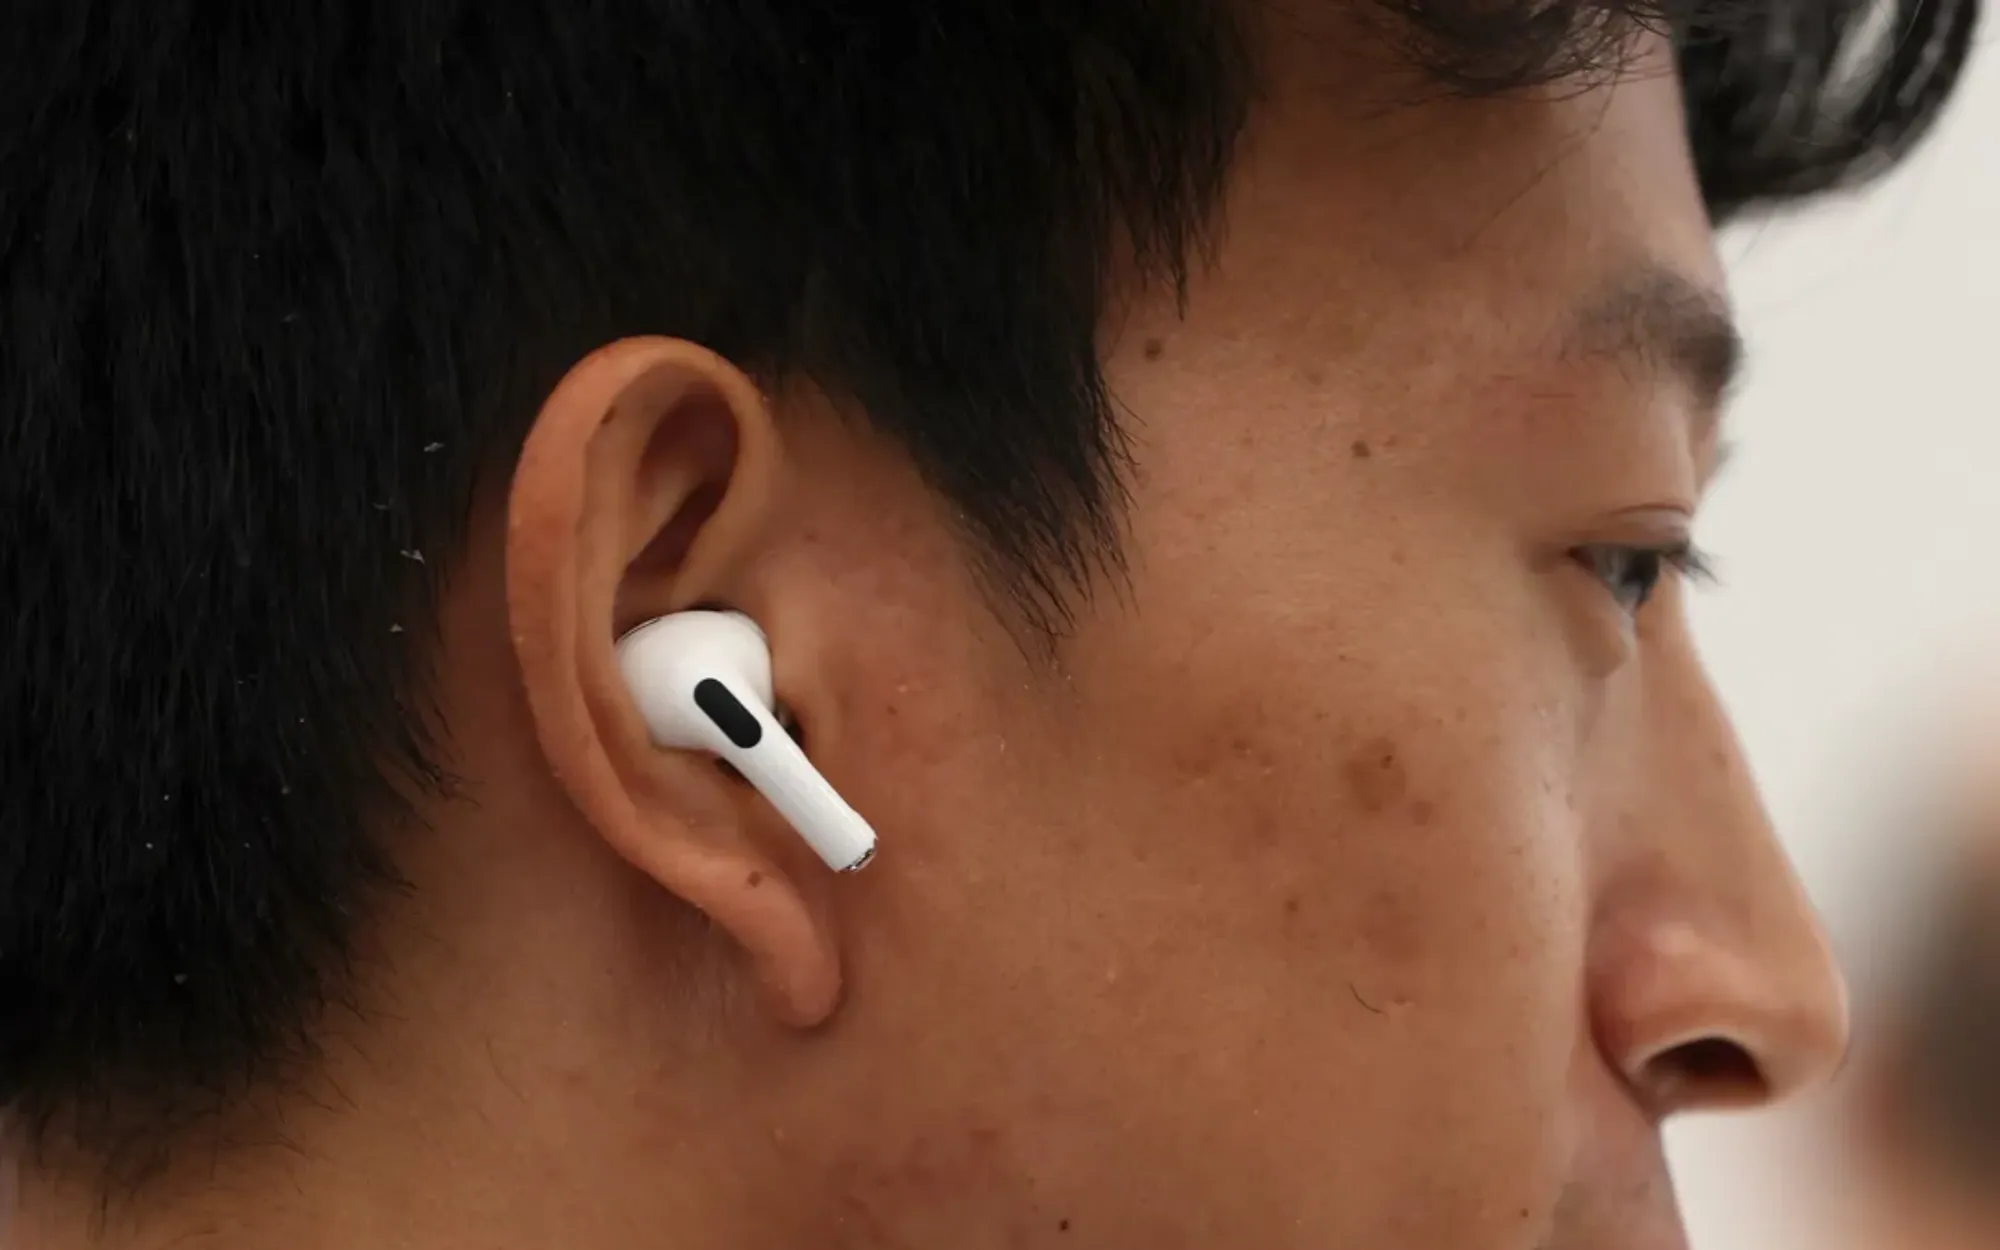
Most people push their AirPods straight into their ears, wiggle them around until they feel vaguely secure, and call it done. That approach costs you sound quality, noise cancellation performance, and comfort — sometimes all three at once. The correct method depends entirely on which AirPods model you own, because Apple sells four distinct designs right now and each one sits in (or on) your ear differently.
The tricky part is that Apple barely explains any of this. The box includes a quick-start card with a pairing diagram, and that is about it. I have watched people at coffee shops, on the subway, and at the gym wearing AirPods Pro with the stems pointing straight down like antennae. Others cram AirPods 4 deep into their ear canals and then wonder why they fall out during a jog. Getting the fit right is not complicated, but it is specific to each model.
Here is exactly how to wear every current AirPods model the right way, plus the one built-in test most people skip that confirms whether you nailed it.
 Ad
AdAirPods 4: The Open-Ear Fit That Tricks People Into Forcing Them
AirPods 4 (both the standard and Active Noise Cancellation versions) use an open-ear design. No silicone tips. No foam inserts. The earbud itself is the entire contact surface, and Apple shaped it using ear-canal scans from thousands of people to create a contour that sits in the outer bowl of your ear without sealing the canal.
The mistake I see constantly: people treat them like in-ear monitors and shove them as deep as possible. That actually makes the fit worse. AirPods 4 are designed to rest in the concha — the curved depression just outside your ear canal. Push them past that natural resting point and you lose the friction that keeps them stable.
The right technique: Hold the AirPod by the stem with the speaker grille facing your ear canal. Place it gently into the bowl of your ear. Then rotate the stem slightly downward and toward your jaw until the earbud clicks into the natural curve. You should feel it settle, almost like it found a pocket. If it feels like it could fall out with a head shake, pull it back out slightly — counterintuitive, but a shallower seat gives the concha more surface area to grip.
One friction point worth mentioning: the AirPods 4 with ANC model weighs exactly the same as the standard version (4.3 grams per earbud), but the ANC processing creates a subtle pressure sensation in the ear canal even without a physical seal. Some people interpret that as a fit problem and keep adjusting. It is not a fit problem. It is how active noise cancellation works without a sealed ear tip.
If AirPods 4 genuinely will not stay in your ears during workouts, third-party silicone covers from brands like Elago or DamonLight add grip for around ten dollars. I think Apple should include these in the box for the ANC model, since that version costs $179 and clearly targets people who want to use them actively. But they do not.
AirPods Pro 3: The Rotate-and-Press Method Most Owners Skip
AirPods Pro 3 are a completely different animal. They ship with four silicone foam ear tip sizes (XS, S, M, L), and the Medium tip comes pre-installed. Apple designed these tips with a foam-infused silicone that conforms to your ear canal over time, which means the fit actually improves after the first few days of use.
But here is the part Apple’s own support page buries in a single sentence: you need to rotate the stem toward your face after inserting the tip. About 45 degrees. This is not optional styling — it is how the AirPods Pro 3 achieve skin contact for the built-in heart rate sensor, and it is also how the silicone foam tip creates its acoustic seal against the wall of your ear canal.
The correct insertion: Gently place the ear tip into the opening of your ear canal. Do not push hard. Then rotate the stem toward your face (toward your cheek, not toward the back of your head) until you feel the tip settle and the stem angles slightly forward. Press gently inward one more time. The earbud should feel snug without any pressure or discomfort. If it hurts, the tip is too large. If it feels loose or wobbly, the tip is too small.
Run the Acoustic Seal Test Before You Decide the Fit Is Wrong
AirPods Pro 3 running iOS 26 or later have the Acoustic Seal Test (older Pro models call it the Ear Tip Fit Test). This is the single most useful tool Apple gives you for confirming your fit, and a surprising number of people have never run it.
Open Settings on your iPhone, tap Bluetooth, tap the info button next to your AirPods Pro 3, then tap Acoustic Seal Test. Tap Continue and let it play audio for about five seconds. The test uses internal microphones to compare the sound level inside your ear canal against what the speaker driver is outputting. If the result shows a green checkmark, you have a good seal. If it shows yellow, adjust the earbud or try a different tip size and run the test again.
 Ad
AdHere is something that catches people off guard: a tip that feels too small might actually be too big. When the tip is oversized for your ear canal, it pushes the entire AirPod outward, which breaks the seal. So if the test fails and the earbud feels like it is being pushed out, try the next size down, not up. I went from Medium to Small on AirPods Pro 3 and the difference in noise cancellation performance was immediate.
One more detail: your left and right ears are probably not the same size. Using different tip sizes for each ear is completely normal. Apple expects this. Run the Acoustic Seal Test separately for each side and pick accordingly.
AirPods Max: The Headband Adjustment Nobody Bothers With
AirPods Max are over-ear headphones, so there is no ear canal insertion to worry about. But the fit still matters more than people realize, because AirPods Max weigh 386 grams — nearly a pound on your head. A bad adjustment means pressure points, headband fatigue, and worse noise cancellation because the ear cushions are not sealing properly around your ears.
The telescoping arms on each ear cup slide up and down with a satisfying click. Most people pull them out to roughly the right length and stop there. The actual technique: put the headphones on, then slowly extend each arm one click at a time until the ear cushions sit centered around your ears without pressing the tops of your ears downward. The mesh canopy headband should distribute weight across the crown of your head, not sit on a single pressure point.
A common complaint about AirPods Max is headband pressure after about an hour. In almost every case I have seen discussed, the arms are extended too far, which lets the ear cups slide down and forces the headband to grip tighter to compensate. Shortening the arms by one or two clicks usually solves it. The ear cups should sit slightly higher than feels intuitive.
The Digital Crown sits on the right ear cup by default. If you prefer it on your left, you can swap the orientation in Settings > Bluetooth > AirPods Max > Digital Crown. This does not change the audio channels — Apple handles the L/R routing in software. The IPX4 water resistance rating on AirPods Max means they handle sweat fine, but I would not take them to a hot yoga class. The mesh canopy absorbs moisture and takes a while to dry.
This table compares fit characteristics across the current AirPods lineup to help you choose the right insertion method and accessories for your ears.
| Model | Fit Type | Tip Sizes | Fit Test Available |
|---|---|---|---|
| AirPods 4 | Open-ear contour | None (one-size) | No |
| AirPods 4 with ANC | Open-ear contour | None (one-size) | No |
| AirPods Pro 3 | In-ear silicone foam | XS, S, M, L | Acoustic Seal Test |
| AirPods Max | Over-ear headband | N/A | No |
Three Fit Mistakes That Quietly Ruin Your AirPods Experience
Wearing AirPods Pro with the stems pointing straight down. This is the most common one, and it kills noise cancellation performance. When the stems hang vertically, the ear tips are not angled into your ear canal correctly. Rotate those stems toward your face. You will hear the difference in ANC quality within seconds.
Never changing from the pre-installed Medium tips. Medium is not the most popular ear canal size — it is the manufacturing default. Apple ships Medium because it is the middle of the range, not because most ears fit Medium best. Run the Acoustic Seal Test and actually try the Small and Large tips before you decide.
Ignoring that AirPods sound different with a bad fit. A weak seal on AirPods Pro 3 does not just reduce noise cancellation. It also reduces bass response because low-frequency sound waves need a sealed chamber to reach your eardrum effectively. If your AirPods Pro sound thin or tinny, the fit is the first thing to check — before you blame the equalizer settings or Spatial Audio modes.
When Third-Party Tips Are Worth the Money
Apple’s silicone foam tips work for most people. But if your ears are between sizes, if you sweat heavily during workouts, or if jaw movement (talking, chewing) breaks the seal, memory foam tips are worth considering. Comply and Symbio both make foam tips designed for AirPods Pro that compress when you insert them and expand to fill your ear canal shape.
The trade-off is durability. Foam tips need replacing every two to three months because the foam compresses permanently with use. Silicone lasts much longer. But if your choice is between silicone tips that keep losing their seal during runs and foam tips you replace quarterly, the foam is a better deal for your actual listening experience.
One thing to check before you buy: AirPods Pro 3 tips are not compatible with AirPods Pro 2 tips, and vice versa. The Pro 3 tips angle inward differently. Make sure any third-party tips you order specify your exact model. If you have already dialed in your AirPods settings on your iPhone but the sound still feels off, a tip swap might be the missing piece.
Accessibility and Proper AirPods Fit
Fit is not just about comfort or sound quality. AirPods Pro 3 include a clinical-grade hearing aid feature, Conversation Boost, and Live Listen — all of which depend entirely on a proper acoustic seal. If the ear tips are too loose, the directional microphones cannot isolate speech effectively, and the hearing assistance features produce muddy, echoey audio.
The Acoustic Seal Test in iOS 26 is the same test that validates fit for hearing health features. A green checkmark means your AirPods are positioned correctly for both music and hearing assistance. The heart rate sensor on AirPods Pro 3 also requires skin contact at the ear canal opening, which only happens when the stem is rotated toward the face at the proper angle. Users who rely on heart rate tracking during Apple Fitness Plus workouts should pay particular attention to this — a loose fit produces inaccurate readings.
For users with motor limitations that make the rotate-and-press insertion method difficult, AirPods 4 (open-ear design) may be a better choice. They require less precise positioning and no tip sizing. The trade-off is reduced noise isolation, but for accessibility scenarios where ease of insertion matters more than Active Noise Cancellation, the AirPods 4 with ANC offer a reasonable middle ground.

Related Posts
Every AirPods Setting on Your iPhone and What Each One Actually Does
Mar 29, 2026
Spatial Audio on AirPods: Every Mode Explained
Mar 28, 2026
AirPods Charging Case: Every Fix for Every Model
Mar 26, 2026