An external keyboard transforms an iPad from a consumption device into a genuine productivity machine, and iPadOS 26 makes that transformation deeper than any previous software version. Connecting a keyboard takes under two minutes, but the real advantage comes from configuring the settings, learning the system-wide shortcuts, and taking advantage of the new menu bar that Apple brought over from macOS Tahoe. Here is how to set up every type of external keyboard on iPad, then squeeze every bit of productivity out of the pairing.
Key Takeaways
- Smart Connector keyboards (Apple Magic Keyboard, Logitech Combo Touch) pair instantly with zero setup required.
- Bluetooth keyboards connect through Settings, then General, then Bluetooth in under sixty seconds.
- Press and hold the Command key in any app to see every available keyboard shortcut for that context.
- Press Fn+M in iPadOS 26 to access the new Mac-style menu bar directly from the keyboard.
- Go to Settings, then General, then Keyboard, then Hardware Keyboard to remap modifier keys and control auto-correction.
- Enable Full Keyboard Access in Settings, then Accessibility, then Keyboards to navigate iPad entirely without touching the screen.
At-A-Glance: iPad Keyboard Connection Methods
The following table compares the three ways to connect a keyboard to an iPad running iPadOS 26, including setup speed, compatibility scope, and whether charging is required.
| Connection Type | Setup Time | Compatible iPads | Charging Required | Best For |
|---|---|---|---|---|
| Smart Connector | Instant (magnetic) | iPad Pro, iPad Air (3rd gen+), iPad (10th gen+) | No (powered by iPad) | Daily use, zero friction |
| Bluetooth | ~60 seconds | All iPad models | Yes (keyboard battery) | Budget keyboards, desktop setups |
| USB-C (wired) | Plug and play | USB-C iPads only | No (powered by iPad) | Reliability, accessibility |
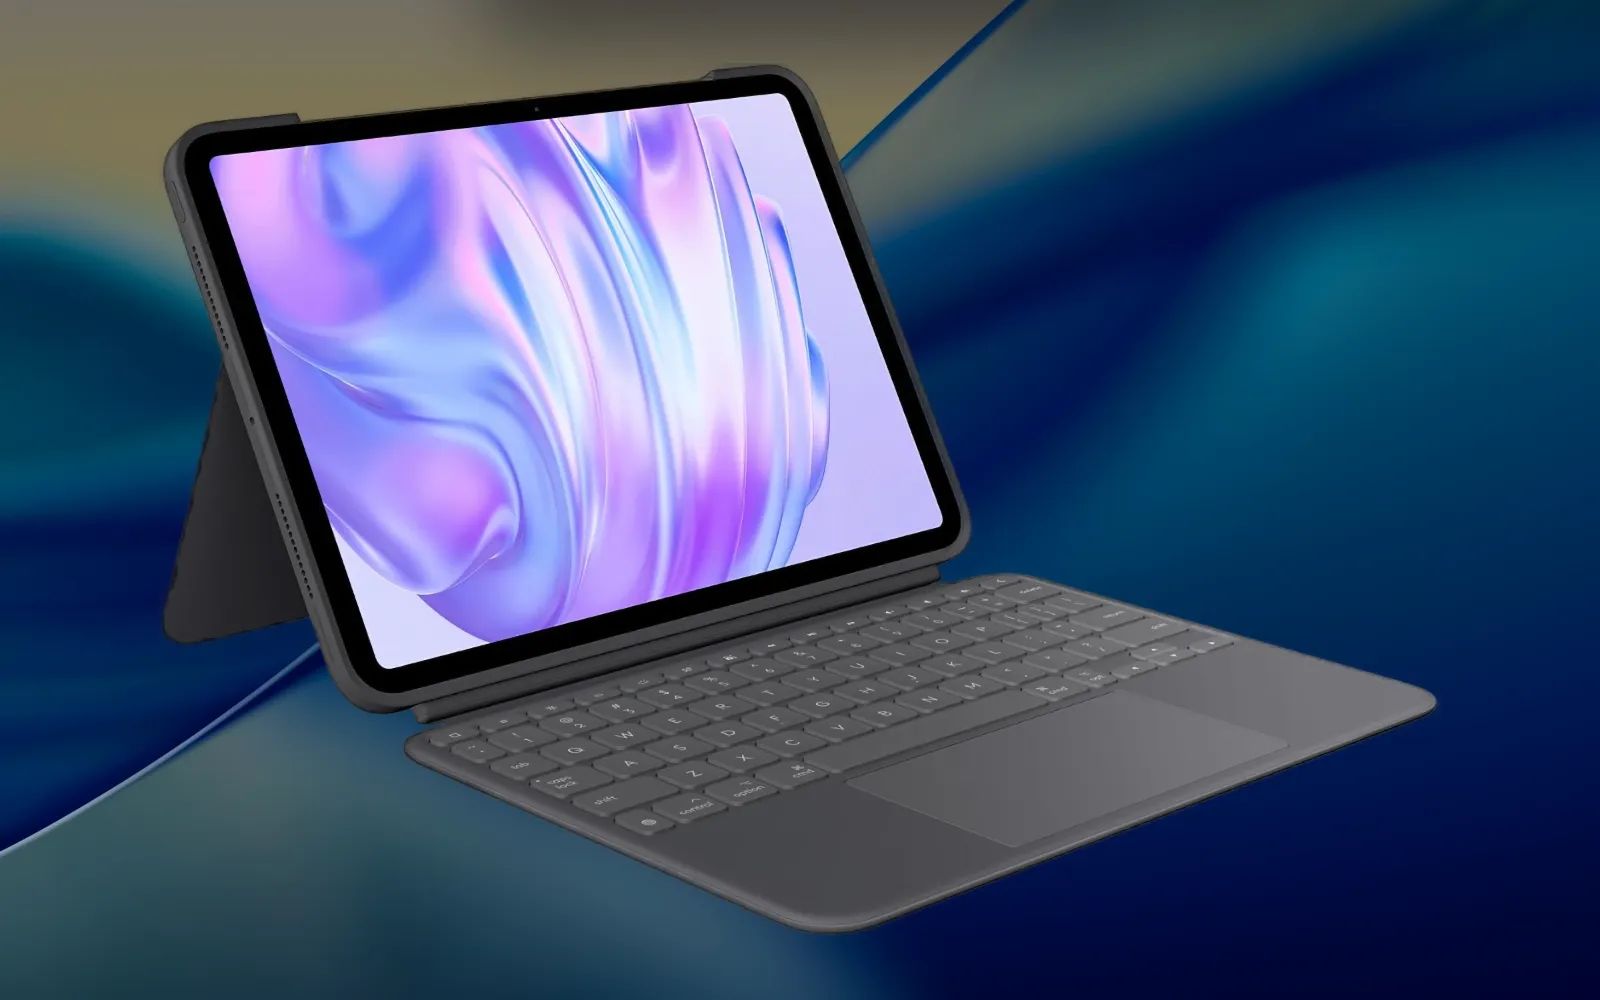
How to Connect a Smart Connector Keyboard
Smart Connector keyboards are the most seamless option. Apple's Magic Keyboard for iPad and the Logitech Combo Touch both use three small magnetic contact points on the edge of the iPad to deliver power and data simultaneously. There is no pairing step, no Bluetooth menu, and no battery to charge.
Line up the Smart Connector pins on the keyboard with the matching contacts on your iPad. The magnets handle alignment automatically. Once the contacts lock into place, start typing. iPadOS 26 recognizes the keyboard instantly and hides the on-screen keyboard to give you full screen real estate.
One thing worth noting: the magnetic connection on some Smart Connector keyboards can feel slightly loose if your iPad sits at a steep angle on an uneven surface like a lap or a couch cushion. The Logitech Combo Touch addresses this with an adjustable kickstand that locks firmly at angles between roughly 10 and 60 degrees. Apple's Magic Keyboard uses a cantilever hinge that holds the iPad at a fixed range, which feels more rigid on a desk but less adaptable when you are working from a couch.
How to Connect a Bluetooth Keyboard
Any Bluetooth keyboard works with any iPad model, which makes this the most flexible connection method. Open Settings on your iPad, tap Bluetooth, and confirm the toggle is on. Put your keyboard into pairing mode (usually by holding a dedicated Bluetooth button until an LED flashes). Your keyboard name appears under "Other Devices" in the Bluetooth settings list. Tap it. If the keyboard prompts you for a pairing code, type the digits shown on screen using the physical keyboard and press Return. The status changes to "Connected" and you are ready to type.
A Bluetooth keyboard occasionally takes a second or two to wake from sleep and reconnect. This is normal. If a keyboard refuses to pair, power it off, toggle Bluetooth off on the iPad for ten seconds, then toggle both back on and retry.
How to Connect a USB-C Wired Keyboard
Every iPad currently sold uses USB-C. Plug a USB-C keyboard directly into the port and iPadOS 26 recognizes it immediately. If you have a standard USB-A keyboard, use a USB-C to USB-A adapter or a USB-C hub. Wired keyboards draw power from the iPad, so they never need batteries, and they have zero latency, making them a strong choice for accessibility setups where reliable input is critical.
Affiliate disclosure: some links in this article are Amazon Associate links. If you buy through them, Zone of Mac may earn a small commission at no extra cost to you, and we only recommend products that genuinely bring value to your Apple setup.
The Keyboard That Turns iPad Pro Into a Laptop
For iPad Pro owners who want the complete laptop-replacement experience, a keyboard case with an integrated trackpad changes the dynamic entirely. The Logitech Combo Touch for iPad Pro 11-inch (M4 and M5) connects through the Smart Connector, so it never needs charging or pairing. The detachable design lets you snap the keyboard off when you want to hold the iPad as a tablet for reading or sketching with Apple Pencil. The backlit keys adjust to ambient lighting across 16 brightness levels, and a full row of iPadOS shortcut keys gives one-tap access to volume, brightness, screenshot, and dictation. The click-anywhere trackpad supports Multi-Touch gestures like pinch, swipe, and two-finger tap, which pair perfectly with iPadOS 26's new arrow-style pointer for precise menu navigation. The kickstand adjusts to roughly 50 degrees of tilt, and the hinge is rigid enough that it does not collapse even when you tap the screen firmly, a small detail that matters more than you would expect during a long work session.

Get the Logitech Combo Touch for iPad Pro 11-inch (M4 and M5) for your setup here
https://www.amazon.com/dp/B0D3NM94Y9?tag=zoneofmac-20
Configure Hardware Keyboard Settings in iPadOS 26
Connecting the keyboard is step one. Configuring it properly is where most people stop short. Open Settings, tap General, then tap Keyboard, then tap Hardware Keyboard. Here you control three behaviors that affect every keystroke.
Auto-Capitalization automatically capitalizes the first letter after a period. Useful for general writing, but worth disabling if you frequently type code, URLs, or technical terms that start with a lowercase letter (like "iPhone" at the beginning of a sentence, which iPadOS will fight you on).
Auto-Correction applies the same spell-check engine as the on-screen keyboard. Some people prefer to disable it on hardware keyboards because the physical tactile feedback already reduces typos, and auto-correction can aggressively change technical terms.
"." Shortcut inserts a period and a space when you double-tap the spacebar. Keep this on. It is one of the fastest typing accelerators on iPad and mirrors the behavior on Mac.
Remap Your Modifier Keys
Open Settings, then General, then Keyboard, then Hardware Keyboard, then tap Modifier Keys. iPadOS 26 lets you reassign the Caps Lock, Control, Option, Command, and Globe keys to any other modifier function. If you switch between a Mac and an iPad frequently, remapping keeps your muscle memory consistent. If you rarely use Caps Lock, remap it to Control or Escape, two keys that get heavy use in productivity workflows.
Join The Inner Circle For Serious Apple Users
Exclusive Apple tips. Free to join.
Use the iPadOS 26 Menu Bar From the Keyboard
iPadOS 26 introduced a Mac-style menu bar that appears at the top of the screen when you are using Windowed Apps or Stage Manager mode. Set this in Settings, then Multitasking and Gestures. With a trackpad or mouse, move the pointer to the top of the screen to reveal it. With a keyboard, press Fn+M to jump directly into the menu bar, then navigate with the arrow keys. The menu bar displays app-specific commands, and many of them show their keyboard shortcut right next to the command name, which makes it a living reference for discovering new shortcuts you did not know existed.
Apple's apps like Pages, Safari, and Files have deep menu bar integration already. Third-party app support varies, but every app gets the default menu set (the app name, File, Edit, Format, View, Window, Help) even without developer customization. The menu bar auto-hides when you interact with other content, unlike the persistent macOS Tahoe version, so it stays out of your way until you need it.
For a deeper look at iPadOS 26's windowing and multitasking capabilities, the Zone of Mac guide on gaining serious multitasking power with iPadOS 26 App Windows covers the full system.
Keyboard Shortcuts Worth Memorizing
Press and hold the Command key on any screen to see the full list of available shortcuts for the current context. This works on the Home Screen and inside every app. Beyond that overlay, these shortcuts form the daily productivity core:
Command+Tab switches between open apps. Command+Space opens Spotlight search. Command+H returns to the Home Screen. Command+W closes the current window or tab. Tab moves focus between sections of an app (the sidebar, list, and content area in Notes or Mail, for example). Command+N creates a new item in most apps. Command+Shift+3 takes a full screenshot. Command+Shift+4 takes a screenshot and opens it directly in Markup for annotation. Fn+M opens the menu bar in Windowed Apps mode.
The iPadOS 26 keyboard shortcut system has grown extensive enough that the existing Zone of Mac guide to iPad keyboard shortcuts that replace a trackpad in iPadOS 26 is worth bookmarking as a companion to this setup guide.
Accessibility and Clarity
External keyboards significantly improve iPad accessibility for users with visual, motor, and cognitive needs. Full Keyboard Access, found in Settings, then Accessibility, then Keyboards, lets users navigate the entire iPad interface without touching the screen. Once enabled, a blue highlight border indicates the focused element, and Tab moves between interactive controls. Every action from opening apps to scrolling content is available through keyboard commands, and iPadOS 26 lets you customize each command individually within the Full Keyboard Access settings.
The High Contrast toggle thickens the focus border and changes it to black, making it easier to track for users with low vision. The Increase Size option makes the border even more prominent. Auto-Hide can be turned off entirely so the focus indicator remains visible at all times rather than disappearing after 15 seconds of inactivity. For users with motor impairments, the Key Repeat settings under Accessibility, then Keyboards allow you to adjust how long a key must be held before it starts repeating and how fast repetitions occur. Sticky Keys, also in this menu, lets you press modifier key combinations one key at a time rather than simultaneously.
Apple publishes the full keyboard accessibility documentation for iPad as a primary reference for Full Keyboard Access commands and customization.
Cognitive accessibility benefits from the predictable, consistent shortcut patterns across all Apple apps. The Command key always acts as the primary modifier, and the same shortcuts (Command+C for copy, Command+V for paste, Command+Z for undo) work identically whether you are on iPad, Mac, or in a web browser. This consistency reduces the mental overhead of switching between devices.
Quick-Action Checklist
- Connect your keyboard: Smart Connector (magnetic, instant), Bluetooth (Settings, then Bluetooth, then tap device name), or USB-C (plug in directly).
- Configure typing settings: Settings, then General, then Keyboard, then Hardware Keyboard. Set Auto-Capitalization, Auto-Correction, and "." Shortcut to your preference.
- Remap modifier keys: Settings, then General, then Keyboard, then Hardware Keyboard, then Modifier Keys. Match your Mac layout or reassign Caps Lock.
- Enable Windowed Apps: Settings, then Multitasking and Gestures, then select Windowed Apps. This activates the menu bar and window tiling.
- Learn the core shortcuts: Hold Command to see all available shortcuts in any app. Press Command+Tab to switch apps. Press Fn+M for the menu bar.
- Enable Full Keyboard Access (optional): Settings, then Accessibility, then Keyboards, then Full Keyboard Access. Navigate iPad entirely from the keyboard without touching the screen.

Related Posts
Your iPad Moves Files Six Ways and You're Probably Using One
Apr 08, 2026
Your iPad’s Magic Keyboard Has a Shortcut Layer Most Owners Never Open
Apr 07, 2026
Your Apple Pencil Tip Is Wearing Out and You Can’t Even Tell
Apr 06, 2026