Every USB-C iPad running iPadOS 26 can receive files from a Mac, a Windows PC, an iPhone, an SD card, or an external SSD without installing a single third-party app. The Files app, AirDrop, iCloud Drive, and direct USB-C connections handle the full range of transfers natively. The catch is that each method works best in a specific scenario, and picking the wrong one turns a thirty-second task into a ten-minute frustration. AirDrop chokes on folders with hundreds of files. iCloud Drive stalls over metered connections. USB-C drives formatted in the wrong file system refuse to mount. Knowing which tool to reach for, and when, is what separates a smooth workflow from a mess of partial transfers and missing files.
AirDrop for Quick Device-to-Device Transfers
AirDrop uses a combination of Bluetooth and peer-to-peer Wi-Fi to move files between Apple devices that are physically close to each other. On an iPad, open Control Center by swiping down from the top-right corner, press and hold the network settings card, then tap AirDrop and select "Everyone for 10 Minutes" or "Contacts Only." The sender picks files in any app with a Share button, taps the AirDrop icon, and selects the receiving iPad from the device list.
Received files land in whatever app handles that file type. Photos go to the Photos app. PDFs and documents land in the Files app under the Downloads folder. Procreate files open directly in Procreate if installed. AirDrop handles single files and small batches brilliantly, but performance drops sharply once you exceed roughly 200 items in a single transfer. For large batches of photos from a trip or a folder of project assets, a wired connection is faster and more reliable.
One detail that trips up a lot of people: AirDrop requires both Bluetooth and Wi-Fi to be toggled on, but the devices do not need to be connected to the same Wi-Fi network. They create their own direct connection. If AirDrop isn't showing a nearby device, toggling Bluetooth off and back on almost always resolves it.
USB-C External Drives and the Files App
This is where the iPad stops feeling like a mobile device and starts acting like a computer. Plug a USB-C flash drive, an external SSD, or an SD card reader into the iPad's USB-C port, and it appears automatically under the Locations sidebar in the Files app. No drivers. No configuration. According to Apple's external storage documentation, the iPad supports APFS, APFS (encrypted), macOS Extended (HFS+), exFAT, FAT32, and FAT formatted drives.
ExFAT is the format to choose if the drive needs to work with both an iPad and a Windows PC, since it handles files larger than 4 GB without the compatibility headaches of APFS or HFS+. If you only move files between Apple devices, APFS is faster and supports encryption natively. You can even reformat a drive directly from the Files app on iPadOS 26: long-press the drive name, tap Erase, and pick your format.
Transfer speeds depend on the iPad model. The iPad Pro with an M4 chip supports Thunderbolt/USB 4 speeds up to 40 Gbps through its port, while the standard iPad (10th generation) tops out at USB 2.0 speeds. That's an enormous difference. Moving a 10 GB video project takes seconds on an M4 iPad Pro and several minutes on a 10th-generation iPad. The iPad Air M2 sits in the middle at USB 3.1 Gen 2 speeds (10 Gbps). If you regularly move large creative files, the iPad model matters as much as the drive you connect. You can browse and manage those files alongside other iPad workflows using iPadOS 26 multitasking with App Windows.
One friction point worth mentioning: some external hard drives draw more power than the iPad can supply through its USB-C port. The iPad delivers around 7.5W to connected accessories. Bus-powered SSDs typically work fine, but spinning-platter hard drives often need their own power supply or a powered USB-C hub. If a drive connects but doesn't appear in Files, power is almost always the culprit.
When One Port Isn't Enough
The iPad has exactly one USB-C port. That single port has to handle charging, display output, audio, and storage. If you need to import photos from an SD card while keeping the iPad charged, or connect a USB flash drive alongside an HDMI display, you need a hub that splits that single port into several.
Affiliate disclosure: some links in this article are Amazon Associate links. If you buy through them, Zone of Mac may earn a small commission at no extra cost to you, and we only recommend products that genuinely bring value to your Apple setup.
The Anker 541 USB-C Hub was designed specifically for iPad. It clips directly onto the edge of the tablet without a cable dangling off the side, which gives it a stability that generic laptop hubs can't match. The hub adds an SD card slot, a microSD slot, a USB-A port for flash drives, a 3.5mm audio jack, HDMI output at 4K 60Hz, and a USB-C pass-through port that delivers up to 54W of charging. That means you can import an entire SD card of photos while the iPad charges and while you're mirroring the screen to a monitor. Transfers through the USB-A port hit 5 Gbps, and the card readers run at 104 MB/s. One small catch: the hub's edge-clip design doesn't work if you have a thick third-party case on the iPad. It's compatible with Apple's Smart Folio but nothing bulkier.

Pick up the Anker 541 USB-C Hub (6-in-1, for iPad) on Amazon: https://www.amazon.com/dp/B09XDZKH5P?tag=zoneofmac-20
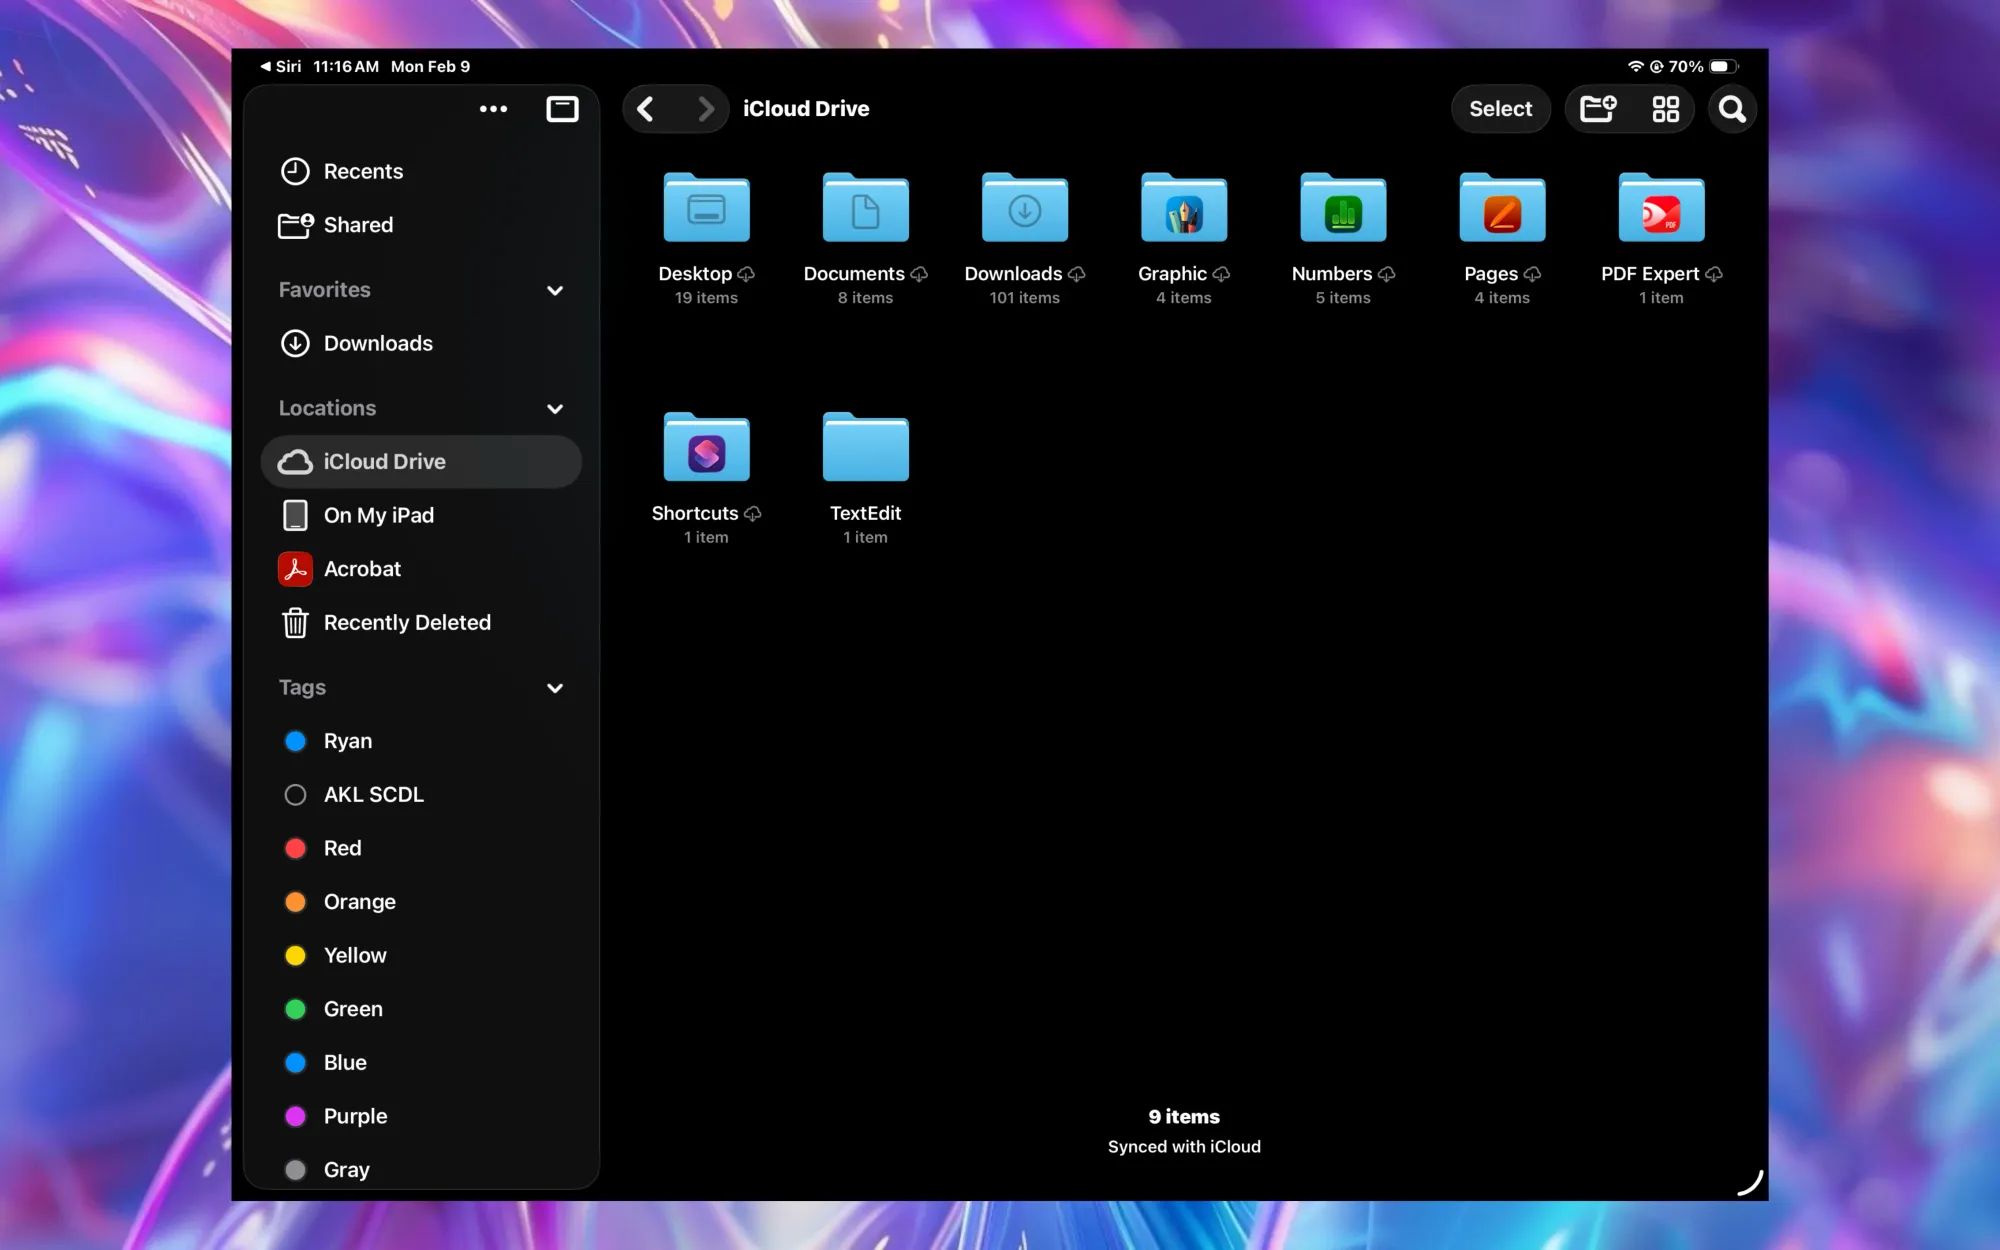
iCloud Drive Keeps Everything in Sync Automatically
iCloud Drive is not a transfer method in the traditional sense. It's a sync engine. Drop a file into the iCloud Drive folder on a Mac, and it appears in the Files app on every iPad, iPhone, and Mac signed into the same Apple Account. The transfer happens in the background over the internet, which means it works whether the devices are in the same room or on different continents.
To set it up, go to Settings on the iPad, tap your name at the top, tap iCloud, then tap iCloud Drive and make sure the toggle is on. On a Mac, go to System Settings, click your name, click iCloud, and enable iCloud Drive. On a Windows PC, install iCloud for Windows from the Microsoft Store, sign in with your Apple Account, and enable iCloud Drive. Files you place in the iCloud Drive folder on any device appear in the Files app under iCloud Drive on the iPad.
The free tier includes 5 GB of storage shared across all iCloud services, which fills up fast once you add photos, backups, and Mail. iCloud+ plans start at 50 GB and go up to 12 TB. The practical limit of iCloud Drive for file transfer is internet speed. Uploading a 2 GB video over a hotel Wi-Fi connection can take longer than physically carrying a USB drive across the room. For large files or anything time-sensitive, wired transfers win. For keeping a working folder of documents perpetually in sync between a Mac and an iPad, iCloud Drive is the obvious choice.
Pull Files from a Mac or NAS Over Your Local Network
The Files app has a built-in SMB client that connects to shared folders on a Mac, a Windows PC, or a NAS device over your local Wi-Fi network. Open the Files app, tap the three-dot menu icon in the top-left area of the sidebar, then tap Connect to Server. Enter the IP address or hostname of the computer sharing files (for a Mac, it looks something like smb://192.168.1.10), then authenticate with a username and password. The shared folder appears under Locations in the sidebar, and you can browse, copy, and move files as if they were on a connected drive.
On the Mac side, enable file sharing by going to System Settings, clicking General, then Sharing, and toggling File Sharing on. Add whichever folders you want the iPad to access. This method is fast on a modern Wi-Fi 6 or Wi-Fi 6E network and requires no internet connection at all, just a local network both devices share. It's particularly useful for pulling files off a home server or a Mac that stays on your desk while you work from the couch with your iPad.
Paired with an external keyboard workflow on iPad, SMB transfers turn the iPad into a genuinely capable portable workstation that can access your entire local file library without uploading anything to the cloud.
Join The Inner Circle For Serious Apple Users
Exclusive Apple tips. Free to join.
Which Method Fits Your Situation
Here's a side-by-side look at each native transfer method and where it fits best.
| Method | Best For | Speed | Requires Internet |
|---|---|---|---|
| AirDrop | Quick sharing between Apple devices nearby | Fast (Wi-Fi Direct) | No |
| USB-C External Drive | Large files, bulk transfers, offline work | Very fast (up to 10 Gbps) | No |
| iCloud Drive | Syncing across all your Apple devices automatically | Depends on internet speed | Yes |
| SMB File Server | Pulling files from a Mac or NAS on your local network | Fast (local Wi-Fi) | No (local network only) |
Accessibility and Clarity
The Files app is one of the more VoiceOver-friendly apps on iPadOS. File names, folder structures, and drive locations are all labeled and navigable with swipe gestures. When an external drive connects, VoiceOver announces its name and location in the sidebar, which means visually impaired users can confirm a drive mounted successfully without sighted assistance. The drag-and-drop gesture for moving files does require some spatial coordination, but the long-press context menu offers Move and Copy as accessible alternatives that work entirely through sequential taps.
AirDrop acceptance prompts use standard system alerts that VoiceOver reads automatically, including the sender's name and a preview of the file type. The one area that remains tricky is the Connect to Server dialog for SMB connections, where typing IP addresses on the on-screen keyboard can be tedious. Saving frequently used servers to the Recent Servers list eliminates the retyping on subsequent connections.
From a cognitive accessibility standpoint, each transfer method lives in a single app (Files) or a single system feature (AirDrop in the Share sheet). There's no branching workflow that requires toggling between multiple apps. The Files app sidebar keeps everything visible: local storage, iCloud, connected drives, and network servers all appear as labeled entries in a single list. That predictable structure reduces the cognitive overhead for readers with ADHD or dyslexia who benefit from consistent, linear information architecture. Apple's FileProvider framework documentation confirms that all third-party cloud storage providers that integrate with the Files app appear in this same sidebar, maintaining the single-location pattern.
Quick-Action Checklist
- AirDrop a single file: Open file, tap Share, tap AirDrop, select device, accept on iPad.
- Connect a USB-C drive: Plug drive into iPad USB-C port. Open Files. Tap the drive name under Locations.
- Import from an SD card: Insert SD card into a USB-C card reader or hub. Open Files. Tap the card under Locations. Select files and tap Move or Copy.
- Sync via iCloud Drive: On all devices, enable iCloud Drive in Settings. Place files in iCloud Drive on any device. Wait for sync. Open Files on iPad and tap iCloud Drive.
- Connect to a Mac via SMB: On Mac, enable File Sharing in System Settings. On iPad, open Files, tap the three-dot menu, tap Connect to Server, enter smb://[Mac IP address], authenticate, and browse.
- Reformat a drive from iPad: In Files, long-press the drive under Locations. Tap Erase. Choose APFS, exFAT, or FAT. Tap Erase again.