macOS Tahoe Terminal is one of the most capable tools already sitting on your Mac, and most people have never opened it. This single app can run network speed tests against Apple’s own measurement servers, reveal hidden system preferences that Apple doesn’t expose in System Settings, manage files across hundreds of folders in a single line, and install macOS updates while you keep working in other apps. No downloads, no subscriptions, no third-party software required.
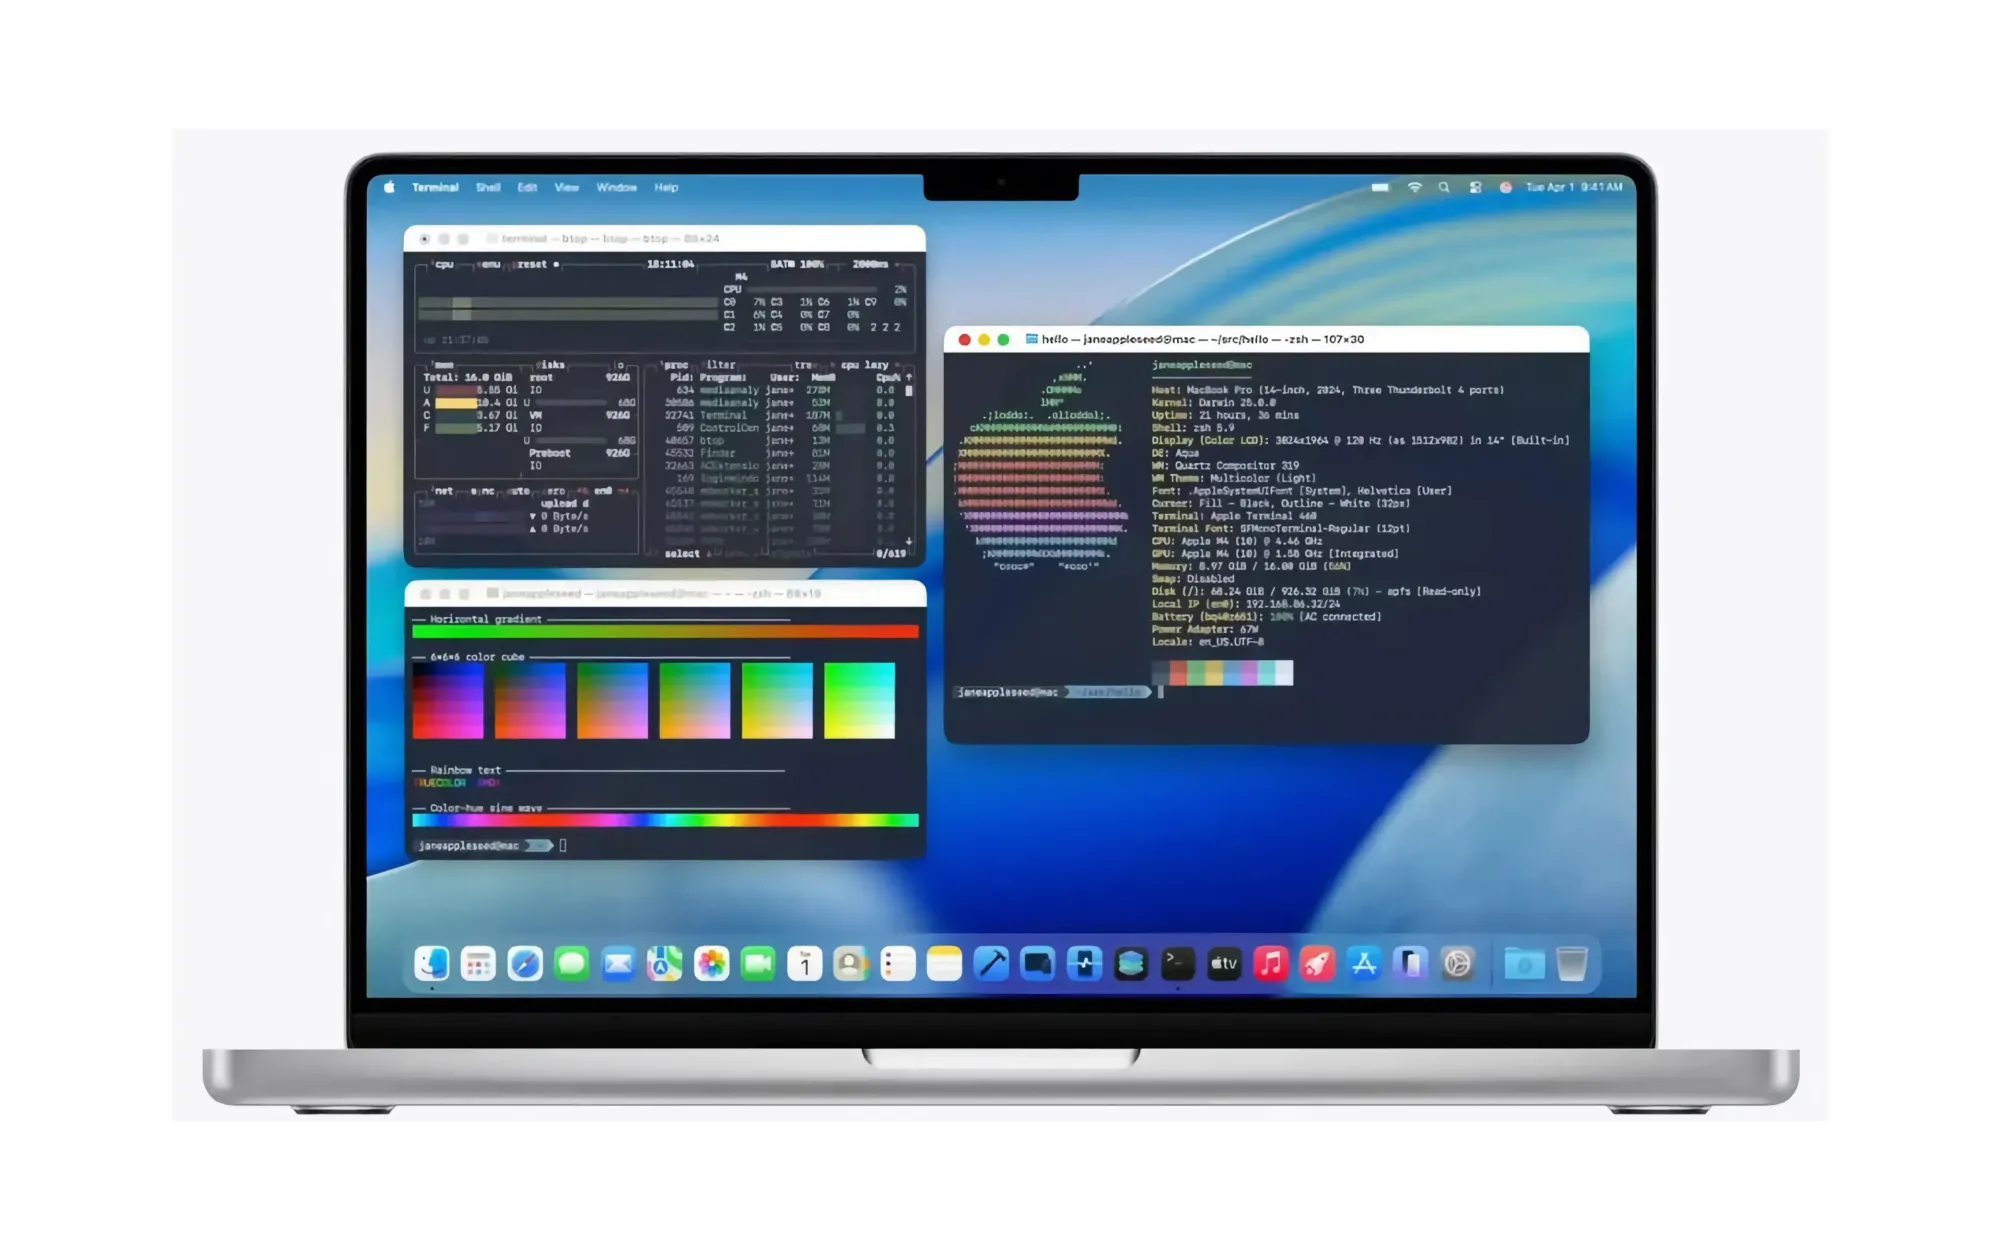
While I appreciate that Terminal has always been there for power users, the macOS Tahoe release marks the first meaningful redesign of the app in 24 years. Apple added 24-bit color support, Powerline font rendering, and Liquid Glass visual themes that match the rest of the operating system. The problem is that Terminal still looks like it belongs to someone who writes code for a living, and that first impression scares away the people who would benefit from it the most. The commands I’m covering here don’t require programming knowledge, and each one replaces a task you’d otherwise need a separate app to accomplish.
That gap between capability and intimidation is worth closing.
 Ad
Ad
Why macOS Tahoe Gave Terminal Its First Redesign in 24 Years
Apple announced the Terminal overhaul at WWDC 2025 during the Platforms State of the Union session, and the changes are more significant than they sound. For the past two decades, Terminal was capped at 256 colors. That’s fine for basic text, but it meant that modern shell prompts, syntax highlighting, and status-line tools looked flat and washed out compared to third-party terminal emulators like iTerm2 or Warp. macOS Tahoe Terminal now supports full 24-bit color, which means 16.7 million possible color values rendered natively without any workarounds.
Powerline font support is the other big addition. If you use Oh My Zsh, Starship, or any custom prompt that relies on special glyphs for git status indicators, battery icons, or directory separators, those symbols now render correctly in the built-in Terminal. Previously, they showed up as empty boxes or question marks unless you installed patched fonts manually.
The new Liquid Glass themes tie Terminal’s appearance to the macOS Tahoe design language. Functionally, this is cosmetic. But I think Apple is sending a clear signal: they want developers and power users to stay inside the native terminal rather than installing alternatives. Whether that strategy works depends on how many people actually discover what the app can do, which brings us to the commands themselves.
The Built-In Speed Test Nobody Told You About
Every Mac running macOS Monterey or later has a command called networkQuality built directly into the operating system. Open Terminal and type that single word. Press Return. That’s it.
The command measures four things: upload capacity, download capacity, responsiveness measured in round trips per minute (RPM), and idle latency. It runs against Apple’s own CDN measurement infrastructure, not a third-party server, which means the results reflect your connection’s real-world performance when communicating with Apple services like iCloud, the App Store, and FaceTime.
Here’s what tripped me up the first time: after you press Return, the cursor just blinks. No progress bar. No spinning animation. Fifteen seconds of silence while it runs the test, and then the results appear all at once. If you didn’t know that was normal, you’d think the command failed.
Add -v for verbose output that shows real-time progress as the test runs. Use -s to run upload and download tests sequentially instead of simultaneously, which gives you a cleaner picture of each direction’s maximum throughput. Use -c to output results as JSON, which is useful if you want to log your speeds over time with a simple script.
Does this replace Speedtest.net or Fast.com entirely? For most people, yes. The networkQuality command tests against infrastructure you actually use daily, and it doesn’t load a webpage full of ads to do it.
Unlock Hidden macOS Settings with defaults write
macOS stores user preferences in a database called the defaults system. Every toggle you flip in System Settings writes a value to this database. But Apple exposes only a fraction of those preferences through the graphical interface. The defaults write command lets you change the hidden ones directly.
Change where screenshots are saved. Instead of cluttering your Desktop, redirect every screenshot to a dedicated folder. Run this in Terminal:
defaults write com.apple.screencapture location ~/Screenshots && killall SystemUIServer
You can read more about screenshot options in our full guide to macOS Tahoe screenshots.
Rename your screenshot files. The default prefix "Screenshot" clutters search results when you have hundreds of them. Change it to something specific:
defaults write com.apple.screencapture name "ZOM-Screenshot"
Show hidden files in Finder. macOS hides configuration files and system folders by default. To reveal them:
defaults write com.apple.finder AppleShowAllFiles -bool true && killall Finder
Add blank spacer tiles to the Dock. This is one of my favorite hidden tricks. Spacers create visual groupings between your app icons, and there’s no way to add them through System Settings:
defaults write com.apple.dock persistent-apps -array-add '{"tile-data"={}; "tile-type"="spacer-tile";}' && killall Dock
One thing to keep in mind: after running any defaults write command that ends with killall Finder or killall Dock, the entire desktop blinks for about half a second. All your Finder windows close and reopen, or the Dock vanishes and reappears. It looks alarming the first time. Nothing is broken. The process just needs to restart to pick up the new preference value.
Run a Full System Checkup Without Leaving Terminal
Terminal gives you direct access to system information that System Settings buries behind multiple clicks. Here are the commands I use most often when diagnosing a slow Mac or checking on hardware details.
system_profiler SPHardwareDataType shows your Mac’s model, chip, memory, and serial number in a clean text block. Faster than navigating to About This Mac and clicking through tabs.
sw_vers prints your exact macOS version and build number. Three lines of output, no clicking required.
softwareupdate -l lists every available software update without opening System Settings. And here is where Terminal genuinely outperforms the GUI: softwareupdate -ia downloads and installs all available updates in the background while you keep working in other apps. System Settings locks you into a waiting screen with a progress bar you can’t dismiss. The Terminal approach lets you stay productive during the entire process, and I think that alone makes it worth learning this one command.
diskutil list shows every drive and partition connected to your Mac, including hidden recovery partitions and external volumes. When you need to verify that a USB drive mounted correctly or check the partition scheme on an external SSD, this command gives you the full picture in seconds.
Why would you bother with these when System Settings exists? Speed. Each of these commands returns results in under two seconds. Navigating to the equivalent information through the graphical interface takes five to ten clicks and several loading screens, especially on older hardware where System Settings itself can be sluggish.
For technical validation of the commands covered in this article, Apple’s Terminal documentation for developers provides the canonical reference for built-in macOS command-line tools.
Join The Inner Circle For Serious Apple Users
Exclusive Apple tips. Free to join.
Quick-Action Checklist
- Open Terminal: press Command-Space, type "Terminal", press Return
- Run a speed test:
networkQuality -v - Change screenshot folder:
defaults write com.apple.screencapture location ~/Screenshots && killall SystemUIServer - Show hidden files:
defaults write com.apple.finder AppleShowAllFiles -bool true && killall Finder - Check for updates:
softwareupdate -l - Check macOS version:
sw_vers

Related Posts
Apple’s $599 MacBook Neo vs the MacBook Air M5
Mar 04, 2026
Your Mac Has a Hidden Repair Shop Built Into the Power Button
Mar 04, 2026
Your Mac Is Stuck on an Old macOS Until You Run This Update
Mar 01, 2026