What the composition grid actually does for your framing
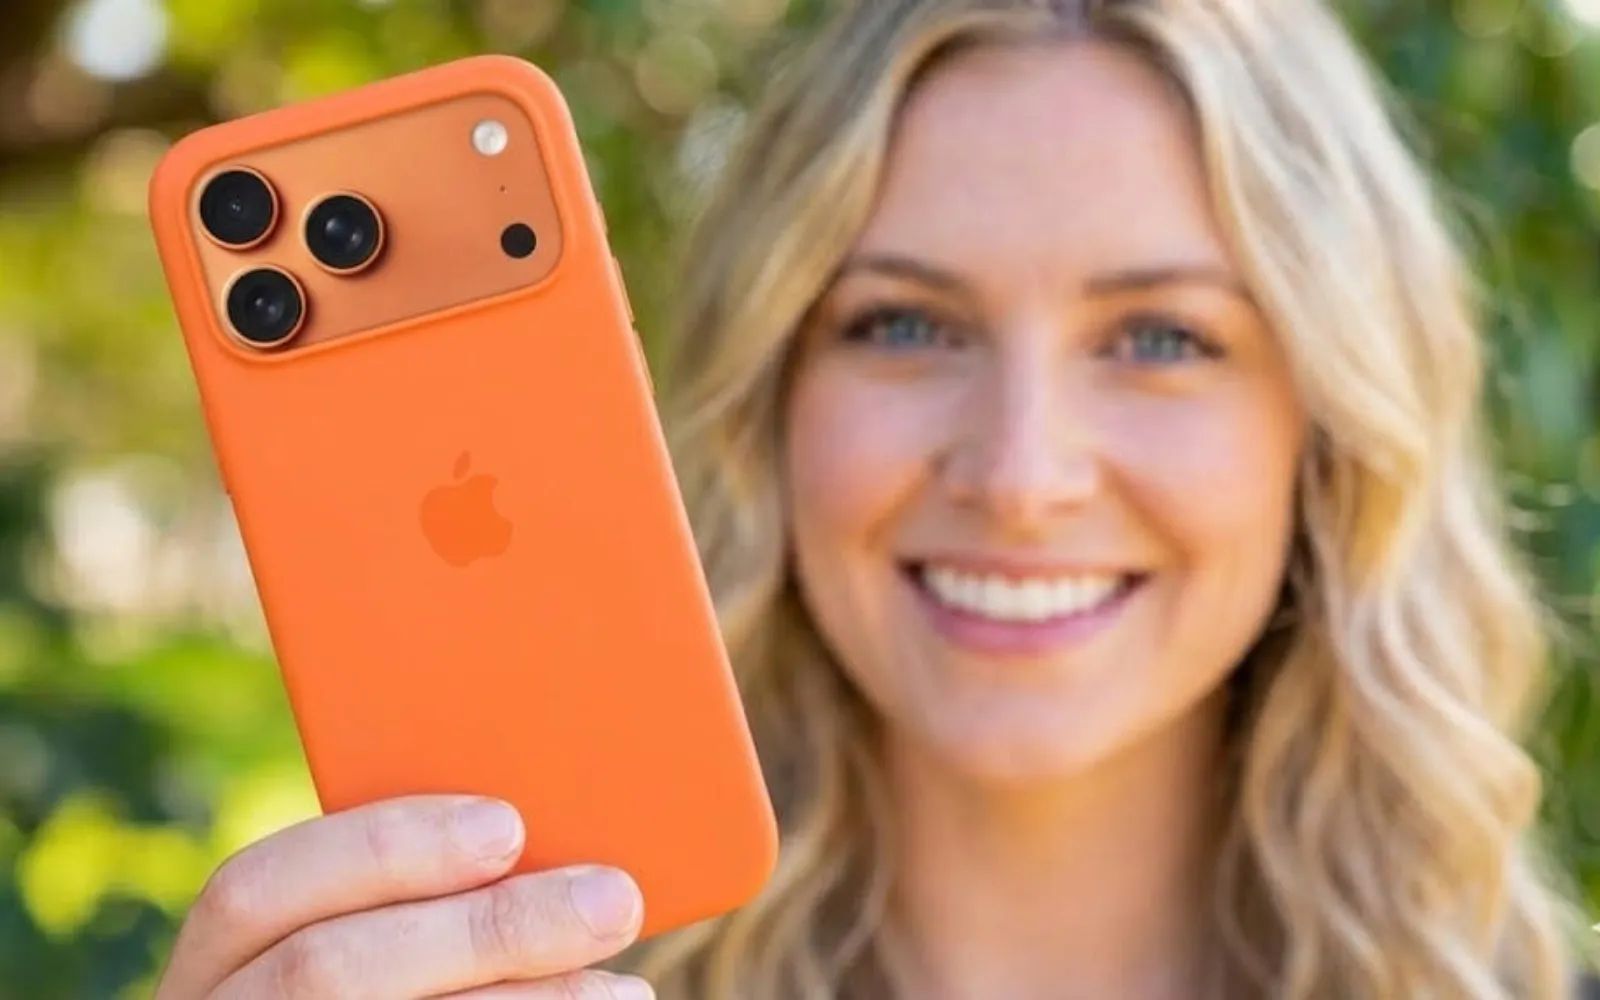
The iPhone camera in iOS 26 ships with a set of composition and quality controls that most owners never open. Enabling the grid overlay, switching your capture format, and dialing in a Photographic Style takes about four minutes total, and the difference between a centered snapshot and a deliberately composed photograph comes down to whether those settings are on or off.
The catch is that some of these settings interact with each other in ways Apple does not explain up front. Turning on ProRAW without understanding how it multiplies your file sizes, for instance, fills your storage faster than you would expect. And choosing the wrong Photographic Style locks a color bias into every shot until you manually reset it. Knowing which settings to enable, which to leave alone, and which combinations to avoid is the difference between a camera that works for you and one that quietly works against you.
Turn on the grid and level tool first
Open Settings, tap Camera, and toggle on both Grid and Level. The grid divides your viewfinder into nine equal rectangles using two horizontal and two vertical lines. Those lines are not decorative. They map directly to the rule of thirds, the most reliable composition framework in photography, where placing your subject along an intersection point rather than dead center creates a more dynamic image.
The Level tool adds a floating crosshair in the center of the frame that tilts as your phone tilts. When both lines align and turn yellow, you are perfectly parallel to the ground. This is essential for overhead food shots, document scans, and any flat-lay composition where even a two-degree tilt looks sloppy. The visual guides disappear from the captured image. They exist only in the viewfinder.
One detail that catches people off guard: the grid stays visible in video mode too, which makes it useful for keeping a horizon line steady during handheld panning. The level indicator, however, only appears in photo mode. If you film a lot of video and need leveling feedback, you will want a physical mount.
Photographic Styles are not filters
Filters apply a blanket color shift after the photo is taken. Photographic Styles, available on iPhone 13 and later, work differently. They adjust tone and warmth at the moment of capture while preserving natural skin tones. The processing happens during the computational photography pipeline, which means the style is baked into the image data rather than layered on top.
Apple’s Photographic Styles documentation lists five presets: Standard, Rich Contrast, Vibrant, Warm, and Cool. Standard is true-to-life with no bias. Rich Contrast deepens shadows without crushing detail. Vibrant pushes saturation in a way that works well for social media but can make outdoor greenery look radioactive if you are not careful. Warm shifts the entire palette toward amber, which flatters golden-hour portraits but distorts product shots. Cool pulls toward blue, which suits architectural photography and overcast scenes.
The critical thing to understand: on iPhone 17 Pro, iPhone 17 Pro Max, iPhone 16 Pro, and iPhone 16 Pro Max, Photographic Styles include a tone slider and a warmth slider that let you fine-tune beyond the presets. Most owners select a style and never touch those sliders, which means they are leaving precision on the table. On older models, you get the five presets without sliders.
Pick one style and shoot with it for a full week before switching. Consistency across a set of images matters more than the specific style you choose. If your social feeds look like they were shot by four different people, inconsistent style-switching is usually the reason.
Affiliate disclosure: some links in this article are Amazon Associate links. If you buy through them, Zone of Mac may earn a small commission at no extra cost to you, and we only recommend products that genuinely bring value to your Apple setup.
A tripod mount changes what composition means
The grid and level tools work best when the phone is steady. Handheld shooting introduces micro-shake that makes it harder to align subjects precisely on grid intersections, especially in low light when the shutter speed drops. A MagSafe tripod mount eliminates that variable entirely, and the magnetic attachment means you go from pocket to tripod in about two seconds without fumbling with clamps or spring-loaded grips.
The Moment Pro Tripod Mount is machined from aluminum and uses their (M)Force magnet array, which is noticeably stronger than generic MagSafe accessories. It includes a built-in cold shoe for attaching a microphone or a small LED panel, which is a detail most competitors skip. The 1/4-inch-20 thread fits any standard tripod head, ball mount, or desktop grip. One thing worth noting: with thicker cases, the magnetic hold weakens. If you use a bulky protective case, you will want to remove it before mounting, or use a MagSafe-compatible case from Moment’s own line. The mount itself weighs almost nothing, so it disappears into a camera bag or jacket pocket.
Pick up the Moment Pro Tripod Mount for MagSafe on Amazon https://www.amazon.com/dp/B08YGY19CM?tag=zoneofmac-20
Format settings control more than file size
Go to Settings, tap Camera, then tap Formats. You will see two capture format options: High Efficiency (HEIF/HEVC) and Most Compatible (JPEG/H.264). High Efficiency produces smaller files at the same visual quality, which is the right choice for the vast majority of iPhone owners. Apple’s camera settings documentation confirms that HEIF images are roughly half the size of equivalent JPEGs with no visible quality loss.
The decision gets more interesting on Pro models. iPhone 17 Pro and iPhone 16 Pro expose an additional toggle: ProRAW and Resolution Control. ProRAW captures uncompressed sensor data at 12MP or 48MP, giving you dramatically more editing headroom in apps like Lightroom or the native Photos editor. Shadows that would clip in HEIF remain recoverable in ProRAW. Color grading shifts that would introduce banding in a compressed format stay smooth.
The trade-off is storage. A single 48MP ProRAW file runs about 75MB. Shoot fifty photos at a birthday party and you have consumed nearly 4GB. Unless you edit in Lightroom or Photoshop regularly, leave ProRAW off and shoot in HEIF at the default 24MP resolution. You can always toggle ProRAW on for a specific shoot by tapping the RAW button in the Camera app’s viewfinder, without changing your default format.
The table below compares the four key camera settings covered in this guide, so you can see which ones matter most for your shooting style.
| Setting | Where to Find It | Best For | Impact on Storage |
|---|---|---|---|
| Composition Grid | Settings > Camera > Grid | Framing, rule of thirds | None |
| Level Tool | Settings > Camera > Level | Horizon alignment, flat lays | None |
| Photographic Styles | Camera app > Styles button | Consistent color tone across shots | None |
| HEIF + Resolution Control | Settings > Camera > Formats | File quality vs. storage balance | Significant (48MP ProRAW = 75MB per photo) |
Join The Inner Circle For Serious Apple Users
Exclusive Apple tips. Free to join.
Check your inbox for a confirmation link.
Something went wrong. Please try again.
Accessibility and clarity
Every setting discussed in this guide uses spatial and textual labels rather than color-dependent indicators. The grid lines appear as thin white overlays that are visible against both light and dark backgrounds. The level tool uses a positional crosshair rather than a color shift to indicate alignment, though it does turn yellow when level, so users who cannot distinguish yellow from white can rely on the positional snap instead.
VoiceOver reads all Camera settings toggles correctly, including the Grid, Level, and Format options in Settings. Photographic Styles are less accessible through VoiceOver alone because the tone and warmth sliders require visual feedback to evaluate. A workaround: set your style once with sighted assistance, and it persists across sessions until you change it.
For users with motor limitations, the Moment tripod mount reduces the need for steady hands entirely, which makes precise grid-aligned composition physically accessible. If you are exploring other ways your iPhone camera can do more without extra apps, the seven iPhone photos tricks guide covers additional built-in features worth enabling.
The settings that deserve to stay off
Not every setting in the Camera panel is worth enabling. Lens Correction, for instance, applies automatic distortion correction that can soften the edges of ultra-wide shots. If you shoot real estate or architecture, that correction is useful. For everything else, it introduces subtle softness at the frame edges that you would not notice unless you zoom in. Leave it off unless you have a specific reason.
Scene Detection is on by default and automatically identifies food, pets, sunsets, and other categories to adjust processing. The problem is that it occasionally misidentifies scenes and applies the wrong optimization, particularly in mixed lighting. Turning it off gives you consistent processing across all photos, which pairs better with a chosen Photographic Style. If you have upgraded your physical camera setup too, the accessories guide for turning your iPhone into a real camera covers the hardware side of the equation.
Macro Control is another toggle on Pro models that most people leave on auto. Auto Macro switches to the ultra-wide lens when you get close to a subject, which changes the field of view abruptly. Setting Macro Control to manual and toggling it yourself when you actually want a macro shot prevents the camera from switching lenses mid-compose.
Quick-action checklist
- Open Settings, tap Camera, toggle Grid to on
- Toggle Level to on (directly below Grid)
- Tap Formats, select High Efficiency
- If you own a Pro model, leave ProRAW off for daily use, toggle it on from the viewfinder when you need it
- Open the Camera app, tap the Styles button (stacked squares icon), swipe to preview styles, pick one and commit to it for a week
- On Pro models, go to Settings, Camera, toggle Macro Control to manual
- Turn off Scene Detection in Settings, Camera if you use a Photographic Style
- Leave Lens Correction off unless you shoot architecture or real estate

Blaine Locklair
Founder of Zone of Mac with 25 years of web development experience. Every guide on the site is verified against Apple's current documentation, tested with real hardware, and written to be fully accessible to all readers.
follow me :
Related Posts
iOS 26.4.1 Fixes the iCloud Bug That Broke Your Apps
Apr 09, 2026
iOS 26.4 Drains Your iPhone Battery. Here’s What Fixes It
Apr 09, 2026
Your iPhone Finally Lets You Create Custom Ringtones in iOS 26
Apr 08, 2026