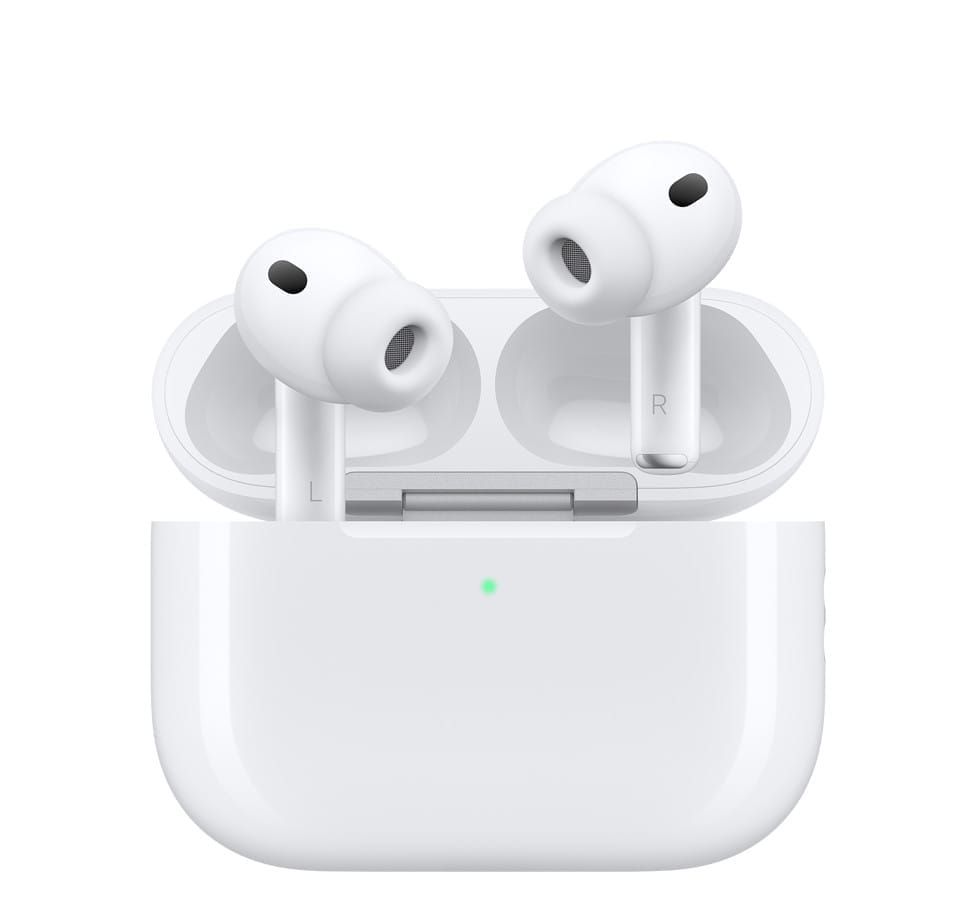
Apple AirPods Pro ship with Active Noise Cancellation, Adaptive Audio, Personalized Spatial Audio, and a clinical-grade hearing test built into a pair of earbuds that fit in your pocket. The problem is that iOS 26 buries most of these controls three taps deep in Settings, and the default configuration leaves at least half of them switched off. Five minutes in your iPhone's AirPods menu separates a good listening experience from one that adjusts itself to every room, conversation, and commute you walk into.
Getting to the settings panel itself trips people up. Open Settings on your iPhone, then look for your AirPods Pro listed by name directly below your Apple Account banner at the top of the screen. That entry only appears while your AirPods are connected and in your ears or in their open case nearby. If you do not see them, pop the lid on your charging case and wait a few seconds for the Bluetooth handshake to complete. The full AirPods control panel in iOS 26 spans noise control, audio, accessibility, hearing health, and press-and-hold gesture mapping, and Apple's own support documentation covers only the surface.
Noise Control Is Only the Starting Point
Most AirPods Pro owners toggle between Active Noise Cancellation and Transparency mode and stop there. That misses the most interesting option in the stack: Adaptive Audio. Adaptive mode blends noise cancellation and transparency dynamically based on the sound around you, raising and lowering the gate in real time. Walking through a busy intersection, Adaptive lets traffic sounds through. Sitting at a quiet desk, it pulls closer to full noise cancellation. The transition is smooth enough that you stop noticing it after a few minutes, which is the point.
To activate it, go to your AirPods settings and tap Noise Control. You will see four options: Off, Transparency, Adaptive, and Noise Cancellation. Select Adaptive. Below that toggle, there is a slider labeled Adaptive Noise Control that adjusts how much ambient sound leaks through when Adaptive mode is active. Slide it left for more isolation, right for more environmental awareness. The default position sits dead center, which works for most errands but lets in too much background noise on a subway platform or in a crowded coffee shop. Pulling the slider about 25 percent toward the quiet end makes commuting noticeably better without losing the ability to hear someone speaking directly to you.
Below the slider, you will find Conversation Awareness. When this is turned on, your AirPods Pro detect when you start speaking and automatically lower your media volume while boosting voices in front of you. When you stop talking, the volume ramps back up. The detection relies on the inward-facing microphone picking up vibrations from your jaw and vocal cords, and the latency is about a half-second. If Conversation Awareness keeps triggering when you clear your throat or hum along to a song, our guide to fixing Conversation Awareness false triggers covers every workaround.
Personalized Spatial Audio Deserves the Two-Minute Setup
Spatial Audio on AirPods Pro simulates surround sound by tracking your head position relative to your iPhone or iPad. The generic profile works reasonably well for movies, but Personalized Spatial Audio uses your iPhone's TrueDepth camera to scan the shape of your ears and build a custom audio profile. The difference is most noticeable in Apple Music tracks mixed in Dolby Atmos, where instruments that sounded vaguely "around you" suddenly have specific, stable positions in space.
To set it up, open your AirPods settings and scroll to Personalized Spatial Audio. Tap Personalize Spatial Audio and follow the on-screen prompts. Your iPhone will ask you to hold the phone at face level and slowly turn your head left and right while the front camera captures your ear geometry from multiple angles. The scan takes about 30 seconds per ear. Once complete, the profile syncs across all your Apple devices signed into the same Apple Account. For a deeper walkthrough of Spatial Audio configuration across Apple Music, Netflix, and Spotify, our complete Spatial Audio setup guide covers every streaming app.
The Stem Gesture You Probably Have Not Remapped
AirPods Pro respond to four gestures on the stem: single press to play or pause, double press to skip forward, triple press to skip back, and press-and-hold for a configurable action. That last one defaults to cycling through your active noise control modes, but you can reassign it independently for the left and right AirPod. The Apple AirPods gesture documentation lists Siri as the only alternative, which undersells the flexibility.
In your AirPods settings, scroll to Press and Hold AirPods. Tap Left or Right. You can assign one ear to Noise Control and the other to Siri, which means you never have to choose between quick noise-mode switching and hands-free Siri access. Underneath the primary action, tap Listening Modes Included and you can choose which noise control modes cycle when you press and hold. If you never use plain Transparency mode because Adaptive handles it better, uncheck Transparency and your press-and-hold will toggle directly between Adaptive and Noise Cancellation. That single change saves one press every time you switch modes.
One quirk worth noting: the press-and-hold gesture has a slight delay on activation compared to the instant response of single, double, and triple presses. This is intentional so iOS can distinguish between a triple press and a press-and-hold, but it means the noise mode does not switch until you release the stem, not when you squeeze it. Once you expect the half-beat delay, it stops feeling sluggish.
Affiliate disclosure: some links in this article are Amazon Associate links. If you buy through them, Zone of Mac may earn a small commission at no extra cost to you, and we only recommend products that genuinely bring value to your Apple setup.
Why Ear Fit Changes Everything About Noise Cancellation
Active Noise Cancellation on AirPods Pro relies on a tight acoustic seal between the ear tip and your ear canal. Apple includes an Ear Tip Fit Test in Settings (scroll to the bottom of your AirPods settings panel and tap Ear Tip Fit Test) that plays a short burst of audio and analyzes the microphone feedback to determine whether you have a good seal. If the test returns "Good Seal" for both ears, your silicone tips are the right size. If either ear shows an adjustment needed, the stock tips may not match your ear canal shape, regardless of which size you try. This is where aftermarket foam tips make a measurable difference.
Memory foam ear tips compress to fit your specific ear canal and then expand to fill the space, creating a tighter seal than silicone alone can manage. The seal improvement directly affects noise cancellation performance because the ANC algorithm depends on the physical barrier blocking external sound before the electronics take over. Foam tips also solve the fit problem that causes AirPods Pro to slowly work loose during runs or long walks. Comply builds their foam tips specifically for the AirPods Pro charging case dimensions, so the tips do not prevent the lid from closing or block the charging contacts. The tradeoff is durability: foam tips need replacing every two to three months with daily use as the memory foam gradually loses its rebound.
Here is a quick comparison of the key AirPods Pro settings and what each one actually changes about your listening experience.
| Setting | Default State | What Changing It Does | Where to Find It |
|---|---|---|---|
| Adaptive Audio | Off (Noise Cancellation selected) | Blends ANC and Transparency dynamically based on environment | Settings > AirPods > Noise Control |
| Conversation Awareness | Off | Auto-lowers volume and boosts voices when you speak | Settings > AirPods > Noise Control |
| Personalized Spatial Audio | Off (generic profile) | Custom audio profile based on your ear shape via TrueDepth scan | Settings > AirPods > Personalized Spatial Audio |
| Press and Hold (per ear) | Both ears: Noise Control | Assign Siri to one ear, Noise Control to the other | Settings > AirPods > Press and Hold |
| Hearing Test | Not run | Clinical-grade audiogram that calibrates audio to your hearing profile | Settings > AirPods > Hearing Health |
| Ear Tip Fit Test | Not run | Confirms acoustic seal for optimal ANC performance | Settings > AirPods > Ear Tip Fit Test |
Pick up the Comply Foam Tips for AirPods Pro (Assorted S/M/L, 3 Pairs) on Amazon https://www.amazon.com/dp/B0D7JRN939?tag=zoneofmac-20
Hearing Health Is Not Just for Hearing Loss
Apple added a clinical-grade Hearing Test to AirPods Pro 2 and AirPods Pro 3, and iOS 26 expanded access so the test no longer requires a moderate hearing loss diagnosis to enable the Hearing Aid feature. The test takes about five minutes: you sit in a quiet room, and the AirPods play a series of tones at different frequencies and volumes while you tap the screen each time you hear one. The result is a personal audiogram stored in the Health app.
Join The Inner Circle For Serious Apple Users
Exclusive Apple tips. Free to join.
Check your inbox for a confirmation link.
Something went wrong. Please try again.
What makes this genuinely useful even for people with normal hearing is Hearing Protection. Once you have taken the hearing test, your AirPods Pro actively monitor decibel levels and reduce exposure when sound exceeds safe thresholds. The Apple hearing health documentation describes this as real-time exposure management, and it works across all audio sources, including phone calls, music, and video. You can review your noise exposure data in the Health app under Hearing, where iOS logs daily and weekly averages.
To access these settings, go to your AirPods settings and tap Hearing Health. From there you can run the Hearing Test, enable Hearing Protection, adjust the Hearing Aid amplification level if applicable, and toggle Conversation Boost, which amplifies voices during face-to-face conversations beyond what standard Transparency mode offers. Conversation Boost is separate from Conversation Awareness: Awareness affects media volume, Boost affects voice amplification.
Protect Your Case While You Are in the Settings Menu
While you are adjusting settings, it is worth considering the physical protection side of your AirPods Pro investment. The charging case picks up micro-scratches within the first week of pocket carry, and those scratches can interfere with the infrared sensors that detect whether the AirPods are docked. A case that adds drop protection without blocking the Lightning or USB-C port, the pairing button, or the speaker grille at the bottom keeps your charging case functional. The Spigen Rugged Armor wraps the entire case in a matte-black shell with a carbon fiber texture on the back panel, and it includes a carabiner clip that attaches to a bag strap or belt loop. The fit is snug enough that it does not shift or rattle, though the top half requires a firm press to snap into place the first time.
You can grab the Spigen Rugged Armor AirPods Pro 2 Case here https://www.amazon.com/dp/B0BC2B91VF?tag=zoneofmac-20
Accessibility and Clarity
AirPods Pro settings in iOS 26 score well for accessibility. The entire settings panel is fully compatible with VoiceOver: every toggle, slider, and button has a descriptive label, and the Noise Control slider announces its percentage position as you drag it. The Hearing Health section was designed with accessibility as its primary use case, and the Hearing Test provides clear audio and visual prompts with large tap targets. Conversation Boost gives users with mild hearing loss a significant improvement in face-to-face interactions without requiring a separate hearing aid device.
For users with motor limitations, the press-and-hold gesture on the AirPods Pro stem requires moderate pinch pressure. Apple offers an alternative in Settings > Accessibility > AirPods where you can adjust the press speed (Default, Slow, or Slowest) and the press-and-hold duration. The Slowest setting gives you a full second before the gesture activates, which reduces accidental triggers for users with tremors or limited fine motor control. The settings panel layout is linear and predictable, avoiding nested menus that increase cognitive load. Each section groups related controls together, and the headings describe the function rather than using abstract labels.
Quick-Action Checklist
- Open Settings on your iPhone with AirPods Pro connected
- Tap your AirPods Pro name at the top of the Settings screen
- Under Noise Control, switch from Noise Cancellation to Adaptive
- Drag the Adaptive Noise Control slider 25 percent toward quiet
- Turn on Conversation Awareness
- Scroll to Personalized Spatial Audio, tap Personalize, and complete the ear scan
- Under Press and Hold, assign Siri to one ear and Noise Control to the other
- Under Listening Modes Included, uncheck modes you never use
- Scroll to Hearing Health and run the Hearing Test
- Enable Hearing Protection after completing the test
- Scroll to the bottom and run the Ear Tip Fit Test to confirm your seal

Tori Branch
Hardware reviewer at Zone of Mac with nearly two decades of hands-on Apple experience dating back to the original Mac OS X. Guides include exact settings paths, firmware versions, and friction observations from extended daily testing.
Related Posts
Your AirPods Work with Android — Here’s What Apple Holds Back
Apr 10, 2026
Your AirPods Are Collecting Grime That’s Killing Your Sound
Apr 09, 2026
Your AirPods Have a FaceTime Trick That Changes Group Calls
Apr 02, 2026