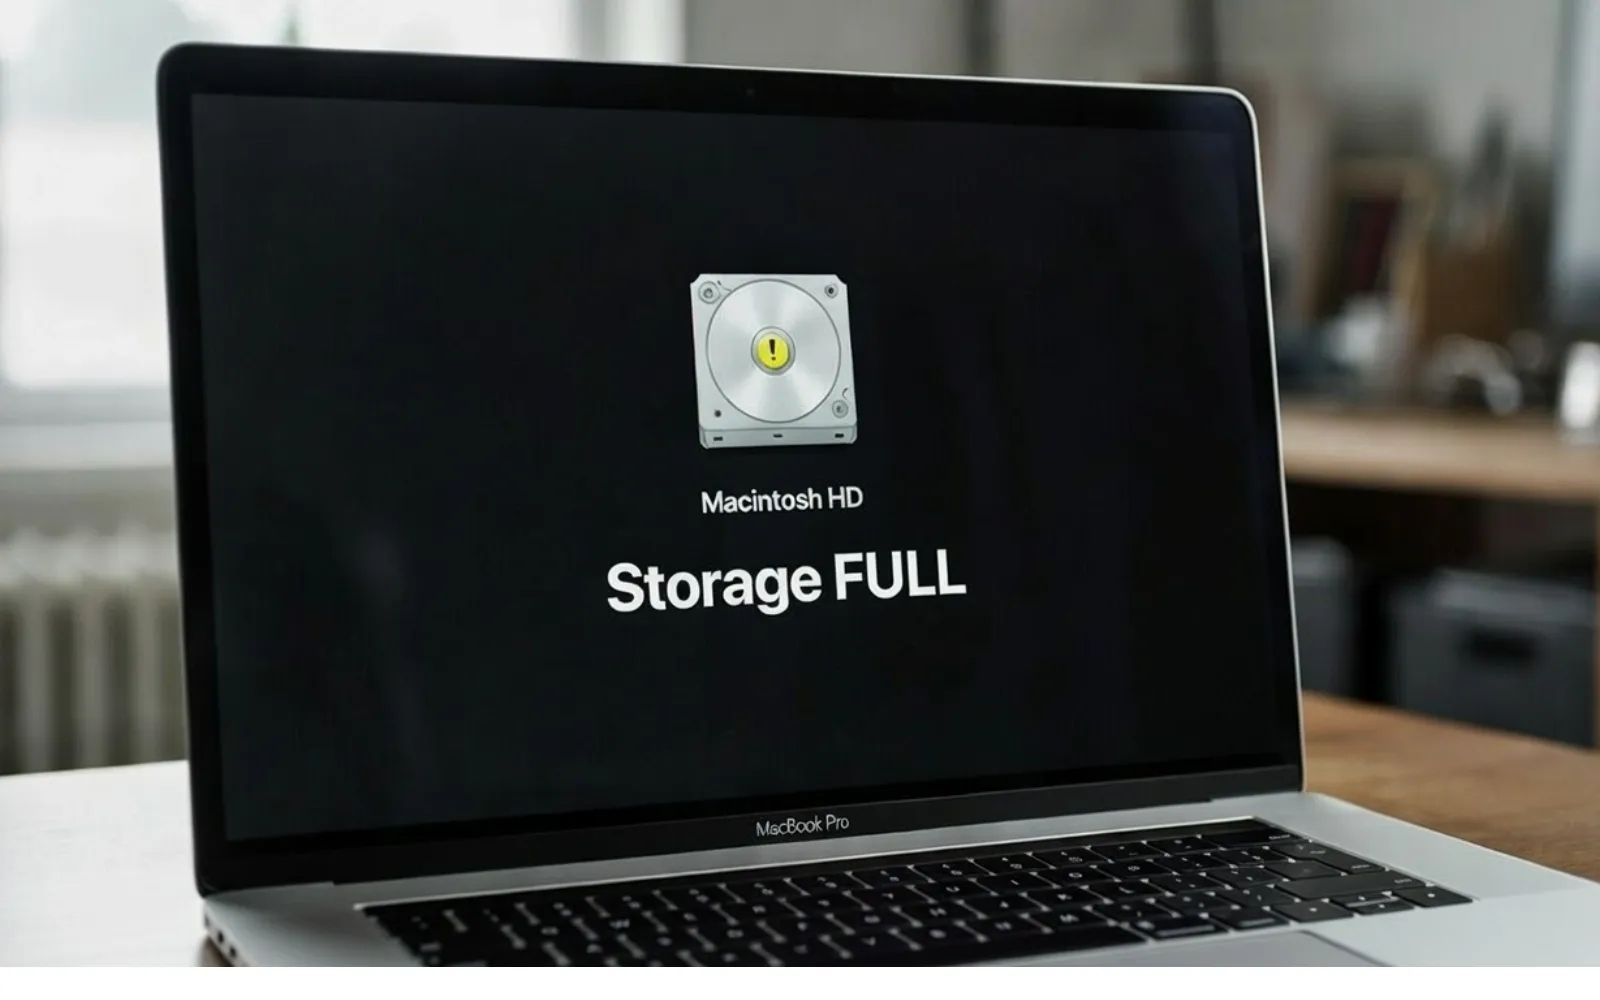
Time Machine in macOS Tahoe is the fastest, most reliable backup system Apple has ever shipped for the Mac. But there is a catch that catches almost everyone off guard: macOS Tahoe exclusively uses the APFS file system for new Time Machine backups, which means your old Time Capsule, your HFS+ formatted drive from two years ago, and any spinning hard disk you have been reusing since macOS Monterey all need to be erased or replaced before your first backup even starts. The decision you make about which drive to buy and how to configure encryption determines whether you recover from a crash in four minutes or four hours.
What macOS Tahoe Actually Changed About Time Machine
Apple quietly retired HFS+ as a supported format for new Time Machine backup destinations starting with macOS Ventura, and macOS Tahoe finishes the job. New backups can only be created on APFS or APFS Encrypted volumes. According to Apple's APFS documentation, the shift gives Time Machine access to snapshot-based backups rather than the old hard-link directory structure. Snapshots are atomic, meaning the backup either completes fully or rolls back entirely. Partial, corrupted backup states that plagued HFS+ Time Machine for years are gone.
The practical fallout: Apple Time Capsule devices, which used HFS+ internally and cannot be reformatted to APFS, are no longer usable for new Time Machine backups in macOS Tahoe. Existing Time Capsule backups remain readable for restoring files, but no new backups can be added. This single change invalidates the backup hardware of thousands of Mac households that never saw it coming.
APFS also introduces space-sharing across volumes. You can partition a single physical drive into a Time Machine volume and a general storage volume without pre-committing fixed sizes to each. Both volumes draw from the same pool of free space, so neither one wastes capacity sitting idle while the other fills up.
What You Actually Need for a macOS Tahoe Time Machine Backup
The requirements are deceptively simple. An external drive with at least double the capacity of your Mac's internal storage, connected over USB-C or Thunderbolt. Apple says "at least twice" in its official Time Machine support page, and that recommendation holds. A MacBook Air with a 512 GB SSD needs a 1 TB backup drive at minimum. A Mac Studio with 2 TB of internal storage needs a 4 TB drive.
The drive format matters now. Time Machine will prompt you to erase and reformat any non-APFS drive when you add it as a backup destination. If you are using a drive that already holds data, connect it, open Disk Utility (search for it in Spotlight or find it in Applications, then Utilities), and reformat it to APFS before pointing Time Machine at it. That saves you from the awkward moment when Time Machine asks to wipe your drive and you realize you never moved those files off it.
Spinning hard drives still technically work with Time Machine in macOS Tahoe. But the speed difference is brutal. An initial backup of a 500 GB MacBook to a USB 3.0 spinning drive can take twelve hours or longer. The same backup to a USB 3.2 Gen 2 SSD finishes in under 90 minutes. Every incremental backup after that is faster on an SSD too, because APFS snapshot operations benefit from the random read and write speeds that solid-state storage provides.
The Actual Setup, Start to Finish
Connect your external drive to your Mac. Open System Settings from the Apple menu in the top-left corner of the menu bar. Click General in the sidebar, then click Time Machine. Click the + button (labeled Add Backup Disk). Select your connected drive from the list. Click Set Up Disk.
During setup, macOS Tahoe asks whether you want to encrypt the backup. Turn this on. Encrypted backups protect your data if the drive is ever lost or stolen, and they include your Keychain passwords and Wi-Fi credentials in the backup, which unencrypted backups exclude. Create a backup password you will not forget. Write it down and store it somewhere physically separate from the drive itself. Without this password, the encrypted backup is permanently inaccessible.
Once setup finishes, Time Machine starts the first backup immediately. Do not disconnect the drive during this process. The first backup copies your entire user folder, applications, and system configurations. After that, Time Machine runs on a schedule you choose under Options: every hour, every day, or every week. Hourly is the default and the safest choice. Each subsequent backup only copies files that changed since the last one, so it takes seconds to minutes rather than hours.
Affiliate disclosure: some links in this article are Amazon Associate links. If you buy through them, Zone of Mac may earn a small commission at no extra cost to you, and we only recommend products that genuinely bring value to your Apple setup.
Choosing the Right Drive for the Job
Comparison of macOS Tahoe Time Machine backup methods at a glance.
| Method | Speed | Portability | Best For |
|---|---|---|---|
| USB-C External SSD | Fast (up to 1,050 MB/s) | Highly portable | Most Mac users |
| Thunderbolt External SSD | Fastest (up to 3,000+ MB/s) | Moderate | Creative professionals |
| NAS (Network) | Depends on network | Stays home | Multi-Mac households |
| USB-C External HDD | Slow (100-200 MB/s) | Portable but fragile | Budget backup only |
A USB-C portable SSD hits the right balance for the majority of Mac owners. It is fast enough to make backups invisible in your workflow, small enough to toss into a bag, and tough enough to survive being knocked off a desk. The Samsung T7 Shield stands apart from generic portable SSDs because of its IP65 dust and water resistance rating, which means the drive survives rain, sand, and the coffee spill that happens when you forget it is sitting next to your mug. The rubber casing absorbs drops from desk height without any drama, and at 1,050 MB/s sequential read speed over USB 3.2 Gen 2, an initial Time Machine backup of a 1 TB MacBook Pro finishes in roughly two hours. Incremental hourly backups typically complete in under a minute because APFS snapshots only copy changed blocks.
The 2 TB capacity gives you four full snapshots of a 500 GB Mac, or generous rolling history for a 1 TB machine. The drive weighs 98 grams. There is a subtle tactile ridge along the rubber edge that makes it easy to grip even with one hand while plugging in the USB-C cable, and the cable connection itself has a satisfying click that tells you it seated properly. Pick up the Samsung T7 Shield 2TB on Amazon https://www.amazon.com/dp/B09VLHR4JC?tag=zoneofmac-20
What to Exclude from Your Backup (and Why It Matters)
Not everything on your Mac belongs in a Time Machine backup. Large virtual machine images, Docker containers, iOS Simulator runtimes, and Xcode derived data all consume enormous space and change constantly, which forces Time Machine to copy gigabytes of data every hour for files you can redownload. To exclude specific folders, go to System Settings > General > Time Machine, click Options, and use the + button under Exclude from Backups to add those folders.
Excluding large, reproducible folders keeps your backup lean and means the drive holds months of meaningful file history instead of weeks of bloated snapshots. A developer who excludes ~/Library/Developer alone can cut their Time Machine footprint by 40 GB or more. If you have been running out of space on your Mac in general, the approach in our guide to reclaiming gigabytes of hidden storage on your Mac in macOS Tahoe pairs well with this cleanup.
Join The Inner Circle For Serious Apple Users
Exclusive Apple tips. Free to join.
Check your inbox for a confirmation link.
Something went wrong. Please try again.
Restoring Files Without Restoring Your Entire Mac
The restore workflow is the part most guides skip, and it is the part you actually need when disaster strikes. To recover individual files, click the Time Machine icon in the menu bar (if it is not visible, add it in System Settings > Control Center > Time Machine > Show in Menu Bar). Select Browse Time Machine Backups. Finder opens with a timeline along the right edge. Navigate to the folder where your file lived, use the arrow buttons or timeline to scroll back to the date you need, select the file, and click Restore. The file drops back into its original location.
For a full system recovery after a drive failure or trade-in, boot into macOS Recovery (hold the power button on Apple Silicon Macs until you see Loading Startup Options, then select Options). Choose Restore from Time Machine Backup. Connect your backup drive and follow the prompts. With an SSD backup drive, a full restore of 500 GB takes roughly two hours. With a spinning hard drive, expect six to eight. That speed gap alone justifies the cost of an SSD for anyone whose work depends on their Mac. If you are preparing to trade in your current Mac, our walkthrough on factory resetting your Mac before upgrading to a MacBook Pro M5 covers how to wipe your old machine after confirming your Time Machine backup restored cleanly to the new one.
Accessibility and Clarity
Time Machine's interface in macOS Tahoe works well with VoiceOver. The System Settings panels for adding a backup disk, choosing encryption, and setting a schedule all use standard macOS controls that VoiceOver reads accurately. The backup status in the menu bar announces whether a backup is in progress, when the last backup completed, and the next scheduled backup time.
The restore interface deserves a callout. The visual timeline along the right edge of the Finder window during Browse Time Machine Backups relies on spatial positioning that VoiceOver cannot convey directly, but the arrow navigation buttons work as keyboard-accessible alternatives. Pressing the up arrow moves to older snapshots and the down arrow returns to newer ones, and VoiceOver announces the date and time of each snapshot as you navigate. The cognitive load stays low because the interface reuses the standard Finder layout. You are not learning a new application; you are scrolling through dated versions of folders you already know. For users with light sensitivity, Time Machine respects the system-wide Dark Mode setting, and there is no flashing or animation during backup or restore operations.
Quick-Action Checklist: Time Machine on macOS Tahoe
- Connect a USB-C or Thunderbolt external SSD with at least 2x your Mac's storage capacity
- Open System Settings > General > Time Machine
- Click the + button and select your drive
- Enable Encrypt Backup and create a strong backup password
- Click Set Up Disk and wait for the first backup to complete
- Go to Options and set backup frequency to Automatically Every Hour
- Under Options, add exclusions for large reproducible folders (VMs, Xcode derived data, Docker images)
- Verify your backup: click the Time Machine menu bar icon and select Browse Time Machine Backups to confirm files are visible
- Store your backup password in a separate, secure location

Blaine Locklair
Founder of Zone of Mac with 25 years of web development experience. Every guide on the site is verified against Apple's current documentation, tested with real hardware, and written to be fully accessible to all readers.
follow me :
Related Posts
Seven Mac Accessories That Turn a Good Desk Into a Great One
Apr 10, 2026
Your Mac Has a Networking Time Bomb That Only a Reboot Defuses
Apr 09, 2026
Your Mac Feels Slow After macOS Tahoe — Here’s What Actually Fixes It
Apr 08, 2026