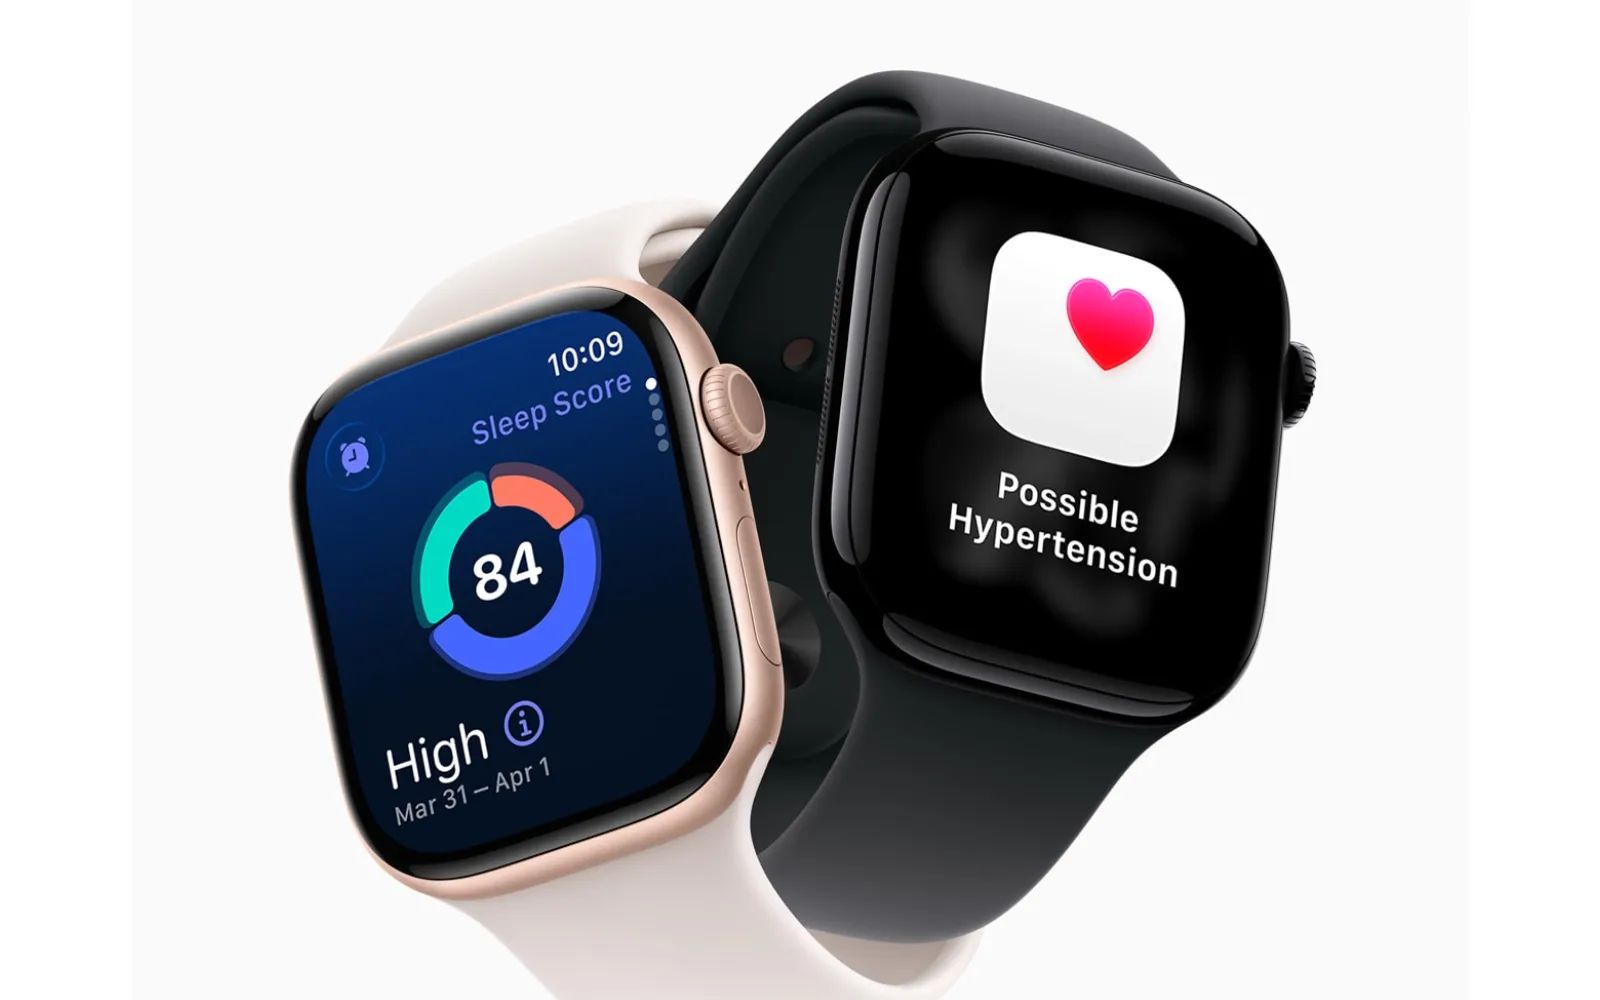
Apple Watch hypertension notifications use the optical heart sensor to analyze blood vessel responses over 30-day periods and alert you to patterns of chronic high blood pressure. To enable the feature, open the Health app on your iPhone, tap your profile icon, select Health Checklist, then tap Hypertension Notifications and follow the on-screen prompts. The feature works on Apple Watch Series 9 and later (including Ultra 2 and Ultra 3) running watchOS 26, paired with an iPhone 11 or later on iOS 26.
Hypertension affects roughly 1.3 billion adults worldwide, and it frequently goes undiagnosed because it rarely produces visible symptoms. A single blood pressure reading at a doctor's office can miss it entirely. That is what makes this watchOS 26 feature so significant: your Apple Watch runs its algorithm passively in the background while you go about your day, checking for sustained patterns rather than isolated spikes. If it detects something concerning, it sends a notification recommending that you follow up with a healthcare professional and begin logging your blood pressure with a traditional cuff for seven days.
Key Takeaways
- Open the Health app on your iPhone, tap your profile icon, then tap Health Checklist to find Hypertension Notifications.
- Compatible with Apple Watch Series 9, Series 10, Series 11, Ultra 2, and Ultra 3 running watchOS 26.
- The algorithm needs a full 30 days of wear data before it can send its first alert.
- Apple Watch does not display systolic or diastolic readings. It flags patterns, not numbers.
- If you receive an alert, Apple prompts you to log blood pressure with a physical cuff for seven consecutive days.
- You must be 22 or older, not currently pregnant, and not already diagnosed with hypertension to activate the feature.
At-A-Glance Comparison
Here is a quick comparison of how Apple Watch hypertension notifications stack up against traditional monitoring.
| Attribute | Apple Watch Hypertension Notifications | Traditional Blood Pressure Cuff |
|---|---|---|
| Monitoring Style | Passive, 24/7, over 30-day periods | Manual, on-demand spot checks |
| Readings Provided | Pattern alerts (no systolic/diastolic numbers) | Exact systolic and diastolic values |
| Compatible Models | Series 9, 10, 11, Ultra 2, Ultra 3 | Any standalone monitor |
| Best For | Early detection of undiagnosed hypertension | Ongoing tracking with precise numbers |
How the Algorithm Actually Works
The optical heart sensor on your Apple Watch already tracks your heart rate throughout the day. Hypertension notifications take that sensor data a step further by analyzing how your blood vessels respond to each heartbeat. The algorithm looks at pulse wave characteristics, specifically changes in light absorption caused by pulsatile blood flow, to estimate arterial stiffness. Stiff arteries are a hallmark of sustained high blood pressure.
What makes this different from a blood pressure cuff is duration. A cuff captures a single moment. Your Apple Watch captures weeks of continuous data while you sleep, exercise, sit at your desk, and walk through a parking lot. The Apple Support documentation confirms that the algorithm reviews data over rolling 30-day evaluation periods. If it detects a consistent pattern suggesting chronic high blood pressure, it sends a notification. If it does not detect that pattern, it stays silent. There is no daily score, no green-yellow-red indicator, and no way to do a manual spot check.
One detail worth noting: the feature identifies roughly 41% of people with hypertension and about 53% of those with more severe Stage 2 hypertension, based on Apple's FDA clearance data. The specificity is 92.3%, meaning that when you do receive a notification, there is a strong likelihood that elevated blood pressure is genuinely present. The tradeoff is that many people with milder hypertension will not receive an alert at all. That is a deliberate design choice. Apple opted to minimize false positives so that when a notification does arrive, you take it seriously rather than dismissing it as noise.
Setting Up Hypertension Notifications Step by Step
Before you begin, confirm that your Apple Watch is running watchOS 26 and your iPhone is running iOS 26. Open the Settings app on your Apple Watch and navigate to General, then Software Update to verify. On your iPhone, go to Settings, then General, then Software Update.
- Open the Health app on your iPhone.
- Tap your profile icon in the upper-right corner.
- Under the Features section, tap Health Checklist.
- Locate Hypertension Notifications and tap Set Up.
- Confirm your age and whether you have been previously diagnosed with hypertension, then tap Continue.
- Read through the information screens explaining how the feature works, tapping Next on each.
- Tap Done to complete activation.
Once activated, the feature begins collecting baseline data immediately. You will not receive any notifications for at least 30 days. That initial period lets the algorithm establish your personal cardiovascular baseline. After that, each subsequent 30-day window is a new evaluation cycle. Keep wearing your Apple Watch consistently, especially during sleep, to give the algorithm the most complete picture possible.
What To Do When You Receive a Hypertension Notification
A notification does not mean you have a medical emergency. It means your Apple Watch identified a sustained pattern worth investigating. Apple recommends two immediate actions: start logging your blood pressure with a traditional cuff for seven consecutive days, and schedule a conversation with your healthcare provider to review the data.
The Health app on your iPhone walks you through setting up a Blood Pressure Log. Open the Health app, tap the Browse tab, tap Heart, then tap Blood Pressure. From there, tap Get Started below Blood Pressure Log. The app prompts you to set morning and evening reminders so you measure consistently. After each reading with your cuff, you manually enter the systolic and diastolic values into the app. After seven days, you have a meaningful dataset to bring to your doctor.
If you have already been exploring Apple Watch health features, the guide on how Apple Watch detects heart problems before you feel them provides additional context on the broader heart monitoring ecosystem, including irregular rhythm notifications and ECG readings.
Choosing a Blood Pressure Cuff That Works With Your iPhone
Affiliate disclosure: some links in this article are Amazon Associate links. If you buy through them, Zone of Mac may earn a small commission at no extra cost to you, and we only recommend products that genuinely bring value to your Apple setup.
Apple does not manufacture a blood pressure cuff, which means you need a third-party monitor for the seven-day logging period. The cuff you choose matters more than you might expect. A monitor that syncs via Bluetooth to an app compatible with Apple Health eliminates the friction of manual data entry. Without that sync, you are typing numbers into the Health app twice a day for a week, and transcription errors creep in fast.
The OMRON Platinum (BP5465) is specifically designed for this workflow. It connects to the OMRON Connect app over Bluetooth, which then syncs readings to Apple Health automatically. That means every morning and evening measurement flows directly into the same Health app where your Apple Watch hypertension data lives. The monitor also includes its own AFib screening, so each blood pressure reading doubles as an atrial fibrillation check. The wide-range D-ring cuff fits arms from 9 to 17 inches, and the high-contrast backlit display shows your current reading next to your previous one for immediate comparison. There is a tactile click when you press the single Start/Stop button on the front panel, with enough resistance that you will not accidentally trigger a reading by bumping the unit on a nightstand.
Pick up the OMRON Platinum Blood Pressure Monitor (BP5465) on Amazon https://www.amazon.com/dp/B0DXXLYZTL?tag=zoneofmac-20
Who Can and Cannot Use This Feature
Apple has set clear eligibility boundaries. You must be 22 years or older, you must not be currently pregnant, and you must not have an existing hypertension diagnosis. That last requirement trips people up. If you already know you have high blood pressure and take medication for it, this feature is not designed for you. It is a screening tool for people who have not yet been diagnosed, not a monitoring tool for people already managing the condition.
Wrist Detection also needs to be enabled on your Apple Watch. If you have turned it off (some people do for specific accessibility reasons), navigate to the Settings app on your Apple Watch, tap Passcode, and toggle Wrist Detection on. Without it, the optical heart sensor does not continuously collect the data the algorithm needs.
The feature is not available on Apple Watch SE (any generation). It requires the advanced optical heart sensor found in Series 9 and later. If you are currently using an SE and want access to hypertension notifications, an upgrade to at least an Apple Watch Series 9 is necessary. For travelers, our guide to building an Apple Watch travel kit covers the accessories worth packing alongside your Watch for extended trips.
Understanding the Limitations
Calling this a "blood pressure monitor" is technically inaccurate, and the distinction matters. Apple Watch cannot measure blood pressure. It cannot tell you that your reading is 138/88. What it can do is detect patterns in your pulse wave data that correlate with chronic hypertension over time. Those are fundamentally different capabilities.
The algorithm also misses roughly half of all hypertension cases. If you never receive a notification, that does not confirm that your blood pressure is healthy. Annual checkups with traditional cuff readings remain essential. Think of the Apple Watch feature as an additional layer of screening that runs between doctor visits, not a replacement for them.
Skin tone, wrist size, tattoo coverage, and how tightly the Watch sits on your wrist can all influence sensor accuracy. The band should sit snug above the wrist bone, not loose enough to slide around. If you wear your Watch over a tattoo, the optical sensor may produce less reliable readings because the ink can interfere with light absorption measurements.
Join The Inner Circle For Serious Apple Users
Exclusive Apple tips. Free to join.
Check your inbox for a confirmation link.
Something went wrong. Please try again.
Accessibility and Clarity
Apple built hypertension notifications with a straightforward information architecture. There are no nested menus to navigate daily, no color-coded dashboards to interpret, and no manual triggers to remember. The feature either sends a notification or it does not. That binary simplicity reduces cognitive load for readers with ADHD or processing differences who might struggle with multi-step daily health routines.
VoiceOver on Apple Watch and iPhone fully supports the setup flow and notification content. When a hypertension notification arrives, VoiceOver reads the alert text and the recommended next steps aloud. The Blood Pressure Log in the Health app uses standard iOS form fields with proper accessibility labels, so entering systolic and diastolic values works reliably with assistive technology. For a broader look at Apple Watch accessibility, the guide on hidden watchOS accessibility features covers AssistiveTouch, haptic alerts, and other options that complement health monitoring.
The OMRON Platinum monitor's high-contrast backlit display with extra-large numbers is readable for users with low vision. The single-button operation avoids the confusion of multi-button interfaces, and the audible beep confirming measurement completion provides a non-visual cue that the reading is done.
Quick-Action Checklist
- Confirm watchOS 26 on Apple Watch: Settings > General > Software Update
- Confirm iOS 26 on iPhone: Settings > General > Software Update
- Enable Wrist Detection: Apple Watch Settings > Passcode > Wrist Detection On
- Activate feature: iPhone Health app > Profile icon > Health Checklist > Hypertension Notifications > Set Up
- Wait 30 days for baseline data collection
- If notified: Open Health > Browse > Heart > Blood Pressure > Get Started below Blood Pressure Log
- Measure with a cuff twice daily for 7 days, logging values in the Health app
- Bring your 7-day log to your healthcare provider for review

Tori Branch
Hardware reviewer at Zone of Mac with nearly two decades of hands-on Apple experience dating back to the original Mac OS X. Guides include exact settings paths, firmware versions, and friction observations from extended daily testing.
Related Posts
Build the Custom Apple Watch Face You Actually Want
Apr 06, 2026
Your Apple Watch Band Has a Cleaning Method Most Owners Skip
Apr 02, 2026
Your Apple Watch Has a Sleep System Most Owners Never Touch
Apr 02, 2026