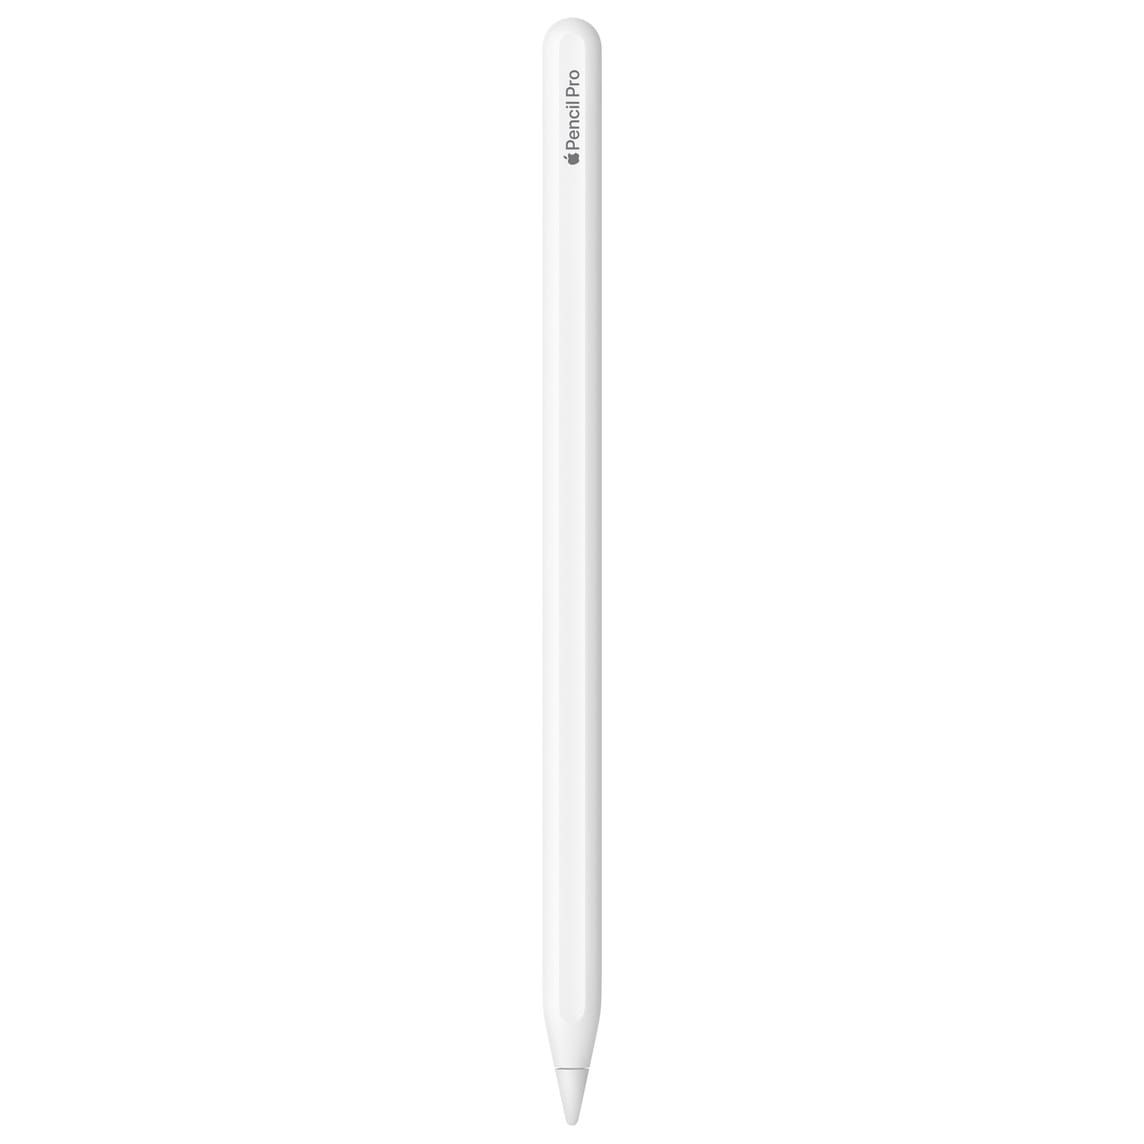
Apple sells four distinct Apple Pencil models as of February 2026, and each one connects to a different subset of iPads. The Apple Pencil Pro pairs magnetically with iPad Pro 13-inch (M4 and M5), iPad Pro 11-inch (M4 and M5), iPad Air 13-inch (M2 and M3), iPad Air 11-inch (M2 and M3), and iPad mini (A17 Pro). The second-generation Apple Pencil works with none of those newer iPads, and the first-generation Apple Pencil requires a Lightning connector that half the current lineup no longer has.
The complication most buyers hit is timing. You upgrade your iPad but keep your old Pencil, or you buy a Pencil online without checking the Apple Pencil compatibility page first, and the result is a stylus that physically will not pair with your tablet. This guide maps every Pencil to every compatible iPad in iPadOS 26, walks through the actual pairing process for each model, and covers the one accessory that fundamentally changes how the Pencil feels on glass.
Which Apple Pencil Actually Works With Your iPad
Compatibility splits along two axes: the physical connector and the internal sensor protocol. The Apple Pencil Pro uses Bluetooth LE with a proprietary handshake that only M-series and A17 Pro iPads recognize. The second-generation Apple Pencil uses an older version of that handshake, so it pairs with the 2018-2022 iPad Pro, iPad Air (4th and 5th generation), and iPad mini (6th generation), but not with anything newer. The USB-C Apple Pencil casts the widest net because it relies on a wired USB-C connection for initial pairing, then switches to Bluetooth for active use. And the first-generation Apple Pencil connects through Lightning, which limits it to iPads that still have a Lightning port plus the iPad (10th generation) and iPad (A16) with a USB-C to Apple Pencil Adapter.
There is a subtle trap in the USB-C Pencil's compatibility. It works with iPad Pro 11-inch (1st through 4th generation) and iPad Pro 12.9-inch (3rd through 6th generation), but it does not support pressure sensitivity on any of those iPads. You get tilt detection, low latency, and hover on compatible models, but the line weight stays uniform regardless of how hard you press. For handwriting and annotation, that is perfectly fine. For illustration work in Procreate or drawing apps, pressure sensitivity is non-negotiable, and you need either the Pro or the second-generation model.
How to Pair Each Model Step by Step
Apple Pencil Pro and Second-Generation Apple Pencil
Open Settings on your iPad and confirm Bluetooth is turned on. Attach the Apple Pencil to the magnetic connector on the long edge of your iPad. A pairing dialog appears within two to three seconds. Tap Pair. The entire process takes under ten seconds, and the Pencil begins charging immediately. One detail that catches people: the magnetic connector runs along a specific edge depending on your iPad orientation. If you hold the iPad in portrait mode, the connector is on the right side. In landscape, it is along the top. The magnet snaps firmly enough that you can feel a slight click, but the Pencil will slide off if you toss the iPad into a bag without a case that covers the edge.
Apple Pencil (USB-C)
Slide open the cap on the end of the Apple Pencil to reveal the USB-C connector. Plug it into your iPad's USB-C port using the cable that came with your iPad (or any USB-C cable). The Pair button appears on screen. Tap it. Disconnect the cable, and the Pencil switches to Bluetooth. The physical plug-in step is mandatory for the initial pair, but after that, the Pencil reconnects wirelessly whenever you bring it near the iPad. Charging also happens through any USB-C cable, which means you can top it off from a MacBook, a power bank, or a wall charger. That flexibility is genuinely useful if you are working away from your iPad for extended periods.
Apple Pencil (1st Generation)
Remove the cap from the top of the Pencil to expose the Lightning plug. For iPads with a Lightning port (iPad 6th through 9th generation), insert the plug directly into the iPad's Lightning port. The Pair button appears, and you tap it. For the iPad (10th generation) and iPad (A16), which have USB-C ports, you need the USB-C to Apple Pencil Adapter (sold separately). Plug the adapter into the Pencil's Lightning stem, connect a USB-C cable between the adapter and your iPad, and tap Pair. This adapter arrangement feels clumsy, there is no way around that. The adapter is small, easy to lose, and the cable-to-adapter-to-Pencil chain sticks out at an awkward angle. If you are buying new and your iPad supports the USB-C Pencil, that is the cleaner path.
Affiliate disclosure: some links in this article are Amazon Associate links. If you buy through them, Zone of Mac may earn a small commission at no extra cost to you, and we only recommend products that genuinely bring value to your Apple setup.
The Feature That Separates Pro From Everything Else
Barrel roll is the reason artists reach for the Apple Pencil Pro over any other model. A built-in gyroscope tracks the angle at which you rotate the Pencil around its long axis, and apps that support barrel roll (Procreate, Apple Notes, and a growing list of third-party drawing tools) change the brush orientation in real time. Rotating a flat calligraphy brush by rolling the Pencil in your fingers produces the same natural variation you get with a physical nib on paper. No other Apple Pencil model has this sensor. If you want to explore barrel roll in depth, Zone of Mac has a dedicated guide to setting up barrel roll in Procreate with Apple Pencil Pro.
Squeeze is the second Pro-exclusive gesture. A light pinch anywhere on the barrel opens a floating tool palette in supported apps, letting you switch brushes, colors, or tools without lifting your hand to the toolbar. A subtle haptic tap confirms the squeeze registered. After a few days of using it, reaching for the toolbar with your other hand starts to feel like an interruption.
Find My rounds out the Pro's hardware advantages. The Apple Pencil Pro appears in the Find My app alongside your other Apple devices, which matters more than it sounds. Apple Pencils are small, cylindrical, and prone to rolling off desks and into couch cushions. Having a Precision Finding beacon inside the Pencil means you can locate it down to the centimeter if your iPad supports Ultra Wideband.
The table below breaks down each Apple Pencil model by its standout capability, charging method, and which iPads it actually works with. Use it to settle the compatibility question before spending anything.
| Apple Pencil Model | Best For | Charging Method | Key Exclusive Feature |
|---|---|---|---|
| Apple Pencil Pro | Artists and note-takers on the newest iPads | Magnetic attachment | Barrel roll, squeeze, haptic feedback, Find My |
| Apple Pencil (2nd Gen) | Owners of 2018-2022 iPad Pro and iPad Air 4/5 | Magnetic attachment | Double-tap gesture, hover (M-chip iPads only) |
| Apple Pencil (USB-C) | Budget-conscious users who need basic input | USB-C cable | Widest compatibility range across current iPads |
| Apple Pencil (1st Gen) | Owners of older iPads (6th-10th gen standard iPad) | Lightning stem or USB-C adapter | Only Pencil for iPad 6th-9th gen and iPad Pro 9.7/10.5 |
What Makes Writing on Glass Feel Wrong and How to Fix It
Every Apple Pencil, regardless of model, shares the same limitation: the tip is hard polycarbonate sliding across smooth glass. That frictionless glide works well for navigation and casual annotation, but it fights against you during extended handwriting sessions. Your letters overshoot, your strokes feel imprecise, and your hand cramps from subconsciously gripping harder to compensate. This is not a defect. It is a physics problem. Paper has grain. Glass does not.
The Paperlike 2.1 screen protector solves this by adding a micro-textured surface that introduces controlled friction between the Pencil tip and the display. The texture is produced using what Paperlike calls Nanodots technology, a pattern of raised points that simulate the drag of paper fiber without significantly reducing screen clarity. Installation uses alignment stickers and takes about ten minutes. The protector sits flat against the display at 0.095mm thick, thin enough that it does not interfere with the magnetic charging area on iPads that charge the Pencil magnetically.
One tradeoff worth knowing: matte screen protectors soften the display slightly compared to bare glass. Colors look fractionally less vivid, and fine text at small sizes can appear slightly diffused. For users who split their time between drawing and media consumption, this is a real consideration. But if you do any sustained writing or illustration, the improved control is worth the tradeoff. The Pencil tip also wears more slowly on the protector surface compared to bare glass, which saves you from replacing tips as frequently.
If you are exploring which note-taking apps best complement the Apple Pencil, pairing a Paperlike protector with GoodNotes or Notability transforms the handwriting experience from tolerable to genuinely comfortable.
Pick up the Paperlike 2.1 Screen Protector for iPad Pro 13-inch on Amazon https://www.amazon.com/dp/B0D4B1JBH1?tag=zoneofmac-20
Join The Inner Circle For Serious Apple Users
Exclusive Apple tips. Free to join.
Check your inbox for a confirmation link.
Something went wrong. Please try again.
Hover, and Why It Only Works on Some iPads
Apple Pencil hover detects the Pencil tip up to 12 millimeters above the display surface. In drawing apps, hover previews the brush size, shape, and color before you make a mark. In general iPadOS navigation, hover highlights buttons and text fields as you approach them, providing visual feedback without committing to a tap. According to Apple's Human Interface Guidelines for Apple Pencil, developers should use hover to show previews and reduce the need for undoing accidental input.
Hover requires specific hardware in the display panel. It works on iPad Pro 11-inch (4th generation and later) and iPad Pro 12.9-inch (6th generation) with the second-generation Apple Pencil, and on all Apple Pencil Pro-compatible iPads with the Pencil Pro. The USB-C Apple Pencil supports hover on the same M-series iPads that the Pro supports. The first-generation Apple Pencil does not support hover on any iPad.
The practical effect of hover is most noticeable in Procreate, where it shows a ghost outline of your brush at the cursor position. You can see exactly where a stroke will land and how thick it will be before you touch down. For precise illustration work, this reduces wasted strokes and undo taps significantly.
Troubleshooting a Pencil That Refuses to Pair
The most common pairing failure is a Pencil trying to connect to an incompatible iPad. Before troubleshooting anything else, confirm your specific Pencil and iPad combination is listed in the compatibility chart above. If the match checks out and pairing still fails, try these steps in order:
- Open Settings, tap Bluetooth, and toggle Bluetooth off, then back on.
- Restart the iPad by holding the top button and either volume button until the power-off slider appears. Slide to power off, wait ten seconds, then press the top button to restart.
- For the Apple Pencil Pro and second-generation model, detach and reattach the Pencil to the magnetic connector.
- For the USB-C Pencil, try a different USB-C cable. Some third-party cables do not carry the data signal needed for pairing.
- For the first-generation Apple Pencil, check that the Lightning connector is clean and free of lint.
- Go to Settings, then Bluetooth, and look for your Apple Pencil in the list of devices. If it appears with an info icon, tap it and select Forget This Device, then attempt pairing again.
One edge case that trips up a surprising number of users: if your Apple Pencil is paired to a different iPad, it will not pair to a new one until you either forget the device on the original iPad or pair it to the new iPad using the physical connection method. The Pencil maintains a one-to-one pairing relationship.
Accessibility and Clarity
The Apple Pencil Pro's squeeze gesture and haptic feedback are significant accessibility wins. Users with limited fine motor control can switch tools without reaching across the screen to a toolbar, reducing the physical range of motion required during a drawing or note-taking session. The haptic confirmation tap is subtle but distinct enough that users who cannot visually confirm a tool switch can feel it instead.
Hover benefits users with visual impairments by enlarging UI targets before contact, making it easier to identify and hit small buttons. VoiceOver also works with Apple Pencil: you can tap the screen with the Pencil while VoiceOver is active, and it reads the element under the tip aloud. This means users who navigate by touch can use the Pencil as a precision pointer, reaching smaller interface elements that a finger might obscure.
Cognitive accessibility is well-served by the Pencil's single-purpose design. There is one button equivalent (double-tap on the second-generation model, squeeze on the Pro), and it performs one contextual action. The pairing process itself is straightforward: attach or plug in, tap Pair. There are no multi-step wizards, no confirmation codes, and no settings menus to navigate. The weakest point in cognitive accessibility is the compatibility situation itself. Four models with overlapping but different compatibility lists create a decision tree that requires research before purchase. If you also pair your iPad with an external keyboard to build a full workstation, the input method options multiply, but iPadOS 26 handles switching between Pencil and keyboard without manual mode changes.
Quick-Action Checklist: Pair Your Apple Pencil in 60 Seconds
- Check your iPad model in Settings, then General, then About. Note the model name.
- Confirm your Apple Pencil model (printed on the flat side of Pro and 2nd gen, or on the cap of 1st gen and USB-C).
- Cross-reference both against the compatibility table above.
- Open Settings, then Bluetooth, and make sure Bluetooth is on.
- Attach magnetically (Pro or 2nd gen), plug in via USB-C cable (USB-C model), or insert the Lightning stem into your iPad (1st gen).
- Tap Pair when the dialog appears.
- Open Notes and draw a test stroke to confirm pressure, tilt, and (if supported) hover are working.
- If you plan to write or draw extensively, apply a Paperlike screen protector for controlled friction and reduced tip wear.

Olivia Kelly
Staff writer at Zone of Mac with over a decade of Apple platform experience. Verifies technical details against Apple's official documentation and security release notes. Guides prioritize actionable settings over speculation.
Related Posts
Your iPad Moves Files Six Ways and You're Probably Using One
Apr 08, 2026
Your iPad’s Magic Keyboard Has a Shortcut Layer Most Owners Never Open
Apr 07, 2026
Your Apple Pencil Tip Is Wearing Out and You Can’t Even Tell
Apr 06, 2026