Every Mac ships with a PDF editor that most people never open on purpose. Preview, the app that launches when double-clicking any PDF, handles highlighting, form-filling, digital signatures, page merging, redaction, encryption, and file-size reduction without a single subscription fee. macOS Tahoe even adds a dedicated dark mode toggle for PDFs, something Adobe still has not shipped in Acrobat.
But there is a hard ceiling. Preview cannot edit existing text inside a PDF, cannot run OCR on scanned pages, and cannot create fillable form fields from scratch. Knowing exactly where that ceiling sits is the difference between saving $264 a year on Acrobat Pro and wasting an afternoon trying to coax Preview into doing something it was never built for. I am going to walk through every free PDF editing capability baked into macOS Tahoe, then point out the walls so you can decide, honestly, whether the built-in tools are enough for the work you actually do.
How I Actually Mark Up a PDF Without Paying for Acrobat
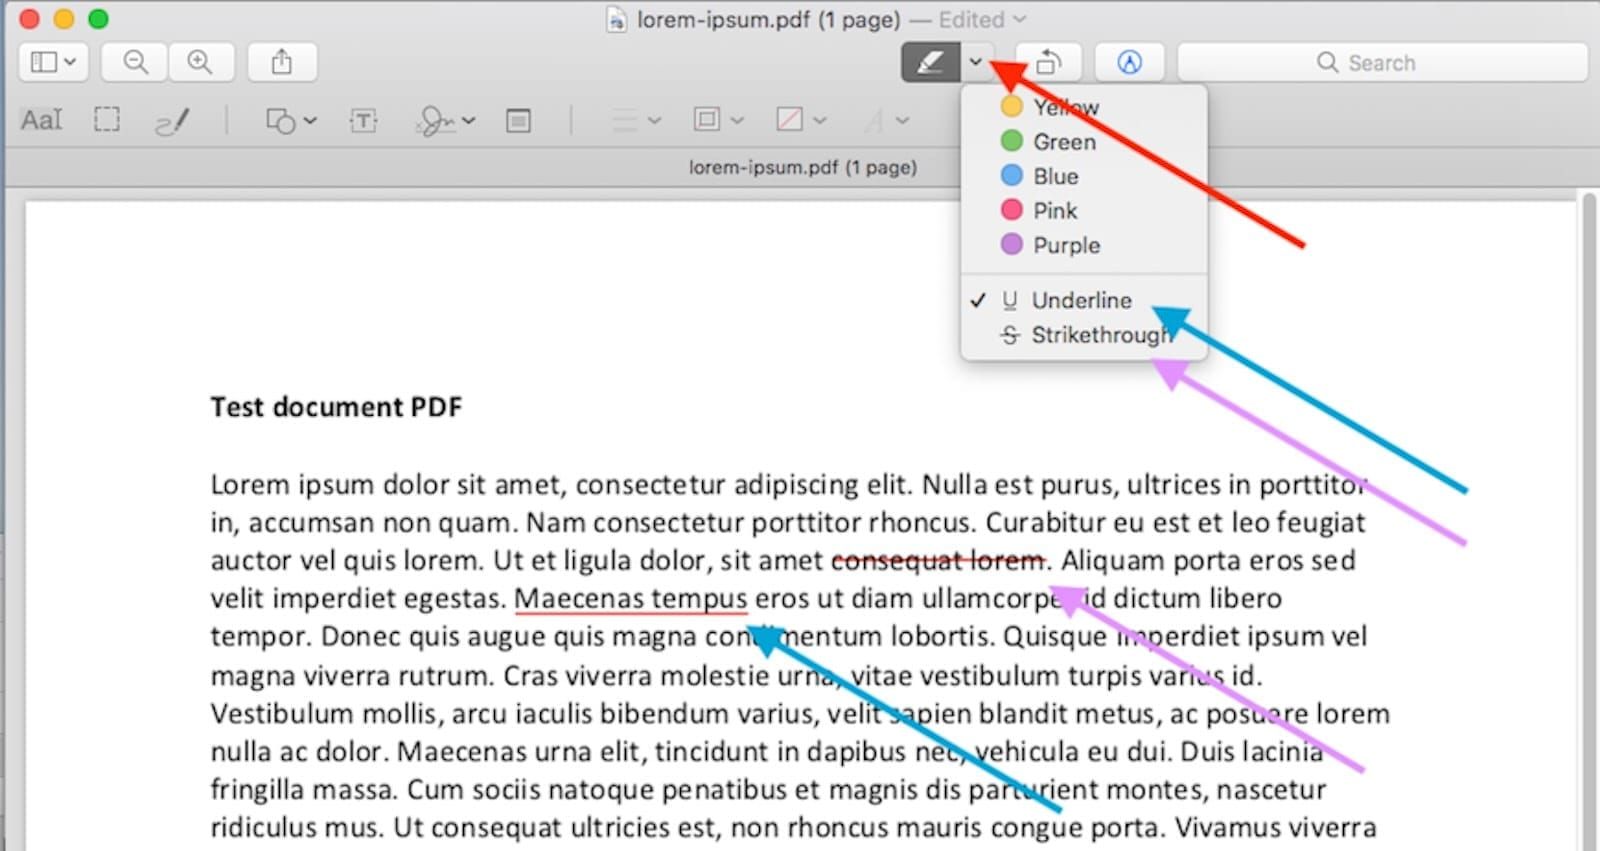
Open any PDF in Preview and press Shift-Command-A to reveal the Markup toolbar. From here, the tools break into two groups: annotation tools (highlight, underline, strikethrough) and drawing tools (shapes, text boxes, sticky notes, speech bubbles). The Preview User Guide documents every tool, but the guide buries a practical detail three clicks deep: you can change the default highlight color by clicking the small dropdown arrow beside the highlight button, and that color persists across sessions. I spent weeks manually reselecting yellow before finding that arrow tucked into a 14-pixel dropdown triangle.
For quick annotations without even opening Preview, select any PDF in Finder, press the Space bar to summon Quick Look, then click the Markup button in the toolbar. You can highlight, draw, sign, and add text right there. One caution: changes saved through Quick Look cannot be undone after you close the preview window. Treat Quick Look markup as permanent.
Signing PDFs With Your Trackpad, Camera, or iPhone
Preview offers three ways to capture a signature. You can draw directly on the trackpad, hold a signed piece of paper in front of the Mac camera, or sign on a connected iPhone or iPad through Continuity. Whichever method you choose, the signature syncs across all your Apple devices via iCloud, so signing once means signing everywhere.
The trackpad method works but demands a steady hand. I find the camera method more reliable: sign on white paper with a dark pen, hold it up, and Preview captures a clean vector trace in about two seconds. Once the signature is saved, placing it into any PDF field takes a single click from the Markup toolbar's signature dropdown.
Combining PDFs and Rearranging Pages Without Third-Party Apps
Go to View > Thumbnails to open the sidebar that makes page management possible. From here you can drag pages up or down to reorder them, press Delete to remove a page, or use Edit > Insert > Page from File to pull pages from another document. To merge two PDFs entirely, open both in Preview, display Thumbnails in each, then drag pages from one window into the other's sidebar. The result is a single combined document.
A quirk worth knowing: when you drag a page thumbnail between two Preview windows, the insertion indicator is a thin gray line that appears between existing thumbnails. On a Retina display, that line is barely one physical pixel wide. If you are working on a large monitor at arm's length, the visual feedback is easy to miss entirely, and you might drop the page in the wrong position. Zoom the Thumbnails sidebar by dragging its bottom-right resize handle first.
Redacting Sensitive Content So It Actually Disappears
Since macOS Big Sur, Preview has included genuine redaction through Tools > Redact. This is not the same as drawing a black rectangle over text. Redaction permanently strips the underlying data from the file, so no one can copy, search, or recover the hidden content. Before applying, Preview shows a confirmation dialog explaining the irreversibility. After saving, the original text is gone from the file's data stream. If you handle contracts, tax forms, or medical records, this single feature justifies Preview over screenshot-and-crop workarounds. Just like keeping your Mac secure with built-in macOS Tahoe tools, redaction is a native safeguard that requires zero additional software.
Password Protection, Encryption, and Shrinking Bloated PDFs
To encrypt a PDF, go to File > Export, click the Permissions button, and set an open password plus an owner password. The owner password controls whether recipients can print, copy text, or add annotations. This is 128-bit AES encryption, not a superficial lock.
In the same Export dialog, the Quartz Filter dropdown includes a Reduce File Size option. It aggressively compresses images and strips metadata. For a 40 MB scan-heavy PDF, I have seen reductions down to 8 MB. The trade-off is image quality: fine print in embedded photos may become unreadable. Always keep the original before applying this filter, especially if you are reclaiming hidden storage on your Mac and need to decide what to archive versus compress.
The macOS Tahoe Dark Mode Toggle for PDFs
macOS Tahoe introduces View > Use Dark Appearance for PDF in Preview. Unlike a simple color inversion, this is content-aware: it darkens the page background while preserving the relative contrast of images, charts, and colored text. Reading lengthy reports at night becomes significantly less painful. The toggle is per-document, so you can keep one PDF in light mode and another in dark mode simultaneously.
Scanning Paper Documents and Using Apple Pencil for Markup
Right-click any empty space in a Finder window, select Import from iPhone or iPad > Scan Documents, and your iPhone's camera activates as a document scanner. Continuity Camera auto-detects page edges, supports multi-page scanning, and offers Color, Grayscale, Black & White, and Photo filters. The scanned PDF lands directly in the Finder folder you right-clicked. This requires Wi-Fi, Bluetooth, and the same Apple Account on both devices.
Affiliate disclosure: some links in this article are Amazon Associate links. If you buy through them, Zone of Mac may earn a small commission at no extra cost to you, and we only recommend products that genuinely bring value to your Apple setup.
Continuity Camera works well for the occasional receipt or signed form, but it struggles with large batches. Feeding a 30-page contract through your iPhone camera one page at a time is tedious, and the results vary depending on lighting. A dedicated document scanner eliminates both problems by handling automatic duplex feeds and consistent exposure. The Fujitsu ScanSnap iX1600 connects over Wi-Fi, scans 40 pages per minute in duplex, and routes PDFs directly to any Mac folder, making it a strong companion for anyone who processes paper documents regularly.
For markup precision, Sidecar lets you extend your Mac display onto an iPad. Open a PDF in Preview, drag the window to the iPad screen, and mark up with pixel-level accuracy using a stylus. Continuity Markup is the lighter alternative: press Space bar on a PDF in Finder, click Annotate, then tap the iPad device icon to draw on the document directly.
The original Apple Pencil works with Sidecar, but the newer model adds pressure sensitivity and a squeeze gesture that toggles between pen and eraser instantly. When marking up dense legal PDFs or architectural drawings through Sidecar, that speed matters. The Apple Pencil Pro brings barrel roll for angled shading and haptic feedback for tool switches, which translates to faster, more precise annotations when working through Preview on an iPad display.
| Task | Preview (Free) | Acrobat Pro ($22/mo) |
|---|---|---|
| Highlight, underline, strikethrough | Yes | Yes |
| Fill interactive forms | Yes | Yes |
| Sign with trackpad or camera | Yes | Yes |
| Merge and rearrange pages | Yes | Yes |
| Redact sensitive content permanently | Yes | Yes |
| Password-protect and encrypt | Yes | Yes |
| Reduce file size | Yes | Yes |
| Dark mode for PDFs | Yes (Tahoe) | No |
| Edit existing text in-place | No | Yes |
| OCR scanned documents | No | Yes |
| Create interactive forms | No | Yes |
| Add watermarks, headers/footers | No | Yes |
Join The Inner Circle For Serious Apple Users
Exclusive Apple tips. Free to join.
Check your inbox for a confirmation link.
Something went wrong. Please try again.
Where Preview Hits a Wall
Preview cannot edit existing text inside a PDF. Clicking on a word will not produce a cursor; you can only overlay new text boxes on top of existing content. It also cannot run OCR on scanned documents, so a photographed page remains an image rather than searchable, selectable text. Creating interactive form fields, adding watermarks or headers, and exporting to PDF/A or PDF/X compliance formats are all outside its scope. If your workflow demands any of these, a paid tool becomes necessary.
For most personal and small-business tasks, though, the gap rarely matters. Signing a lease, redacting a Social Security number on a scanned form, merging three invoices into one file, encrypting a medical record before emailing it: these are the daily PDF tasks that Preview handles outright. Much like how the built-in Photos app on macOS Tahoe handles serious organization without needing Lightroom, Preview covers the PDF essentials without needing Acrobat.
Accessibility and Clarity: How Preview Serves Every User
VoiceOver reads text-based PDFs in Preview without issue, announcing headings, paragraphs, and form labels. Scanned PDFs, however, are silent: since Preview lacks OCR, VoiceOver sees only an image. For users who rely on screen readers, this is the most significant limitation. The built-in Edit > Speech > Start Speaking command offers a lighter text-to-speech option that reads selected text aloud, though it lacks VoiceOver's navigation controls.
The new Dark Mode toggle in macOS Tahoe helps users with light sensitivity or eye strain. Preview does not, however, generate a PDF/UA accessibility tree, so documents created or edited in Preview may not meet formal accessibility compliance standards for publishing. All Markup toolbar functions are accessible via keyboard shortcuts, and every instruction in this article uses spatial or textual descriptions rather than color-dependent references, so the steps work regardless of color vision differences.
Quick-Action Checklist
- Open PDF in Preview. Press Shift-Command-A to show Markup toolbar.
- Highlight, underline, or strikethrough: select tool from toolbar, drag across text.
- Sign a PDF: Markup toolbar > Signature button > create or select saved signature.
- Merge PDFs: View > Thumbnails in both files, drag pages from one sidebar to the other.
- Redact content: Tools > Redact, select text, save. Data is permanently removed.
- Encrypt: File > Export > Permissions > set open password and owner password.
- Reduce file size: File > Export > Quartz Filter > Reduce File Size.
- Dark mode: View > Use Dark Appearance for PDF (macOS Tahoe only).
- Scan paper: Right-click in Finder > Import from iPhone or iPad > Scan Documents.
- Sidecar markup: Drag Preview window to iPad screen, annotate with Apple Pencil.

Olivia Kelly
Staff writer at Zone of Mac with over a decade of Apple platform experience. Verifies technical details against Apple's official documentation and security release notes. Guides prioritize actionable settings over speculation.
Related Posts
Seven Mac Accessories That Turn a Good Desk Into a Great One
Apr 10, 2026
Your Mac Has a Networking Time Bomb That Only a Reboot Defuses
Apr 09, 2026
Your Mac Feels Slow After macOS Tahoe — Here’s What Actually Fixes It
Apr 08, 2026