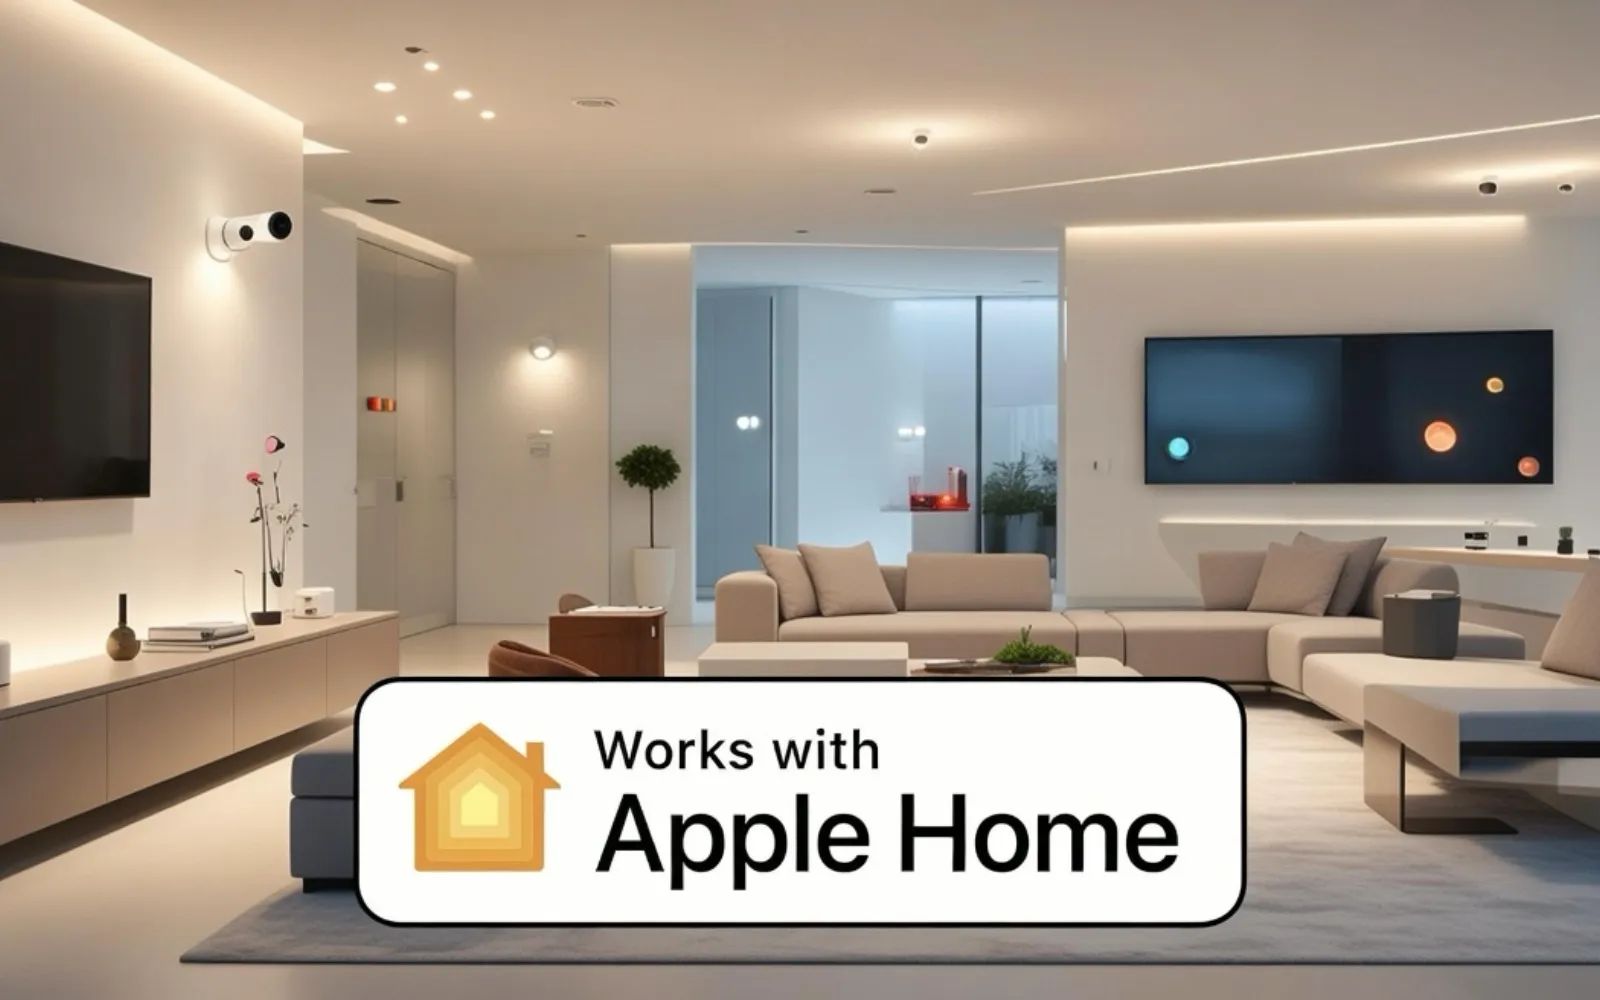
Motorized window shades that respond to Apple HomeKit give you a single tap or voice command to control every window in your home, and they slot into the same automations that already manage your lights, locks, and thermostat. The complication most people run into is choosing between a motor that connects directly to Apple Home via Thread and one that requires a separate hub, because that choice determines how fast your shades respond, how many devices your mesh network can support, and whether your automations survive an internet outage.
I am going to walk you through both approaches, show you how to build scenes and schedules that open your shades at sunrise and close them at sunset, and explain the one automation trigger most guides skip entirely.
Why HomeKit Window Shades Beat a Simple Timer
A basic motorized shade with a timer opens and closes at fixed times. That works until the seasons shift and sunrise drifts by an hour, or until you leave for vacation and want the shades to simulate someone being home. Apple HomeKit treats window coverings as a native accessory category with its own set of characteristics: Current Position, Target Position, and Position State. The Apple Home app on your iPhone, iPad, or Mac places a shade on a percentage slider from 0 (fully closed) to 100 (fully open), and you can set any position in between.
The real advantage is conditional logic. A HomeKit automation can open your bedroom shades at sunrise, but only on weekdays, and only when your iPhone is detected at home. A timer cannot do that. A HomePod mini or Apple TV 4K acting as a home hub runs the automation locally without touching any cloud server. Your shades still move on schedule when your Wi-Fi drops, because Thread and Bluetooth communicate directly between the hub and the motor.
Apple documents the Window Covering service type in its HomeKit Accessory Category developer documentation, and every certified shade motor must support these characteristics to earn the Works with Apple Home badge.
Picking the Right Motor for Your Blinds
Two categories of HomeKit shade motors dominate the market: bridge-free Thread/Bluetooth motors and Zigbee motors that require a hub. The distinction matters more than you might expect, because it affects response time, mesh reliability, and how many devices you can add before your network slows down.
Affiliate disclosure: some links in this article are Amazon Associate links. If you buy through them, Zone of Mac may earn a small commission at no extra cost to you, and we only recommend products that genuinely bring value to your Apple setup.
The Bridge-Free Option: Eve MotionBlinds
The Eve MotionBlinds Upgrade Kit slides a rechargeable motor into the tube of your existing roller blind, replacing the bead chain. You scan the HomeKit setup code printed on the motor housing, and the Apple Home app pairs it over Bluetooth in under a minute. Once a HomePod mini, HomePod (2nd generation), or Apple TV 4K (2nd or 3rd generation, 128 GB model) is on your network, the motor joins your Thread mesh automatically.
Thread is what makes this motor feel instant. Thread devices form a self-healing mesh network, so every Thread accessory in your home strengthens the signal path. Commands from Siri or the Home app travel from your home hub to the motor directly over Thread, and the shade moves within one to two seconds. The USB-C rechargeable battery lasts roughly twelve months with typical daily open-and-close cycles, and the motor fits standard roller blind tubes with an inner diameter of 25 mm to 38 mm.
One friction point worth knowing: IKEA and Hunter Douglas roller blinds use non-standard tube diameters, so the Eve motor will not fit those brands without modification. Measure your tube before ordering. The motor also sits slightly off-center inside the tube when the fabric is fully rolled up, which creates a faint wobble during the first two rotations of travel. It smooths out once the fabric tension equalizes, but it is noticeable if you are watching closely during the first deployment.
Pick up the Eve MotionBlinds Upgrade Kit on Amazon https://www.amazon.com/dp/B0BVTZ8ZSD?tag=zoneofmac-20
The Budget Route: Aqara Roller Shade Driver E1
The Aqara Roller Shade Driver E1 clamps onto the outside of your existing bead chain and uses a small motor to pull the chain up or down. Installation takes about five minutes per window: mount a bracket, clip the driver onto the chain, and pair it through the Aqara Home app over Zigbee 3.0. From the Aqara app, you expose the driver to Apple HomeKit, and it appears in the Home app as a standard window covering accessory.
The tradeoff is the hub requirement. You need an Aqara Hub M2, Hub M3, or Hub E1 plugged into your network to bridge Zigbee commands into HomeKit. If you already own Aqara sensors or switches, you have the hub and the Shade Driver E1 slots right in. Starting fresh means the hub adds cost and another device to your power strip.
Battery life is the other significant difference. The Aqara driver runs for roughly two months on a single USB-C charge with two open-close cycles per day. The pull-cord mechanism produces a distinct clicking sound as the bead chain feeds through the driver. It is not loud enough to wake someone in the next room, but you will hear it clearly sitting within a few feet of the window. Over time, the bead chain can stretch slightly from the motorized tension, which may require readjusting the chain length after several months.
You can grab the Aqara Roller Shade Driver E1 here https://www.amazon.com/dp/B097YFL7RS?tag=zoneofmac-20
Here is a side-by-side look at the two strongest HomeKit shade motor options for most setups:
| Feature | Eve MotionBlinds Upgrade Kit | Aqara Roller Shade Driver E1 |
|---|---|---|
| Protocol | Bluetooth + Thread (no bridge) | Zigbee 3.0 (requires Aqara Hub) |
| Power | USB-C rechargeable (approx. 12 months) | USB-C rechargeable (approx. 2 months) |
| Setup | Scan HomeKit code, no app needed | Aqara Home app, then expose to HomeKit |
| Best For | Apple-only households wanting zero bridges | Budget-conscious homes with existing Aqara gear |
How to Add Shades to Apple Home and Build Your First Scene
Once your motor is installed and paired, open the Home app on your iPhone. Tap the plus icon in the upper-right corner, then tap Add Accessory. For Thread and Bluetooth motors like the Eve, point your camera at the HomeKit setup code on the motor or its packaging. For Zigbee motors like the Aqara, the accessory should already appear in the Home app after you have exposed it through the manufacturer's app.
Assign the shade to the correct room. This matters for Siri commands. Saying "Hey Siri, close the bedroom shades" only works if the shade is assigned to a room named Bedroom. You can rename the accessory to something specific like "Left Window" or "South Shade" so you can target individual windows without closing every shade in the room.
To create a scene, open the Home app, tap the plus icon, and choose Add Scene. Name it something you will actually say aloud: "Good Morning" or "Movie Mode" works better than "Scene 1." Tap Add Accessories, select your shades, and set the target position for each one. A living room movie scene might close the shades to 0%, dim the lights to 15%, and nothing else. Tap Done, and the scene is ready. Trigger it from the Home app, from Control Center on your iPhone, or by saying "Hey Siri, set Movie Mode."
If you have already built your first Apple HomeKit smart home, adding shades to existing scenes is a two-tap process. Open the scene, tap Add Accessories, select the new shade, set its position, and save.
The Automation Trigger Most Guides Skip
Sunrise and sunset automations are the obvious starting point. You create these in the Home app under Automations, choosing "A Time of Day Occurs" and selecting sunrise or sunset. You can offset the trigger by up to sixty minutes before or after the actual event, which is useful when you want shades open thirty minutes before sunrise to catch the first light.
The trigger that most setup guides overlook is "When Someone Arrives" and "When Someone Leaves." These use the geofencing built into your iPhone and Apple Home to detect when the last person leaves the house or when the first person arrives. Pair that with your shades, and you get a vacation-mode automation that closes the shades when you leave and opens them when you return, without setting a single timer.
To set this up, go to Automations in the Home app, tap the plus icon, and choose "A Person Arrives" or "A Person Leaves." Select your home location, choose which shades to control, set the target position, and enable the automation. You can restrict it to specific times of day, so the shades only close on departure during daylight hours.
Join The Inner Circle For Serious Apple Users
Exclusive Apple tips. Free to join.
Check your inbox for a confirmation link.
Something went wrong. Please try again.
Accessibility and Clarity
Motorized HomeKit shades are a genuine accessibility improvement over manual blinds. For users with limited mobility or reach, pulling a bead chain or twisting a wand to tilt slats can be physically demanding or impossible. A Siri voice command eliminates that barrier entirely. VoiceOver on iPhone reads the shade's current position percentage aloud, so visually impaired users know exactly where their shades are set without needing to walk over and check.
The Apple Home app presents shade controls as a simple vertical slider, large enough to operate comfortably with Switch Control or AssistiveTouch. The interface uses a numerical percentage readout rather than color-dependent indicators, keeping it accessible regardless of color vision. The automation setup flow uses a linear, step-by-step wizard with clear labels at each stage, which keeps the process predictable for users with ADHD or dyslexia. Combining shade control with HomeKit Secure Video doorbells or water leak sensors gives you a safety layer that extends beyond convenience into genuine home protection.
Quick-Action Checklist
- Measure your roller blind tube inner diameter (25 mm to 38 mm for Eve, bead chain for Aqara)
- Confirm you have a home hub: HomePod mini, HomePod (2nd gen), or Apple TV 4K (2nd or 3rd gen, 128 GB)
- Install the motor and scan the HomeKit setup code in the Apple Home app
- Assign the shade to the correct room and give it a descriptive name
- Create a Good Morning scene that opens shades and turns on lights
- Create a Goodnight scene that closes shades, dims lights, and locks doors
- Set a sunrise automation with a 30-minute offset to catch early light
- Set a sunset automation to close shades when daylight fades
- Add a When Everyone Leaves automation to close shades on departure
- Add a When First Person Arrives automation to open shades on return

Deon Williams
Staff writer at Zone of Mac with two decades in the Apple ecosystem starting from the Power Mac G4 era. Reviews cover compatibility details, build quality, and the specific edge cases that surface after real-world use.
Related Posts
HomeKit Smart Blinds That Earn a Spot in Your Apple Home
Apr 10, 2026
Apple TV+ Dropped Six April Premieres and Three Actually Deliver
Apr 10, 2026
HomeKit Ceiling Fans That Earn a Spot in Your Apple Home
Apr 07, 2026