Apple Music on iPhone and Mac ships with a handful of audio settings turned to defaults that work against your listening experience. Song Transitions, Dolby Atmos, Lossless Audio, Sound Check, and the Explicit Content filter each change how your music sounds and what your library shows you. Whether you want to turn off crossfade in Apple Music, disable explicit music for your family, or enable Spatial Audio, the complication is that several of these settings conflict with each other, and turning on the wrong combination can actually degrade your audio quality or break features you depend on.
This guide walks through the six Apple Music settings worth changing in iOS 26 and macOS Tahoe, explains which ones fight each other, and flags the specific trade-offs Apple buries in sub-menus. Whether you want cleaner playlist transitions, family-safe filtering, or the best possible audio fidelity from your AirPods, the order you change these settings matters.
AutoMix Replaced Crossfade, and You Might Want It Gone
When Apple launched iOS 26, it introduced AutoMix as the new default Song Transition style. AutoMix analyzes the key and tempo of consecutive tracks and attempts to blend them the way a DJ would, using beat matching and time stretching. On paper, this sounds impressive. In practice, AutoMix stumbles frequently on eclectic playlists where genres collide. A mellow acoustic track bleeding into a hip-hop banger at the wrong beat creates a jarring overlap that is worse than silence.
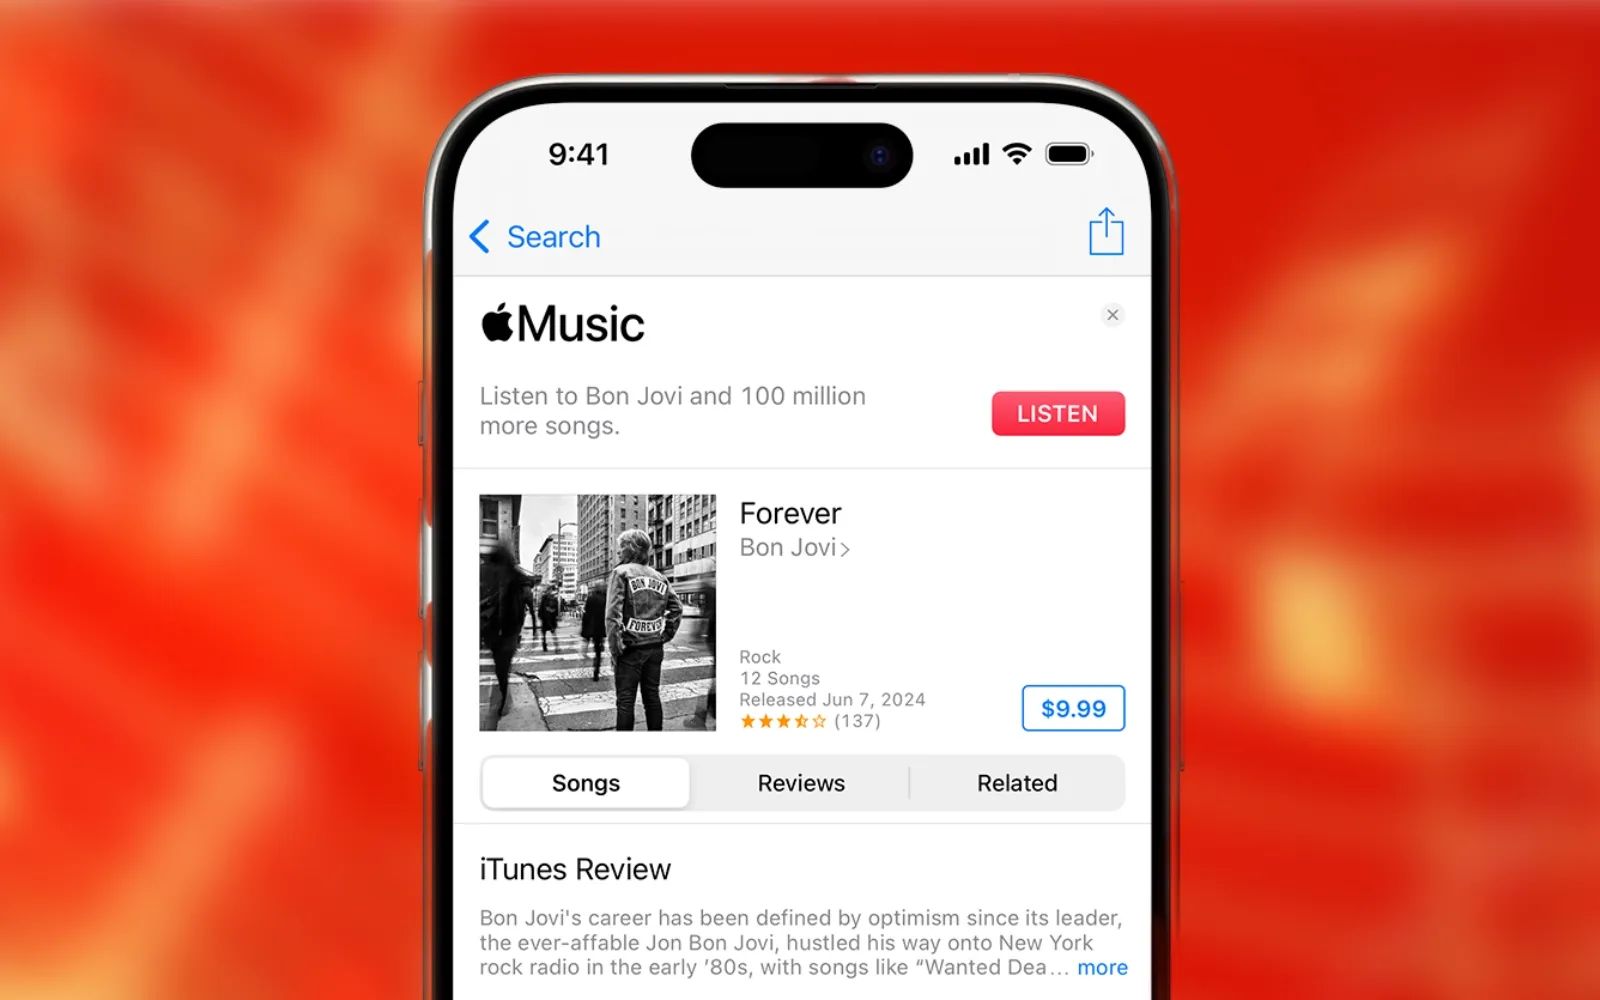
Here is how to turn off crossfade in Apple Music on iPhone. Open Settings, tap Apps, then Music, then Song Transitions. You have three choices: AutoMix, Crossfade, or Off. Crossfade uses a fixed timer (adjustable from 1 to 12 seconds) to fade one track out while fading the next in. Most listeners find 3 to 5 seconds comfortable. Turning Song Transitions off entirely gives you clean silence between tracks, which is what album listeners typically prefer.
One friction point worth knowing: AutoMix only works on Apple Silicon Macs. Intel Mac owners see only Crossfade and Off. On iPhone, all three options are available regardless of model, but AutoMix requires an active Apple Music subscription. Crossfade works with both subscription and purchased music.
Here is the critical trade-off nobody mentions up front. Crossfade is incompatible with Lossless Audio. The moment you enable Crossfade on a track that is streaming in Lossless, Apple Music quietly falls back to standard AAC quality for that transition. You will not see a warning. The Lossless badge may still appear in Now Playing, but the actual audio stream downgrades during the overlap. Choose one or the other: smooth transitions or full-fidelity playback. Apple documents this behavior on its Song Transitions support page.
Dolby Atmos Sounds Incredible, Until It Doesn't
Spatial Audio with Dolby Atmos wraps music around your head in a three-dimensional field. Vocals float forward, instruments spread wide, and the entire mix gains depth. On well-produced Atmos tracks, the effect is genuinely stunning. The problem is that not every track in the Apple Music catalog has an Atmos mix, and Apple handles the fallback poorly.
Go to Settings, tap Apps, then Music, and look for Dolby Atmos. You will see three options: Automatic, Always On, and Off. Automatic plays Atmos only when you are connected to compatible hardware like AirPods, AirPods Pro, AirPods Max, or any Beats headphones with an H1 or W1 chip. Always On forces Atmos rendering even on non-optimized headphones, which can make stereo tracks sound hollow or thin. My recommendation: leave it on Automatic and let iOS handle the detection.
On Mac, open the Music app, click Music in the menu bar, then Settings, and navigate to the Playback tab. The Dolby Atmos toggle lives there. MacBook Pro speakers from 2018 onward, MacBook Air from 2018 onward, and the Apple Studio Display all support native Atmos playback without external hardware. Apple documents the full list of compatible devices on its Spatial Audio with Dolby Atmos support page.
Lossless Audio Is Off by Default (on Purpose)
Apple Music offers its entire catalog in Lossless and Hi-Res Lossless formats at no extra cost. Lossless delivers 24-bit/48 kHz quality using Apple's ALAC codec, while Hi-Res Lossless goes up to 24-bit/192 kHz. Neither is enabled by default because both consume significantly more data and storage than standard AAC.
To enable Lossless on iPhone, go to Settings, tap Apps, then Music, then Audio Quality. Toggle Lossless Audio on. From there you can set separate quality levels for Wi-Fi streaming, cellular streaming, and downloads. On Mac, open the Music app, choose Music from the menu bar, click Settings, then Playback, and check the Lossless Audio box.
Here is what most guides skip: Lossless Audio does not stream wirelessly to AirPods, AirPods Pro, or AirPods Max over Bluetooth. Bluetooth uses the AAC codec, which compresses the audio before it reaches your ears. To hear actual Lossless playback, you need either wired headphones connected to your device, a USB digital-to-analog converter (DAC) for Hi-Res Lossless, or a HomePod. The 14-inch and 16-inch MacBook Pro models support native Lossless playback up to 96 kHz through their headphone jacks. Other Macs require an external DAC for anything above 48 kHz. Apple details these requirements on its Lossless Audio support page.
Affiliate disclosure: some links in this article are Amazon Associate links. If you buy through them, Zone of Mac may earn a small commission at no extra cost to you, and we only recommend products that genuinely bring value to your Apple setup.
Why Your Headphones Decide Which Settings Actually Matter
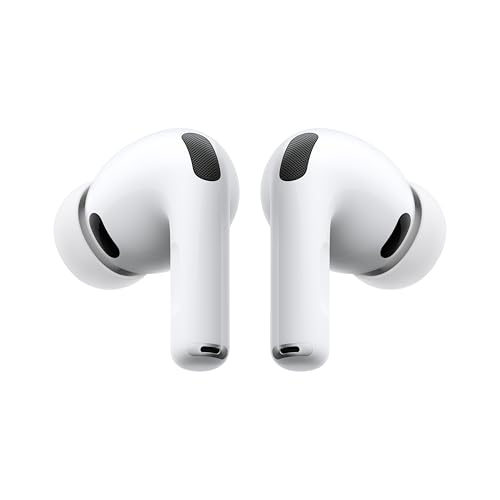
The settings above only reach their potential when your hardware can keep up. Spatial Audio with Dolby Atmos and head tracking requires AirPods with an H1 or H2 chip. Adaptive EQ, which tunes the frequency response to the shape of your ear canal in real time, runs exclusively on AirPods Pro models. Personalized Spatial Audio, which maps your ear geometry using the TrueDepth camera on your iPhone, works only with AirPods Pro and AirPods Max. Without compatible hardware, half the Apple Music settings menu becomes theoretical.
The AirPods Pro 3 represent the widest coverage of these features in a single product. They support Spatial Audio with dynamic head tracking, Adaptive EQ, Personalized Volume (which learns your listening patterns over time), and active noise cancellation that removes up to two times more ambient sound than the previous generation. The new multiport acoustic architecture delivers noticeably wider bass response and clearer vocal separation compared to the AirPods Pro 2. The redesigned foam-infused ear tips, available in five sizes including a new XXS option, seal tighter than previous silicone-only tips, and that improved seal directly affects how well noise cancellation and Adaptive EQ perform. Battery life with ANC enabled stretches to about eight hours, a 33 percent jump from the prior model. For a deep look at how AirPods audio features integrate with macOS Tahoe and iOS 26, see our guide to the hidden audio power of AirPods Max.


Pick up the Apple AirPods Pro 3 on Amazon https://www.amazon.com/dp/B0FQFB8FMG?tag=zoneofmac-20
At-a-Glance: Which Settings to Change and Why
The table below summarizes the four most impactful Apple Music settings, where to find them on iPhone, who benefits from changing them, and the specific trade-off to watch for.
| Setting | Where to Find It | Who Should Change It | Watch Out For |
|---|---|---|---|
| Song Transitions (AutoMix/Crossfade) | Settings > Apps > Music > Song Transitions | Playlist listeners who want smooth flow | AutoMix skips awkwardly on eclectic playlists |
| Dolby Atmos | Settings > Apps > Music > Dolby Atmos | AirPods or compatible headphone owners | Not all tracks are mixed in Atmos |
| Lossless Audio | Settings > Apps > Music > Audio Quality | Wired headphone or HomePod listeners | Incompatible with Crossfade; uses more data |
| Explicit Content Filter | Settings > Screen Time > Content Restrictions | Parents or shared-device households | Filter occasionally misses flagged tracks |
Block Explicit Content Without Locking Down Everything Else
Knowing how to turn off explicit music in Apple Music is surprisingly unintuitive because the filter lives inside Screen Time, not inside the Music app itself. This trips up a lot of people. On iPhone, go to Settings, tap Screen Time, then Content and Privacy Restrictions. Turn the toggle on, then tap Content Restrictions, then tap Music, Podcasts, and News. Choose Clean to block explicit content, or Explicit to allow it. Set a Screen Time passcode so the setting cannot be changed without your permission.
To disable explicit content in Apple Music on Mac, open System Settings, click Screen Time in the sidebar, then click Content and Privacy. Turn it on, click Content Restrictions, and toggle off the Allow Explicit Music, Podcasts, and News option. On the Apple Music web player at music.apple.com, click your profile icon, choose Settings, scroll to Parental Controls, enable Content Restrictions, and set a four-digit passcode.
Two important caveats. First, the filter is not perfect. Some users report explicit tracks still appearing in search results even with restrictions enabled. Parents should verify periodically that the filter is catching what it should. Second, the Clean setting applies globally across Music, Podcasts, and News. You cannot block explicit music while keeping explicit podcasts available, or vice versa. It is all or nothing within that toggle.
Join The Inner Circle For Serious Apple Users
Exclusive Apple tips. Free to join.
Sound Check Normalizes Volume (and Does Not Compress Your Music)
Sound Check analyzes each track's loudness and applies a gain adjustment so that quiet songs and loud songs play at a consistent volume. It does not compress dynamic range. A common misconception circulating on audio forums claims Sound Check flattens your music the way a compressor would. That is incorrect. Sound Check only raises or lowers the overall volume of each track to match a target loudness level. The dynamics within each song remain untouched.
On iPhone, go to Settings, tap Apps, then Music, and toggle Sound Check on or off. On Mac, open the Music app, click Music in the menu bar, choose Settings, click Playback, and check or uncheck Sound Check. Leave this on unless you specifically enjoy the natural volume variation between albums, which some audiophiles prefer when listening to full albums in sequence.
Accessibility and Clarity
Apple Music's settings are mostly VoiceOver-compatible. The Song Transitions slider, Dolby Atmos picker, and Lossless toggles all read correctly with VoiceOver on iPhone and Mac. The Screen Time path for explicit content filtering is more convoluted for screen reader users because it requires navigating through multiple nested menus (Settings, Screen Time, Content and Privacy Restrictions, Content Restrictions, Music Podcasts and News), but each step is labeled and accessible.
For users with light sensitivity, the Music app in iOS 26 respects system-wide Dark Mode and the Reduce White Point accessibility setting, which dims the brightest areas of the display. The Now Playing screen uses album artwork as a background, and some bright covers can cause discomfort. Reduce White Point in Settings, Accessibility, Display and Text Size helps with this. For readers building playlists to go with these settings, we covered how to generate custom Apple Music playlists using ChatGPT on iPhone and Mac.
Cognitive accessibility is strong overall. Each setting lives in a predictable location (either the Music section of the Settings app or Screen Time), and Apple avoids deep nesting for the audio-related toggles. The one exception is the explicit content filter, which requires four taps to reach. Users with ADHD or working memory limitations may find it helpful to use Spotlight Search on iPhone (swipe down on the Home Screen and type the setting name) to jump directly to Screen Time rather than navigating manually.
Quick-Action Checklist
- Open Settings, tap Apps, tap Music, tap Song Transitions. Choose Crossfade (3 to 5 seconds) or Off. Disable AutoMix unless you listen exclusively to same-genre playlists.
- In the same Music settings screen, tap Dolby Atmos. Set it to Automatic.
- Tap Audio Quality. Toggle Lossless Audio on. Set Wi-Fi to Lossless and Cellular to High Quality to conserve data.
- Back out to the main Settings screen. Tap Screen Time, then Content and Privacy Restrictions. Turn it on, tap Content Restrictions, tap Music Podcasts and News, and choose Clean or Explicit.
- Return to Settings, Apps, Music. Toggle Sound Check on.