🎧 Listen to this article
Prefer to listen? An audio version of this article is available for accessibility and convenience.
The charging case is the part of AirPods most people forget about until something goes wrong. I get that. The earbuds are the stars, the case is just the box they sleep in. But every AirPods problem I troubleshoot for friends and family traces back to that case more often than to the earbuds themselves. A dead case means dead AirPods, no matter how much battery the buds have left, and the symptoms of a failing case are subtle enough that most people blame the earbuds first.
Every current AirPods model charges through USB-C. That is the one thing Apple standardized across the lineup. But everything else about charging — from wireless compatibility to LED behavior to how firmware actually updates — differs by model in ways Apple does not make obvious. The AirPods Pro 3 case supports MagSafe, Qi wireless, and even an Apple Watch charger. The standard AirPods 4 case supports none of those. Buying the wrong replacement charger because you assumed all AirPods cases work the same way is one of the most common mistakes I see.
That confusion is exactly what this guide exists to fix.
 Ad
AdWhat the LED on Your Case Is Telling You
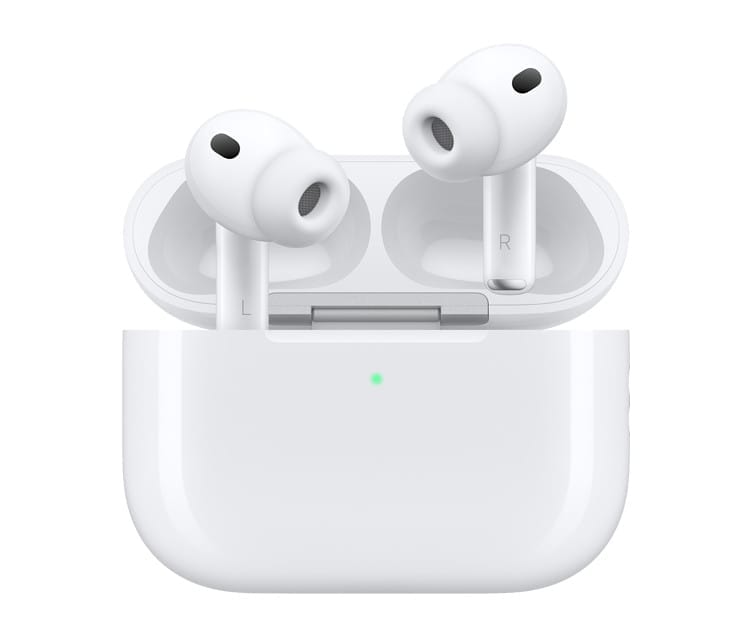
The single LED on your AirPods case communicates more than most people realize. Green means fully charged. Amber means the case is actively charging or the battery is low. A flashing white light means the case is in pairing mode, ready to connect to a new device. A flashing amber light means something has gone wrong and the case needs a reset.
No light at all means the battery is completely dead.
Here is the one that surprises people: if your AirPods case shows a blue light, they are counterfeit. Genuine Apple AirPods never display blue. Apple does not use blue LEDs in any AirPods product. That single detail has helped me identify knockoffs for three different people who bought from third-party Amazon sellers thinking they were getting authentic product.
Charging Methods Across Every Current Model
Not every AirPods case charges the same way, and the differences matter when you are shopping for a charger or trying to figure out why your case will not charge on a specific pad.
Charging capabilities vary significantly across the current AirPods lineup. This table compares every charging method supported by each model.
| Model | USB-C | MagSafe | Qi | Qi2 | Apple Watch Charger | Find My Speaker | IP Rating |
|---|---|---|---|---|---|---|---|
| AirPods Pro 3 | Yes | Yes | Yes | Yes | Yes | Yes | IP57 |
| AirPods Pro 2 (USB-C) | Yes | Yes | Yes | No | Yes | Yes | IP54 |
| AirPods 4 with ANC | Yes | No | Yes | No | Yes | Yes | IP54 |
| AirPods 4 (standard) | Yes | No | No | No | No | No | IP54 |
| AirPods 3 | Yes | Yes | Yes | No | Yes | No | IPX4 |
MagSafe is Apple’s proprietary magnetic alignment system. It snaps the case into the correct position on the charging pad using embedded magnets, which eliminates the misalignment problem that plagued older Qi chargers. Qi is the universal wireless charging standard that uses induction without magnets, so you have to position the case manually. Qi2 is the newer universal standard that borrows MagSafe’s magnetic alignment concept and delivers up to 15 watts, which is super handy because it means third-party Qi2 chargers work just as reliably as Apple’s own MagSafe puck.
The Apple Watch charger compatibility is the detail most people miss entirely. Several AirPods cases can charge directly on an Apple Watch charging puck, which means you can leave one charger on your nightstand and alternate between your watch and your AirPods without swapping cables.
Why Your AirPods Case Stopped Charging
The most common charging failure has nothing to do with a defective case. Lint and pocket debris accumulate inside the USB-C port over time, creating a physical barrier between the cable and the charging contacts. A wooden toothpick or a dry, soft-bristled brush clears it out in seconds. I find that roughly half the people who think their case is broken just need to clean the port.
The second most common issue: a case below 10 percent battery may fail to charge the AirPods inside it. The case prioritizes its own charging over the earbuds when its battery drops too low. Plug the case in, wait five minutes, then open the lid to check whether the earbuds start charging. Five minutes of USB-C charging gives the case enough power to deliver roughly one hour of listening time to the earbuds, which is a useful benchmark when you are running late and need a quick top-up.
Wireless charging failures almost always come down to alignment. Qi pads without magnetic alignment require the case to sit in a precise spot. Even a few millimeters off center and the charging coils miss each other. MagSafe and Qi2 chargers eliminate this problem entirely because the magnets pull the case into the correct position. While I appreciate that Qi chargers are cheaper, the alignment frustration alone makes MagSafe or Qi2 worth the upgrade if you charge wirelessly regularly. Why would Apple sell a case with wireless charging and not include magnets in every model? I think that is a cost-cutting decision that creates more customer confusion than it saves.
 Ad
AdIf cleaning the port and checking alignment do not fix the problem, a reset is the next step. Hold the setup button on the back of the case for 15 seconds. The LED will flash amber, then flash white. That white flash confirms the reset completed. Re-pair the AirPods with your device and try charging again. This process clears the Bluetooth pairing data and resets the case’s internal state, and it resolves a surprising number of charging glitches that have nothing to do with hardware.
How Firmware Updates Actually Work
AirPods firmware updates are invisible by design, and I think that is both a strength and a genuine frustration. Apple pushes firmware updates automatically while the AirPods are charging inside their case, the case lid is closed, and the paired iPhone is nearby with an active Wi-Fi connection. You cannot manually trigger an update. There is no button to press, no menu to tap.
To check your current firmware version, open Settings on your iPhone, tap Bluetooth, find your AirPods in the list, and tap the info button next to them. The firmware version appears near the bottom of that screen.
If your AirPods seem stuck on an old firmware version, place them in the case, close the lid, plug the case into power, and leave the case within Bluetooth range of your paired iPhone for at least 30 minutes. That sequence gives the system every condition it needs to deliver the update. Most firmware updates install within that window. Keep in mind that Apple does not release firmware on a predictable schedule, so a missing update might simply mean there is no new version available yet.
Firmware updates have historically fixed charging bugs, improved battery calibration accuracy, and resolved cases where the LED indicator reported incorrect status. Thankfully, staying current also ensures you get the latest improvements to noise cancellation performance and listening modes. Staying current matters more than most people assume.
When the Case Itself Needs Replacing
Sometimes the case is genuinely dead. Battery degradation over two to three years of daily charging cycles is normal, and a case that used to hold its charge for days but now drains overnight has likely reached the end of its useful battery life. Apple sells replacement cases for $89 for AirPods Pro 2 and Pro 3 models, and $69 for standard models. You do not need to replace the earbuds when you replace the case.
One thing that catches people off guard: if you pair a replacement case with your existing AirPods, the earbuds need to be re-paired with your device. Place both earbuds in the new case, close the lid, wait 30 seconds, then open the lid and hold the setup button until the white light flashes. Your iPhone should prompt you to connect.
If your AirPods keep disconnecting after charging issues surface, the problem may extend beyond the case. Our guide on fixing AirPods that keep disconnecting covers the full range of Bluetooth and software troubleshooting steps. And if you have never explored the settings buried in your iPhone’s Bluetooth menu for AirPods, there are dozens of hidden options that affect charging behavior, automatic ear detection, and noise cancellation. That settings guide walks through every one of them.
Quick-Action Charging Troubleshooting Checklist
- Check the USB-C port for lint or debris and clean it with a wooden toothpick or soft brush
- Plug the case into a known-good USB-C cable and power adapter for at least five minutes
- Open the lid and check the LED: green means full, amber means charging, no light means dead battery
- If using wireless charging, switch to a MagSafe or Qi2 pad to rule out alignment issues
- Reset the case by holding the setup button for 15 seconds until the LED flashes amber then white
- Check firmware: Settings then Bluetooth then tap the info button next to your AirPods
- Leave AirPods in case near your iPhone on Wi-Fi for 30 minutes to trigger any pending firmware update
- If the case still will not hold a charge after 48 hours, contact Apple Support or purchase a replacement case

Related Posts
Every AirPods Setting on Your iPhone and What Each One Actually Does
Mar 29, 2026
Spatial Audio on AirPods: Every Mode Explained
Mar 28, 2026
AirPods 4 ANC and AirPods Pro 3 Both Cancel Noise, One Wins
Mar 26, 2026